Ultimate DIY Home Water Damage Repair: Step-by-Step Solutions for Every Homeowner
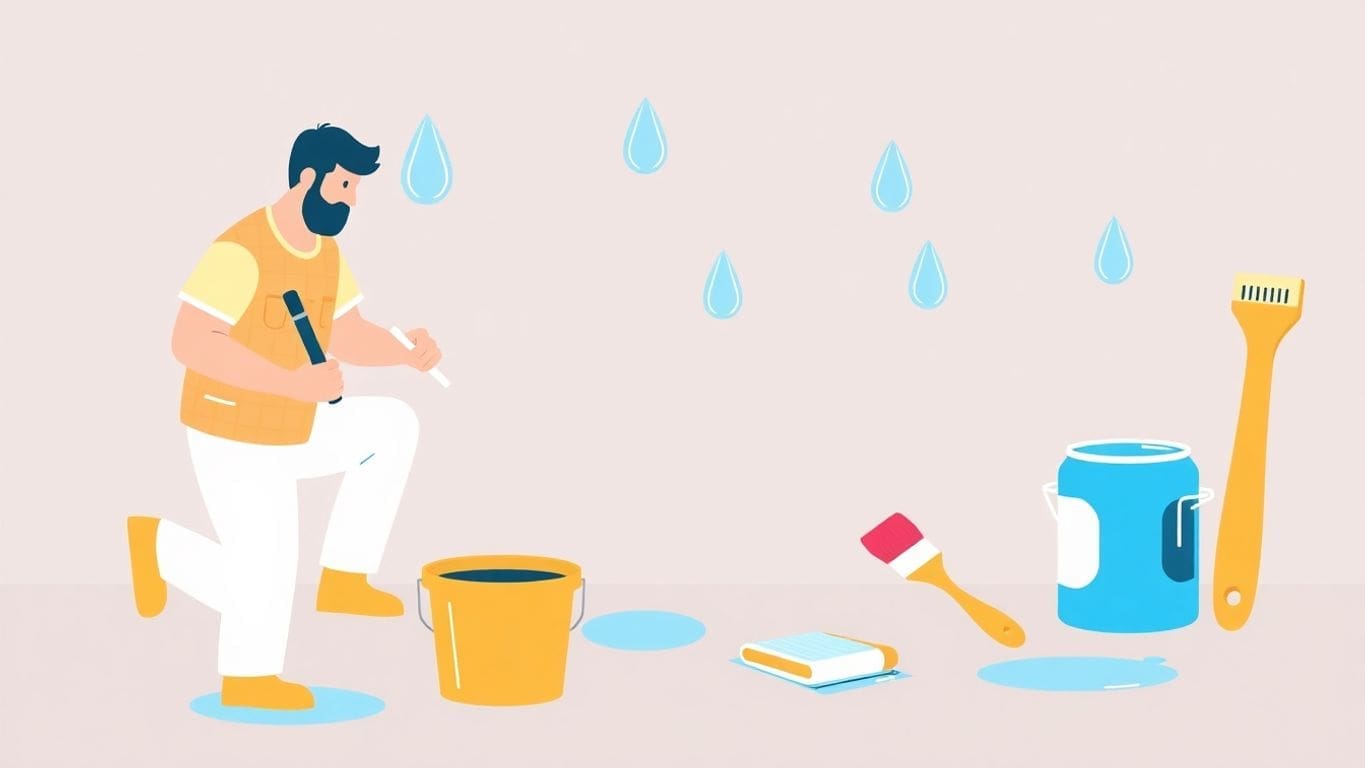
Water damage can be a nightmare for any homeowner. Whether it’s from a burst pipe, a leaky roof, or flooding,…
Dealing with a water-damaged ceiling plaster can be a real pain. Not only is it an eyesore, but it can also lead to bigger problems like mold and structural weakness. Luckily, fixing it isn’t as complicated as it might seem. With some basic tools and a little effort, you can tackle this repair yourself. This guide will take you through the steps on how to repair water damaged ceiling plaster, from figuring out where the water is coming from to the final touches of painting.
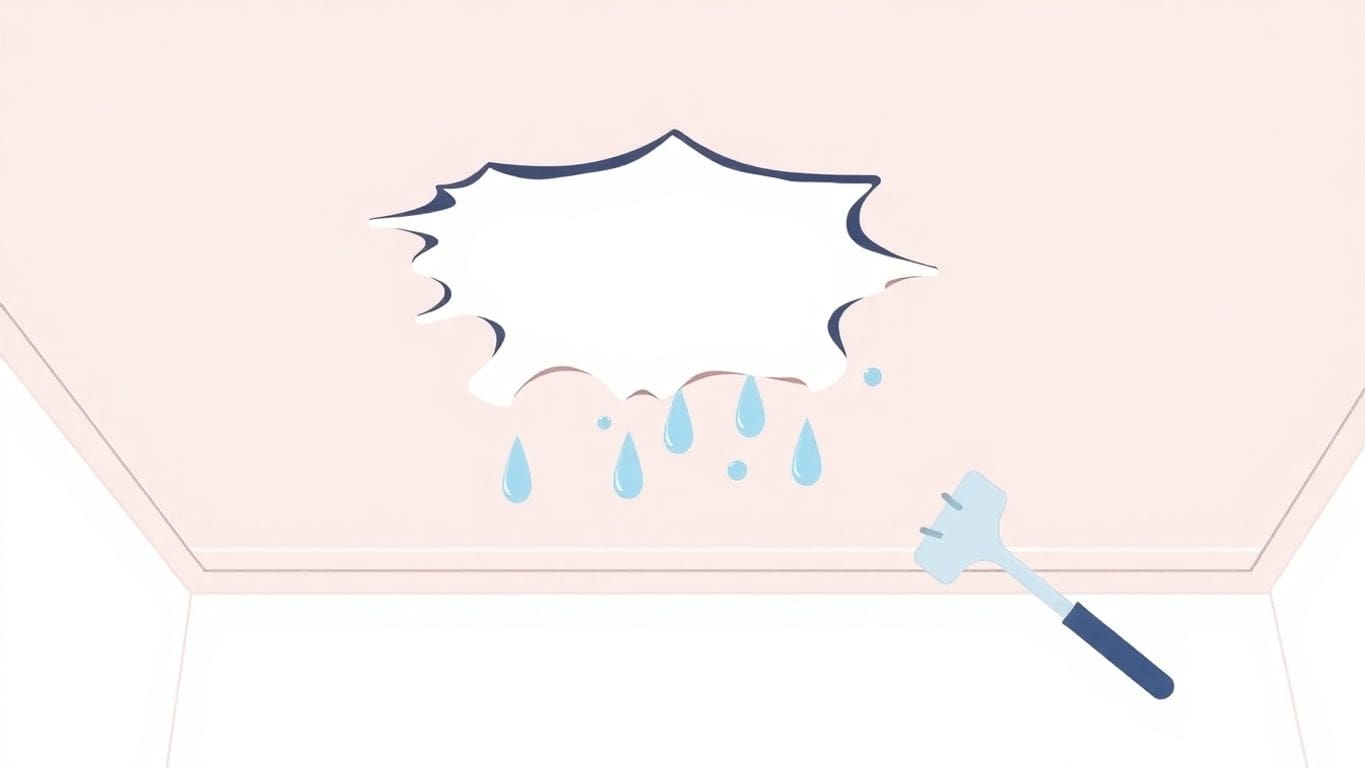
Okay, so you’ve got a water-stained ceiling. Gross, right? Before you even think about patching it up, you gotta figure out where the water is coming from. Otherwise, you’re just wasting your time, and the problem will come back. Trust me, I’ve been there.
First things first, play detective! Look closely at the stain. Is it brown or yellow? Is the paint bubbling or peeling? These are all clues. Check the ceiling around the stain for any cracks or sagging. Also, sniff around. A musty smell could mean mold, which is a whole other can of worms. Don’t ignore even small signs; they can point to bigger problems.
If you see stains after it rains, your roof might be the culprit. Grab a flashlight and head up to the attic. Look for water stains, dark spots, or wet insulation. If you can’t get into the attic, check the roof from the outside. Look for missing or damaged shingles. Sometimes, the problem is around chimneys or vents. If you’re not comfortable climbing on the roof, call a professional. It’s better to be safe than sorry.
Sometimes, the leak isn’t from the roof. It could be a leaky pipe or something with your HVAC system. Check the pipes in the ceiling or walls near the stain. Look for any signs of water damage, like drips or wet spots. Also, check your HVAC system. Condensation from the AC can sometimes cause ceiling water damage. If you have any doubts, call a plumber or HVAC technician. They can help you find the source of the leak and fix it before it causes more damage.
Finding the source of the water is the most important step. Without fixing the leak, any repairs you make will only be temporary. Take your time and be thorough. It’ll save you a lot of headaches in the long run.
One of the first things you need to do when fixing a water-damaged ceiling is to get rid of the bad plaster. This lets you see what’s underneath and makes it easier to fix the problem. It also helps stop more water damage in the future.
To remove the damaged plaster, you’ll need a few tools. A utility knife or scraper can help you take off the loose, water-damaged parts. For bigger pieces, a pry bar and hammer will do the trick. Make sure you wear eye protection and gloves to keep yourself safe from falling debris. These tools will help you remove the plaster without causing more damage.
Safety is super important when you’re removing plaster. Always wear safety glasses to protect your eyes from falling pieces. Gloves will keep your hands safe from sharp edges and dust. It’s also a good idea to wear a dust mask to avoid breathing in plaster dust. water damage cleanup can be messy, so protect yourself!
Once you’ve removed the damaged plaster, you’ll see the substrate underneath. This is the material that the plaster was applied to. You need to clean this area before you can start fixing it. Use a brush or vacuum to remove any loose particles or debris. This will help the new plaster stick better. If the substrate is wet, let it dry completely before moving on.
Removing the damaged plaster is a key step in fixing your ceiling. Take your time and be careful to avoid making the problem worse. Once the damaged plaster is gone, you can start preparing the area for repair.
Okay, you’ve found the leak and removed the bad plaster. Now, let’s get the area ready for the fix. This step is super important because a clean and prepped space will help the new plaster stick better and last longer. Think of it like prepping a wall for painting – you wouldn’t just slap paint on a dirty wall, right?
First things first, let’s clean up! You want to get rid of any loose bits of old plaster, dust, or anything else that might be hanging around. A shop vac works great for this, but a stiff brush and dustpan will also do the trick. Make sure you get into all the nooks and crannies. You want a clean surface so the patching material can bond well. This is also a good time to assess the damage to the surrounding area.
Trust me, plaster work can get messy. To save yourself a headache later, cover anything you don’t want covered in dust or plaster bits. Drop cloths or plastic sheeting are your best friends here. Spread them out on the floor and over any furniture nearby. This will make cleanup way easier, and you won’t be finding plaster dust for weeks to come.
Good airflow is key for a couple of reasons. First, it helps the patching material dry properly. Second, it keeps the dust levels down, which is better for your lungs. Open some windows and doors to get some fresh air moving. If you’re working in a small space, a fan can also help. Just don’t point it directly at the area you’re patching, or it could dry the plaster too quickly and cause cracks.
Proper ventilation is important for your health and the success of your repair. Dust and fumes from patching materials can be irritating, so make sure you have good airflow while you work. This will help everything dry correctly and keep you breathing easy.
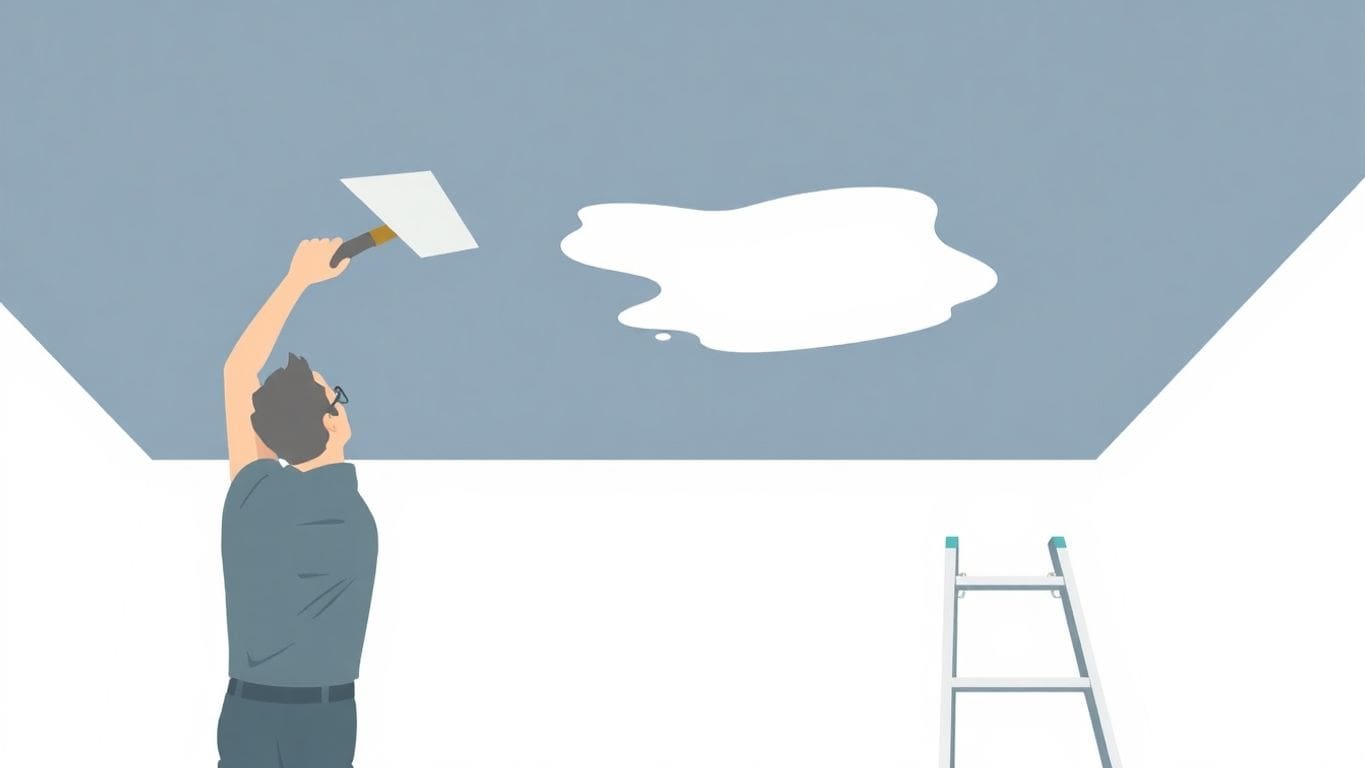
Okay, so you’ve removed the damaged plaster and prepped the area. Now comes the part where you make it look like nothing ever happened! This is where sanding and patching come in. It might seem tricky, but with a little patience, you can get a smooth, even surface ready for primer and paint.
Before you even think about patching, take some time to smooth out any rough spots. Use a sanding sponge or block. If the area is small, your fingers will work just fine. The goal is to get rid of any bumps or unevenness so the patching material goes on smoothly. Don’t go overboard; you just want to create a good surface for the patch to stick to.
Picking the right patching stuff is key. For small holes and cracks, a lightweight spackle or joint compound works great. For bigger holes, you might need something stronger, like a patching plaster. Read the labels and see what’s best for your repair. Also, consider if you need a water-resistant compound, especially in areas prone to moisture. Here’s a quick guide:
Now for the fun part! Grab your patching material and a putty knife. Apply a thin layer over the damaged area, pressing it in to fill any gaps. Don’t try to do it all at once; it’s better to apply a few thin layers than one thick one. Let each layer dry completely before adding the next. Once it’s dry, sand it smooth so it blends in with the rest of the ceiling. Patience is key here. Take your time, and you’ll get a great result.
Remember, patching is all about building up thin layers and blending them smoothly. Don’t rush the process, and don’t be afraid to sand between coats to get a seamless finish. If you mess up, it’s okay! Just sand it down and try again. That’s the beauty of patching – it’s forgiving.
Okay, you’ve patched and sanded. Now comes the fun part: making your ceiling look like new again! This step is all about priming and painting. It’s not just about looks; it’s about protecting your repair job.
Think of primer as the foundation for your paint. It helps the paint stick better and covers up any stains or marks. For a ceiling that’s had water damage, you need a special kind of primer. Look for a stain-blocking, water-based primer. This will stop any old water stains from showing through your new paint. Apply the primer evenly, and let it dry completely before moving on.
Now for the paint! Flat or matte paint is usually best for ceilings. It doesn’t reflect light, so it hides imperfections better. Choose a paint that’s made for ceilings. These paints are designed to resist moisture and mildew, which is super important after water damage restoration. Plus, they’re often thicker, so they don’t drip as much. Nobody wants paint dripping on their head!
Here are some tips for painting like a pro:
Painting can be a bit messy, so cover your floors and furniture with drop cloths. And don’t forget to wear a hat or bandana to protect your hair from paint splatters!
A smooth, even paint job will make your ceiling look like the water damage never even happened.

After you’ve fixed your ceiling, it’s important to stop water from causing problems again. You want to seal the area well. This means using things that water can’t easily get through. Let’s look at how to do it right.
Think of sealants as a shield for your ceiling. They stop water from getting into the plaster. You can find these at most hardware stores. Make sure to pick one that says it’s for ceilings or interior use.
For bigger problems, like if you know water is coming from a certain spot, you might need a barrier. This is like putting up a wall that water can’t get past. For example, if you’re preventing water damage in your basement, you might install a waterproof membrane.
Using a water-resistant paint can also help. It adds another layer of protection. Think of it as a raincoat for your ceiling.
Keeping an eye on your ceiling can save you from big headaches later. Here are some easy things you can do:
By doing these things, you can keep your ceiling in good shape and avoid more water damage. Regular checks are key!
Before you start fixing your water-damaged ceiling, it’s important to figure out how bad the damage really is. This will help you decide if you can fix it yourself or if you need to call in a pro. Let’s take a closer look.
First, you need to decide if you can repair the plaster or if you need to replace the whole thing. Small stains and soft spots might be fixable. But if the plaster is falling apart or sagging a lot, you might need to replace it. Think about how much of the ceiling is damaged. If it’s more than a small area, replacement might be the better option.
Sometimes, the damage you see is just the tip of the iceberg. Water can travel behind the plaster and cause more problems than you realize. Look for these signs of hidden damage:
If you suspect hidden damage, it’s best to investigate further. This might mean cutting a small hole in the plaster to see what’s going on behind it. If you find mold or extensive rot, you’ll need to address those issues before you can repair the ceiling.
If you’re not sure how bad the damage is, or if you find hidden problems, it’s always a good idea to talk to a professional. A plaster repair expert can assess the situation and give you the best advice. They can also handle repairs that are too complicated or dangerous for you to do yourself. Don’t be afraid to ask for help! It could save you time, money, and a lot of headaches in the long run.
Once you’ve patched and painted, it’s time to clean up. This step is important for making your home look and feel fresh. Plus, it helps you spot any small issues you might have missed.
First, get rid of all the big pieces of plaster, paint chips, and other trash. A shop vacuum works great for this. Then, wipe down all surfaces with a damp cloth. Don’t forget to dust the walls and any furniture you covered. Getting rid of all the dust is key to a clean finish.
Check your local rules for how to get rid of old plaster and paint. Some areas have special rules for construction waste. You might need to bag the materials in heavy-duty trash bags. If you had to remove a large section of plasterboard, you may need to take it to a waste disposal site.
Now, it’s time for the final touches. Sweep or vacuum the floor one last time. Wash any drop cloths or plastic sheeting you used. Put everything back where it belongs. Open the windows to air out the room. Now you can enjoy your newly repaired ceiling! If you are dealing with emergency water clean up, make sure to address it quickly.
Cleaning up well after repairs is more than just making things look nice. It’s about making sure there are no hidden problems and that your home is safe and healthy.
Sometimes, fixing water damage is more than a DIY job. Knowing when to call someone who knows their stuff can save you money and stress in the long run. It’s all about figuring out if you’re in over your head.
It’s true that hiring someone costs more upfront than doing it yourself. But think about the long-term costs. If you mess up the repair, you might have to pay even more to fix it later. Plus, professionals can often get the job done faster, which can save you money on things like water bills and further damage.
Sometimes, trying to save a few bucks by doing it yourself can end up costing you more in the end. Think about the value of your time, your health, and the peace of mind that comes with knowing the job is done right.
So, you’ve fixed your water-damaged ceiling. Great job! Now, let’s talk about keeping it in good shape. You don’t want to go through all that work again, right? Here’s how to keep your ceiling looking good and prevent future problems.
Make it a habit to check your ceiling regularly. Look for any signs of water damage, like new stains, discoloration, or peeling paint. Do this a few times a year, especially after heavy rains or snow. Early detection can save you a lot of trouble and money.
Here are some things you can do to help prevent water damage in the first place:
Preventing water damage is way easier than fixing it. A little bit of upkeep can save you from major headaches down the road.
Besides preventing water damage, here are some other ways to keep your ceiling looking its best:
By following these tips, you can keep your ceiling in top shape and avoid future water damage. Regular maintenance is key to protecting your investment and keeping your home looking great.
Look for signs like stains or discoloration on the ceiling. Check for leaks from the roof or plumbing. If you notice any suspicious areas, it’s important to investigate further.
You’ll need a utility knife, a scraper, a pry bar, and a hammer. Don’t forget safety gear like gloves and goggles to protect yourself from debris.
You can paint over it, but make sure the area is completely dry first. Painting over damp plaster can trap moisture and cause mold.
If the damage is minor, patching may be enough. But if the plaster is heavily damaged or crumbling, it’s better to replace it.
If you find mold, it’s best to call a professional to handle it safely. Mold can be harmful to your health.
Regularly check for leaks in your roof and plumbing, and consider applying water-resistant sealants to protect your ceiling.
The repair time can vary depending on the extent of the damage, but it usually takes a few hours to a couple of days.
If the damage is extensive, if there’s mold, or if you’re unsure how to proceed, it’s a good idea to hire a professional.


Business Owners: Join our insider newsletter for exclusive marketing strategies and growth opportunities for local services business.