Understanding What is Foundation Water Damage: Key Insights and Prevention Tips
Foundation water damage is something homeowners often don’t think about until it’s too late. It’s not just about a few…
Dealing with a water-damaged ceiling can be a real headache. It’s not just about the ugly stains; if you ignore it, things can get much worse. We’re talking mold, structural damage, and a whole lot of money down the drain. So, knowing how to dry ceiling water damage quickly and effectively is super important. Whether you’re dealing with a small leak or a major flood, there are steps you can take to fix it without too much hassle. In this guide, we’ll walk you through the process, from identifying the problem to making sure it doesn’t happen again.
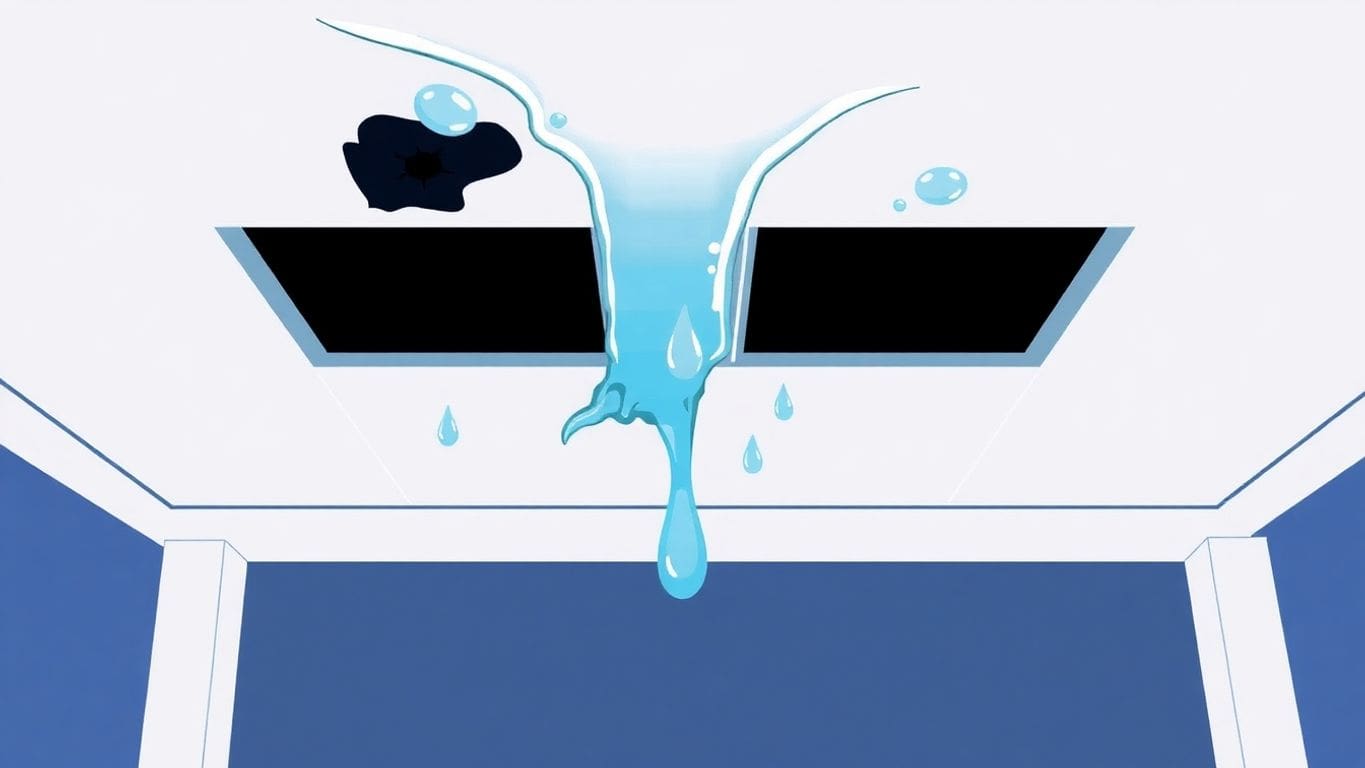
Water damage on ceilings can come from a bunch of different sources. Sometimes, it’s as simple as a kid splashing too much in the bath. Other times, it might be a leaky roof or a burst pipe. Water can sneak through tiny cracks and travel far from where it started. Figuring out where the water is coming from is super important so you can fix it and stop more damage from happening.
Spotting water damage early can save you a lot of trouble. Look for stains, musty smells, or peeling paint on your ceiling. These are signs that water might be hanging around where it shouldn’t be. If you catch it early, you can prevent bigger problems like mold or structural damage.
Once you know there’s water damage, you need to see how bad it is. Check if the ceiling is sagging or if there are big cracks. If you see mold or the ceiling feels soft, the damage might be serious. In some cases, you might be able to fix it yourself, but for bigger problems, you might need to call a pro. Use tools like moisture meters to get a better idea of how wet things are. This can help you decide if you need a quick fix or a major repair.
Water damage might look small now, but it can lead to costly repairs if ignored. Whether it’s a tiny leak or a big spill, acting fast can save you a lot of headaches later.
When you notice water damage on your ceiling, acting fast is key. Quick action can make a big difference in preventing further problems.
First things first, find the water source and turn it off. This stops more water from coming in and causing more damage. Look for the main water valve in your house. It’s usually in the basement, garage, or outside near the water meter.
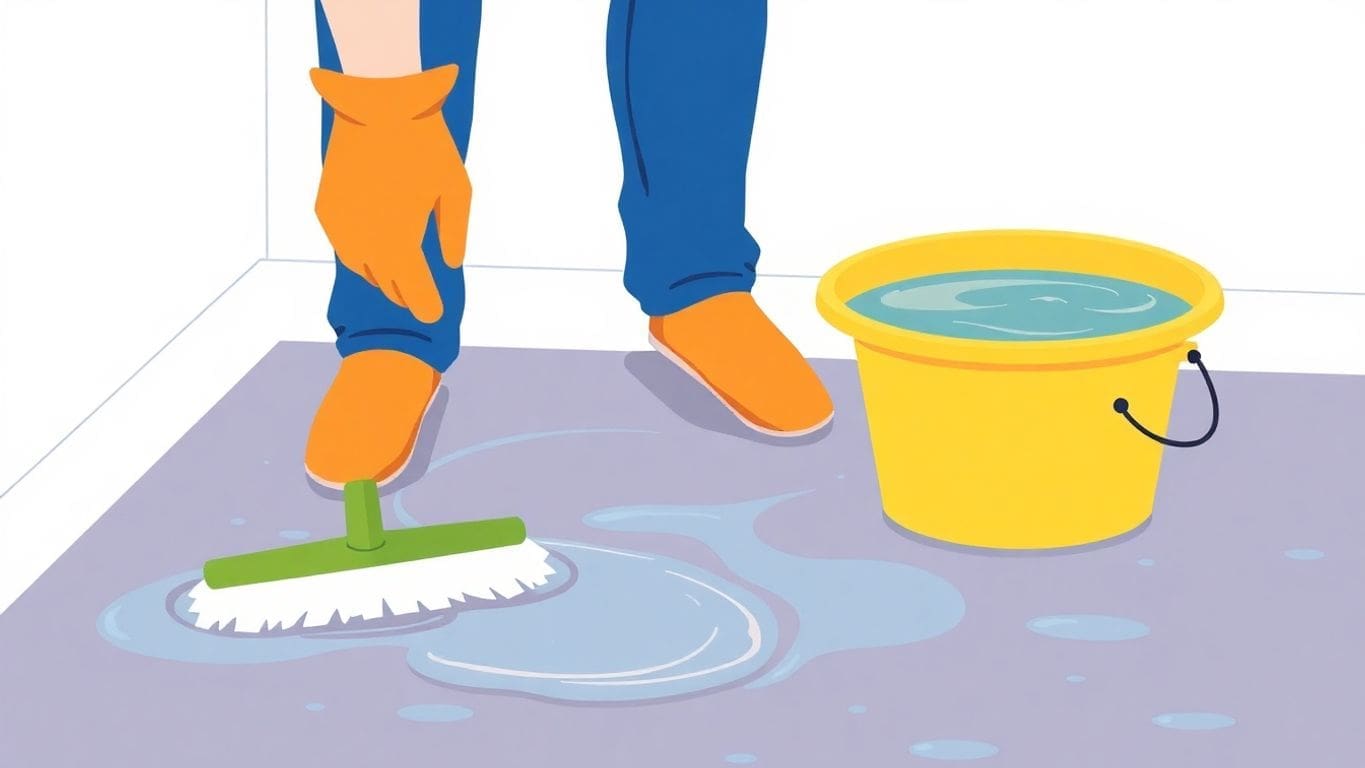
Once the water is off, check for any standing water. Use a wet/dry vacuum or a mop to get rid of it. If you leave it, it can soak into walls and floors, making things worse.
Before you start fixing things, take pictures or videos of the damage. This is important for insurance claims. Make sure you capture all the affected areas, including ceilings, walls, and any furniture.
Taking quick and effective steps right away can save you a lot of hassle later on. By stopping the water and cleaning up quickly, you’re protecting your home from more damage.
To learn more about the essential steps for effective water damage restoration, including initial inspection, water removal, drying, cleaning, and repairs, check out this guide. It emphasizes the importance of quick action to prevent mold and health issues.
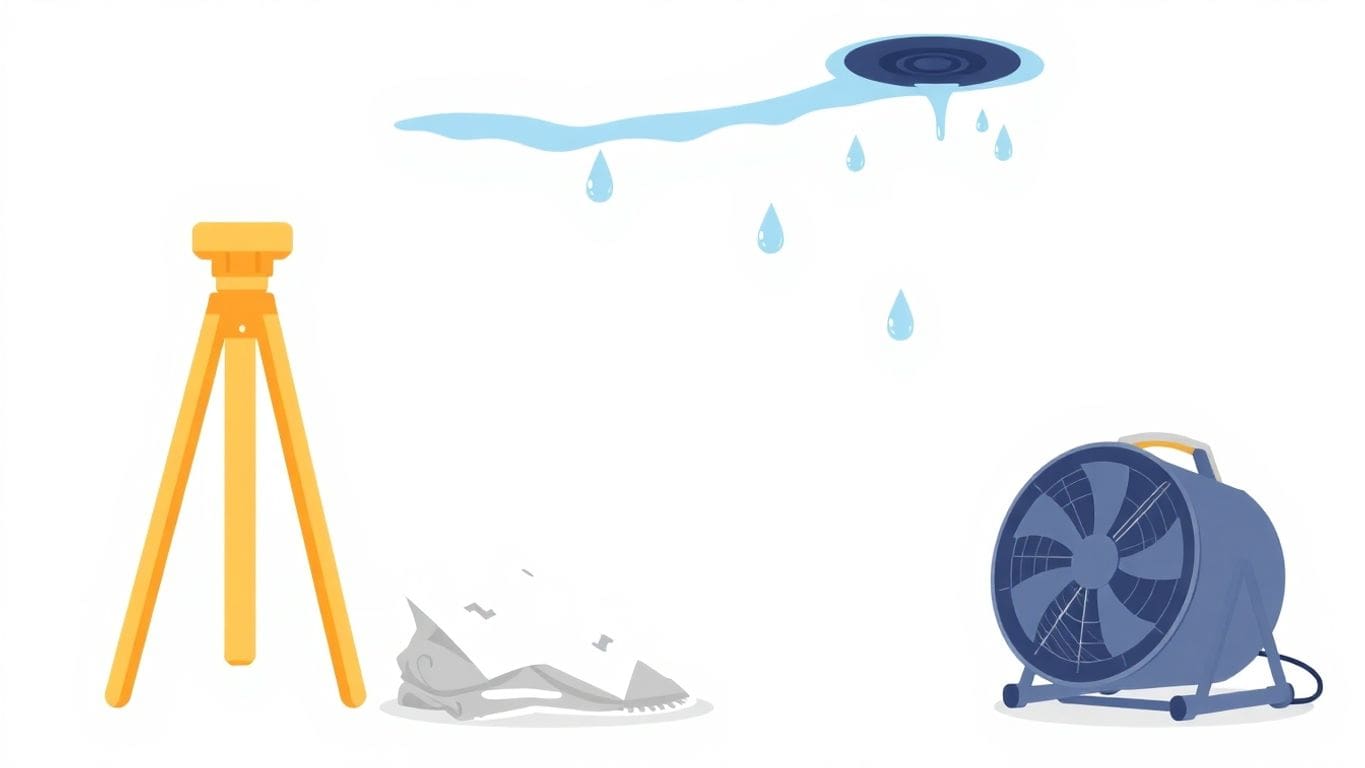
When water damages your ceiling, acting quickly is key. Proper drying techniques can help restore your ceiling and prevent further issues.
High-powered fans are great for drying out wet ceilings. These fans move air fast, which helps evaporate moisture. Place them around the area, aiming them at the wet spots. It’s like using a hairdryer on a wet head, but for your ceiling. Make sure the fans are set on high and left on for several hours. This constant airflow helps speed up the drying process.
Dehumidifiers are another effective tool. They pull moisture out of the air, making the room feel drier. Set one up in the affected room and let it run. It’s like a magic box that sucks up all the dampness. Check the water container regularly and empty it as needed. This step is crucial to keep the air dry and prevent mold.
A moisture meter is a handy gadget to have. It tells you how wet your ceiling is. By checking the moisture levels, you know when your ceiling is dry enough. Just press it against the ceiling, and it gives a reading. If you don’t have one, consider borrowing or renting one. This tool helps ensure your ceiling is fully dry before you move on to repairs.
Taking the time to dry your ceiling thoroughly can save you from bigger headaches down the road. Rushing this step might lead to mold or structural issues later.
Remember, quick action and the right tools are your best friends when dealing with ceiling water damage. If you’re unsure or the damage seems extensive, it might be time to contact a professional for help. They can ensure the job is done right, keeping your home safe and sound.
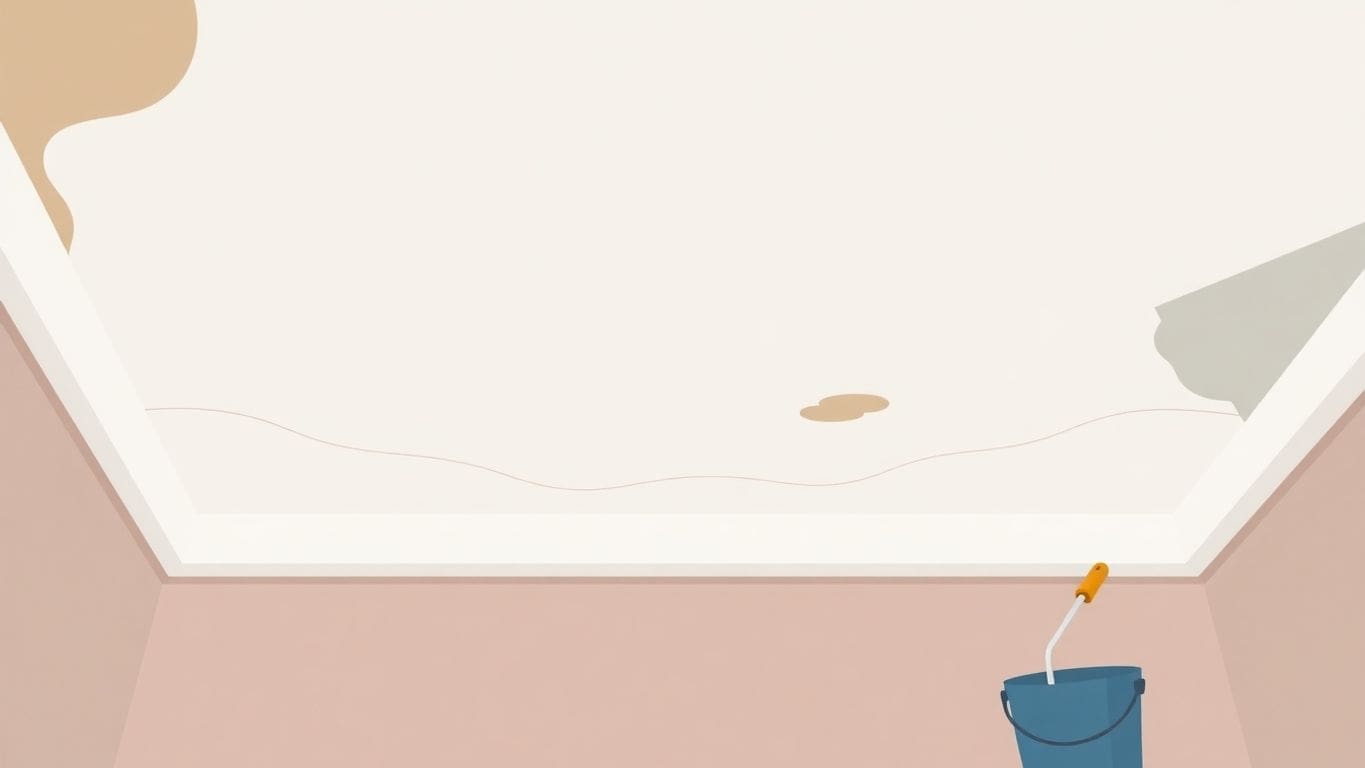
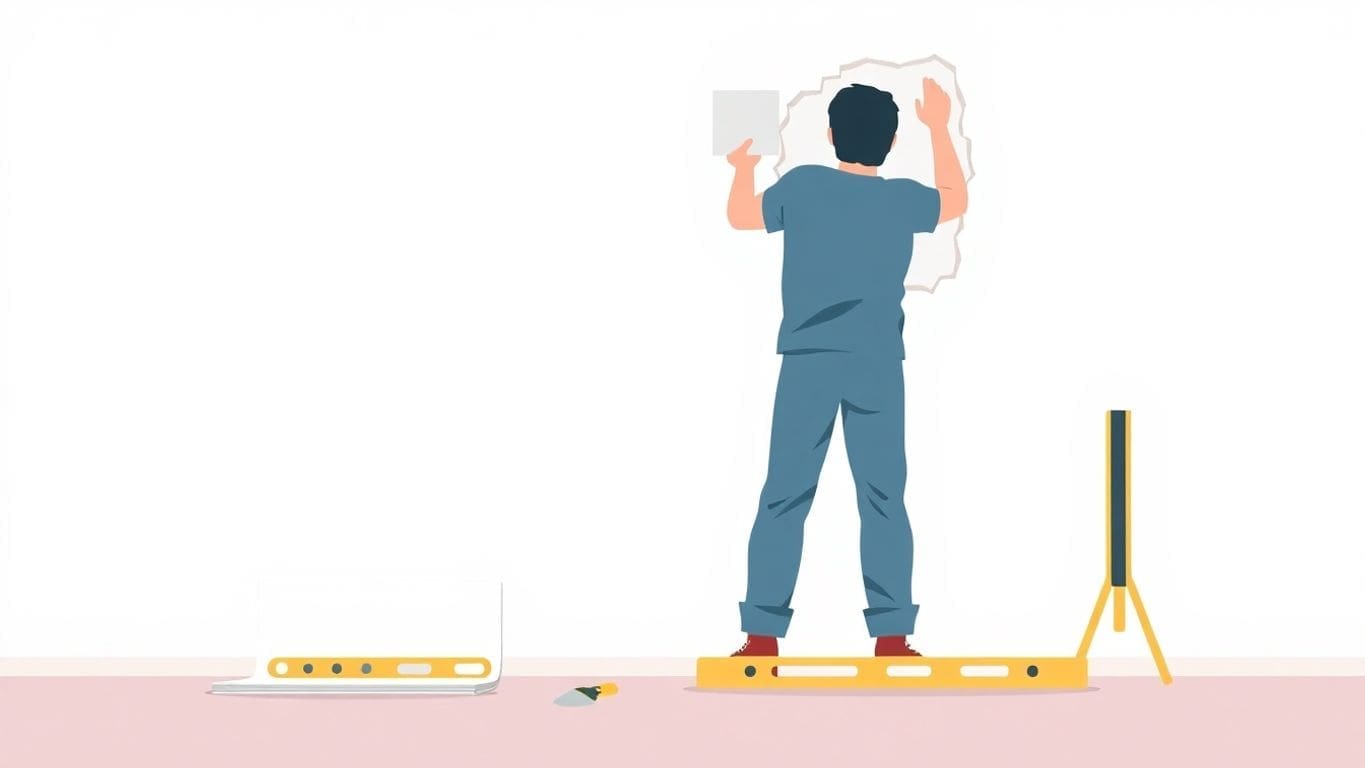
When you spot small holes in your ceiling from water damage, don’t panic. You can fix these easily with some basic supplies. Start by making sure the area is dry. Then, use a patching compound or spackle to fill the hole. Smooth it out with a putty knife and let it dry. Once dry, sand it gently to make it even with the ceiling. Finally, apply a coat of primer and paint to match the rest of the ceiling. This quick fix can save you from bigger problems later.
Sometimes, the damage is too severe for a simple patch. If the drywall is sagging or discolored, you might need to replace it. Begin by cutting out the damaged section with a utility knife. Be careful not to cut too much. Measure the hole and cut a new piece of drywall to fit. Attach it with screws, then tape the seams. Apply joint compound over the tape, smooth it out, and let it dry. Sand the area to create a smooth surface before priming and painting.
Once repairs are done, it’s time to repaint. Choose a stain-blocking primer to prevent any marks from showing through. Paint the entire ceiling to ensure the color matches. Use a roller for large areas and a brush for edges. This gives your ceiling a fresh, uniform look.
Remember, fixing your ceiling not only makes it look better but also keeps your home safe from further damage. If you’re unsure about the extent of the damage, consider consulting a professional to ensure everything is handled correctly.
To keep your home safe from water damage, it’s smart to check for leaks often. Look under sinks, around toilets, and up in the attic. You never know where a sneaky leak might start. Catching leaks early can save you a lot of trouble later. Make a habit of these inspections every few months.
Your gutters and downspouts need some love too. If they get clogged, water can spill over and damage your home. Clean them out a few times a year, especially after the leaves fall. Keeping them clear helps water flow away from your house, keeping your walls and foundation dry.
Little cracks in your home’s foundation or walls can let water in. It’s like leaving a window open in a storm. Go around your house and seal up any cracks or gaps you find. Use a good sealant to keep water out. This simple step can make a big difference in preventing water damage.
Taking these precautions can help you avoid the hassle and expense of fixing water damage. A little effort now can save you a lot of work and money down the road. Keep your home dry and safe by staying on top of these tasks.
Sometimes, water damage can be more than just a small spot on your ceiling. If you notice large areas of your ceiling are wet, sagging, or have holes, it’s time to think about calling in a pro. Extensive damage often means there’s more going on than you can see. A professional can figure out the full extent and fix it right.
Water damage isn’t just ugly. It can be dangerous, too. Wet ceilings can collapse, and mold can grow, making your home unsafe. If you feel unsure about the safety of your ceiling, it’s best to get help. A professional can safely handle these risks and make sure your home is safe again.
Fixing water damage can be expensive. But sometimes, trying to do it yourself can end up costing more if things go wrong. A pro can give you a clear idea of the costs and help you decide the best way to fix the damage. They might even save you money in the long run by doing it right the first time.
When in doubt, it’s always a good idea to get a professional opinion. They have the tools and knowledge to assess the situation properly and can save you from potential headaches down the road.
For more insights on managing water damage and understanding the benefits of hiring experts, check out our essential guide.
Mold can sneak up on you. It often starts with a musty smell. You might see spots on the ceiling or walls. These can be black, green, or even white. If you notice any of these signs, it’s time to act.
To stop mold from growing, you need to dry everything fast. Act quickly to dry wet areas within 48 hours. Use fans and dehumidifiers to help. Don’t forget to check hidden spots like behind walls or under floors.
If you find mold, clean it up safely. Wear gloves and a mask. Use soap and water or a special cleaner. Be gentle, so you don’t spread the mold spores. If the mold covers a large area, it might be best to call a professional.
Mold can cause health problems, so it’s important to deal with it as soon as you notice it. Taking the right steps can keep your home safe and healthy.
When fixing a water-damaged ceiling, picking the right paint is super important. This helps make sure your ceiling looks great and stays protected.
Before you paint, always start with a stain-blocking primer. This special primer stops ugly stains from showing up on your new paint. It’s like a protective shield that keeps your ceiling looking fresh. Make sure the ceiling is completely dry before applying it. This step is crucial because if the ceiling is even a little damp, the paint won’t stick properly.
There are different types of paint, and choosing the right one can make a big difference. For ceilings, flat or matte paint is usually best. These types don’t reflect light, which helps hide any imperfections. Glossy paints can show bumps and uneven spots, so they’re not ideal for ceilings. If your ceiling is in a bathroom or kitchen, consider using a paint that resists moisture to prevent future issues.
When it’s time to paint, use a roller for large areas and a brush for edges and corners. Apply two coats for the best coverage. Let the first coat dry completely before adding the second one. This ensures a smooth finish and long-lasting results.
Taking your time with painting can save you from having to redo it later. Rushing might seem like a good idea, but it often leads to more work in the end.
Here’s a simple checklist for painting your ceiling:
To keep your ceilings in top shape, make it a habit to check them regularly. Look for any signs of water spots or cracks. Spotting problems early can help prevent bigger issues later. If you notice anything unusual, address it quickly to avoid costly repairs.
Keeping an eye on the moisture in your home is important. High humidity can lead to mold and mildew, which are not only unsightly but can also damage your ceiling. Use a hygrometer to measure humidity and aim for levels between 30% and 50%. If it’s too high, consider using a dehumidifier.
Small problems can turn into big headaches if ignored. If you see a small crack or a bit of peeling paint, fix it as soon as you can. Taking care of minor repairs promptly can save you time and money in the long run.
Keeping up with your ceiling maintenance might seem like a chore, but it’s worth it. By staying on top of these tasks, you can avoid major repairs and keep your home looking its best.
First, find and fix the source of the water. Then, dry the ceiling quickly to prevent mold.
Yes, small repairs like patching and painting can be done yourself, but big damage might need a pro.
Use fans and dehumidifiers to dry the ceiling. Make sure it’s completely dry before starting repairs.
Only paint after fixing leaks and ensuring the ceiling is dry. Use a stain-blocking primer first.
If there’s sagging, mold, or rot, it might need replacing. Get a professional opinion to be sure.
Look for musty smells, dark spots, or fuzzy growths on the ceiling. Act fast to clean and dry the area.
Regularly check your roof and plumbing for leaks, and keep gutters clean to prevent water buildup.
If the damage is extensive or you see structural issues, it’s best to call a professional for help.

Business Owners: Join our insider newsletter for exclusive marketing strategies and growth opportunities for local services business.