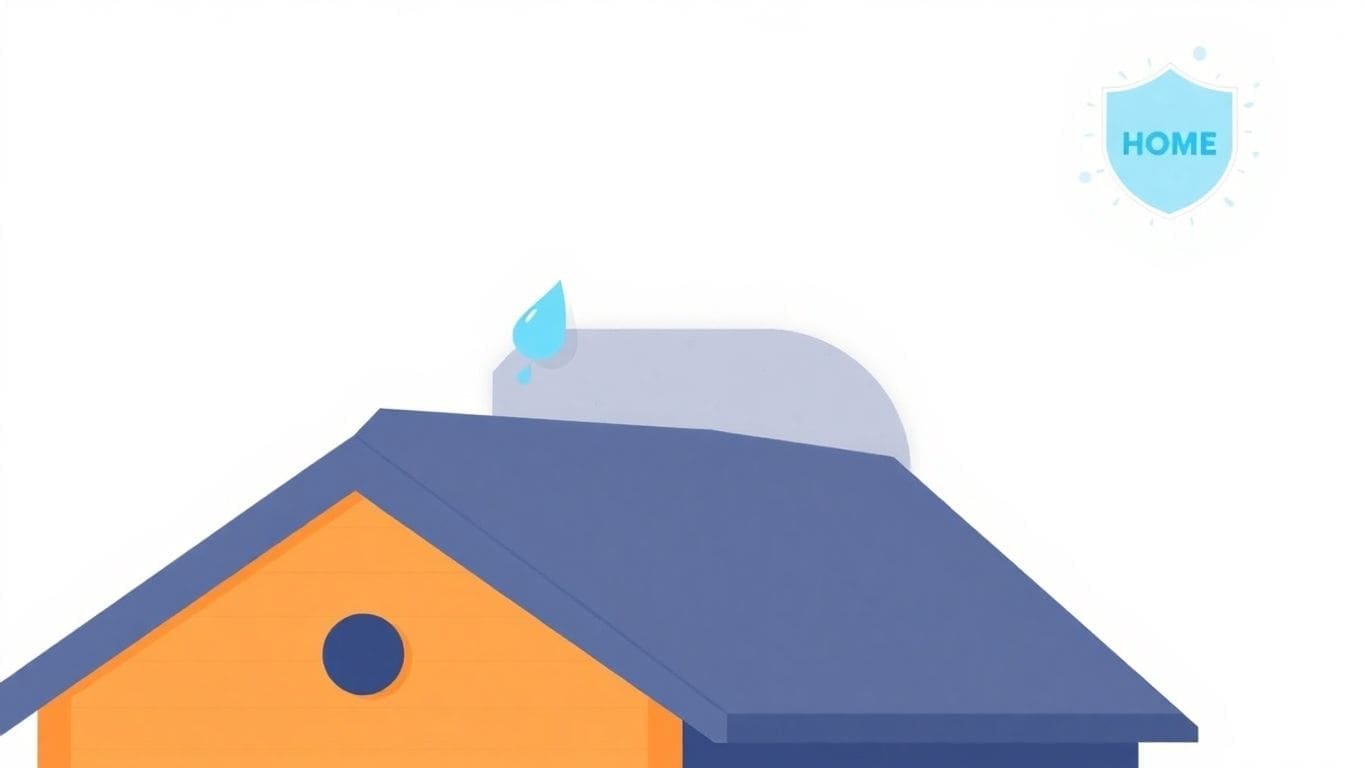
Will Home Warranty Cover Water Damage? What You Need to Know Before Filing a Claim
If you’re a homeowner, dealing with water damage can be a nightmare. Not only can it ruin your belongings, but…
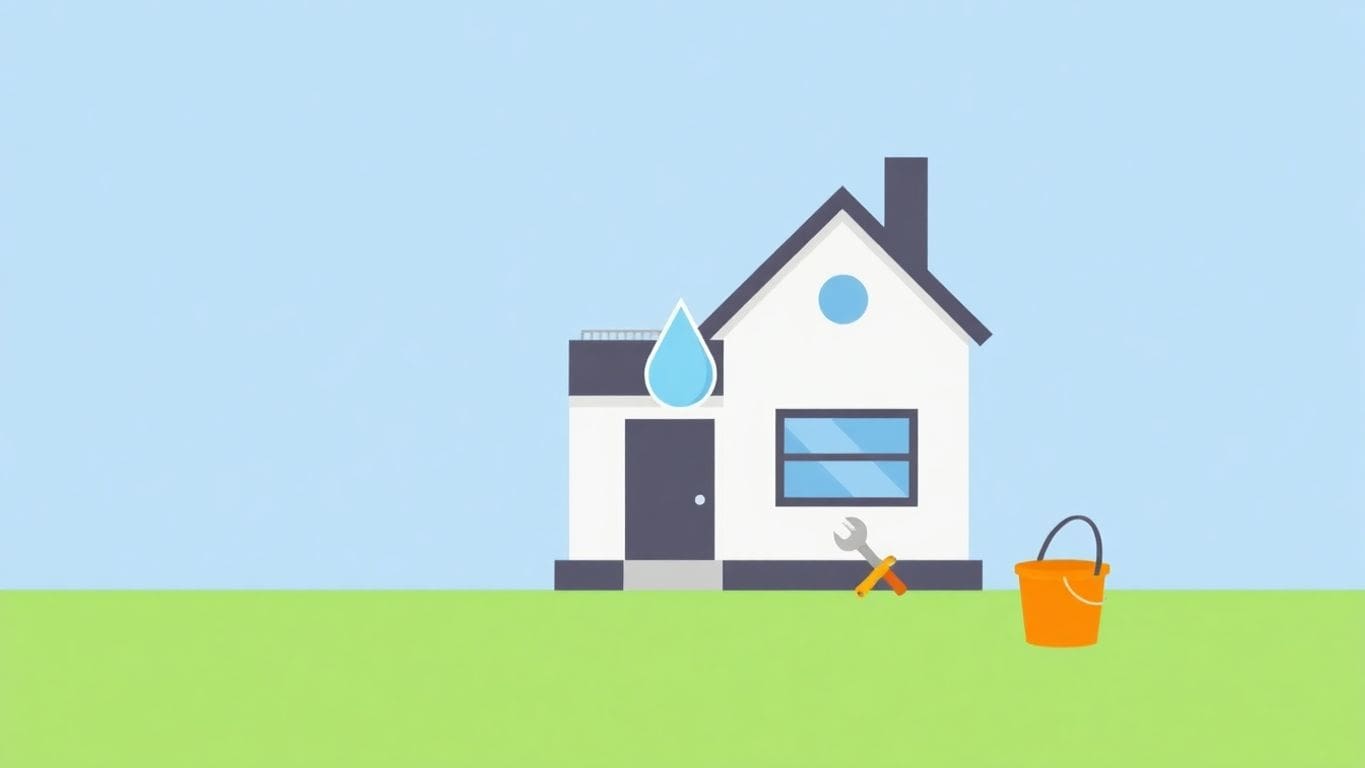
Water damage can be a nightmare for any homeowner. Whether it’s from a burst pipe, a leaky roof, or flooding, the aftermath can feel overwhelming. But don’t panic! With the right approach, you can tackle the situation head-on. This guide will walk you through the essential steps for DIY home water damage repair, making it easier to restore your space and prevent future issues. Let’s get started!
Finding where the water is coming from is the first step. It’s like being a detective in your own home! You need to figure out what caused the water damage before you can start fixing things. Ignoring this step can lead to more problems later on.
Not all water is the same. Knowing the type of water helps you understand the risks and how to clean it up safely. There are three main types:
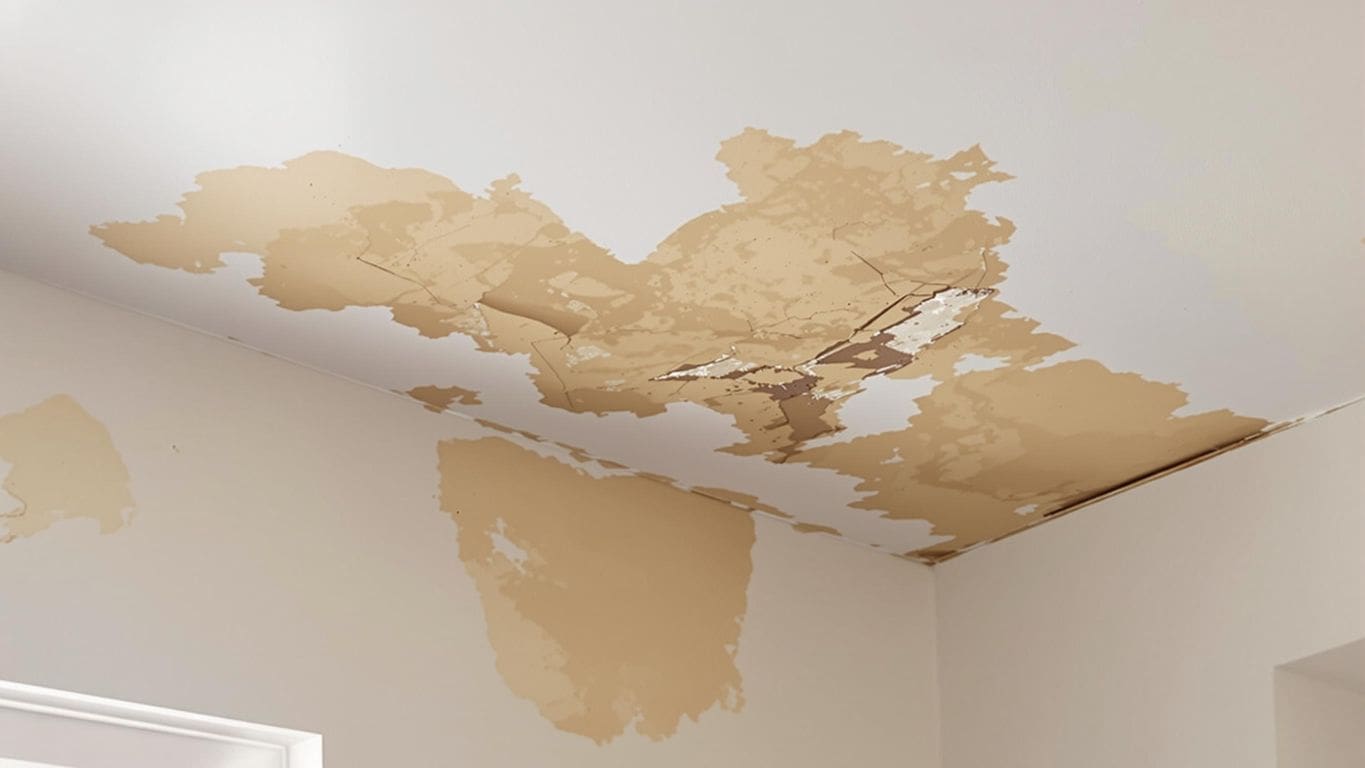
Sometimes, it’s easy to see water damage, like a big puddle. But other times, it’s hidden. Here are some things to look for:
Finding these signs early can save you a lot of trouble and money. The sooner you act, the less damage there will be.
Okay, you see the damage, but where is the water coming from? Here’s how to find the source:
Stopping the water source is the most important thing you can do. If you can’t find the source or stop the water, it’s time to call a professional. They have the tools and skills to find hidden leaks and fix them quickly.
Before you jump into fixing things, it’s super important to make sure you’re safe. Water damage can be tricky, and you don’t want to make things worse by getting hurt. Let’s go over some key safety steps.
Water and electricity are a dangerous mix. The very first thing you should do is turn off the power to the area where there’s water damage. Find your circuit breaker box and switch off the breaker that controls the affected rooms. If you’re not sure which breaker to turn off, it’s best to turn off the main power switch. Also, turn off the water supply to prevent more water from leaking. Usually, the main water shut-off valve is located where the water line enters your house. If water is near electrical outlets, call an electrician before you try to enter.
Even if the water looks clean, it could be full of nasty stuff like bacteria and mold. Protect yourself by wearing:
Protective gear keeps you safe from harmful stuff in the water. It’s a simple step that can make a big difference in protecting your health.
Water can weaken the structure of your home. Before you start any repairs, check for:
If you see any of these signs, the area might not be safe to enter. Get a professional to check it out before you do anything else. It’s better to be safe than sorry! Water can compromise your home’s structure, so it’s important to have everything inspected once the water is removed.
Dealing with water damage is stressful. Filing an insurance claim can feel like another burden. But, good documentation makes the process smoother. It helps your insurance company understand the damage and process your claim fairly. Let’s walk through how to document everything properly.
Before you start cleaning, grab your phone or camera. Take lots of pictures and videos of all the damaged areas. Get wide shots of entire rooms and close-ups of specific items. Make sure your photos are clear and well-lit.
Next, make a list of everything that’s been damaged. This is your inventory. Be as detailed as possible. Include:
If you have photos of the items before the damage, include those too. This helps show the item’s condition before the water damage. This list will be super helpful when you talk to your insurance adjuster.
Your insurance policy is a contract between you and the insurance company. It explains what’s covered and what’s not. Take the time to read through your policy carefully. Look for sections about water damage restoration companies near me, what types of water damage are covered (like burst pipes but not floods), and what your deductible is (the amount you pay before insurance kicks in).
Knowing your policy helps you understand what to expect from the claims process. If you have questions, call your insurance agent. They can explain the policy in plain language and answer your questions. Don’t be afraid to ask for clarification. It’s their job to help you understand your coverage.
When water damage happens, quick action is super important. The faster you get the water out, the less damage it will cause. Think of it like a race against time! Every minute counts to stop mold and other problems from starting. Let’s look at some ways to remove water right away.
For small spills or leaks, towels and mops are your first line of defense. Grab some absorbent towels and start soaking up the water. Mops are great for larger areas. Don’t just push the water around; wring out the mop often to really get the water up. Here’s a quick checklist:
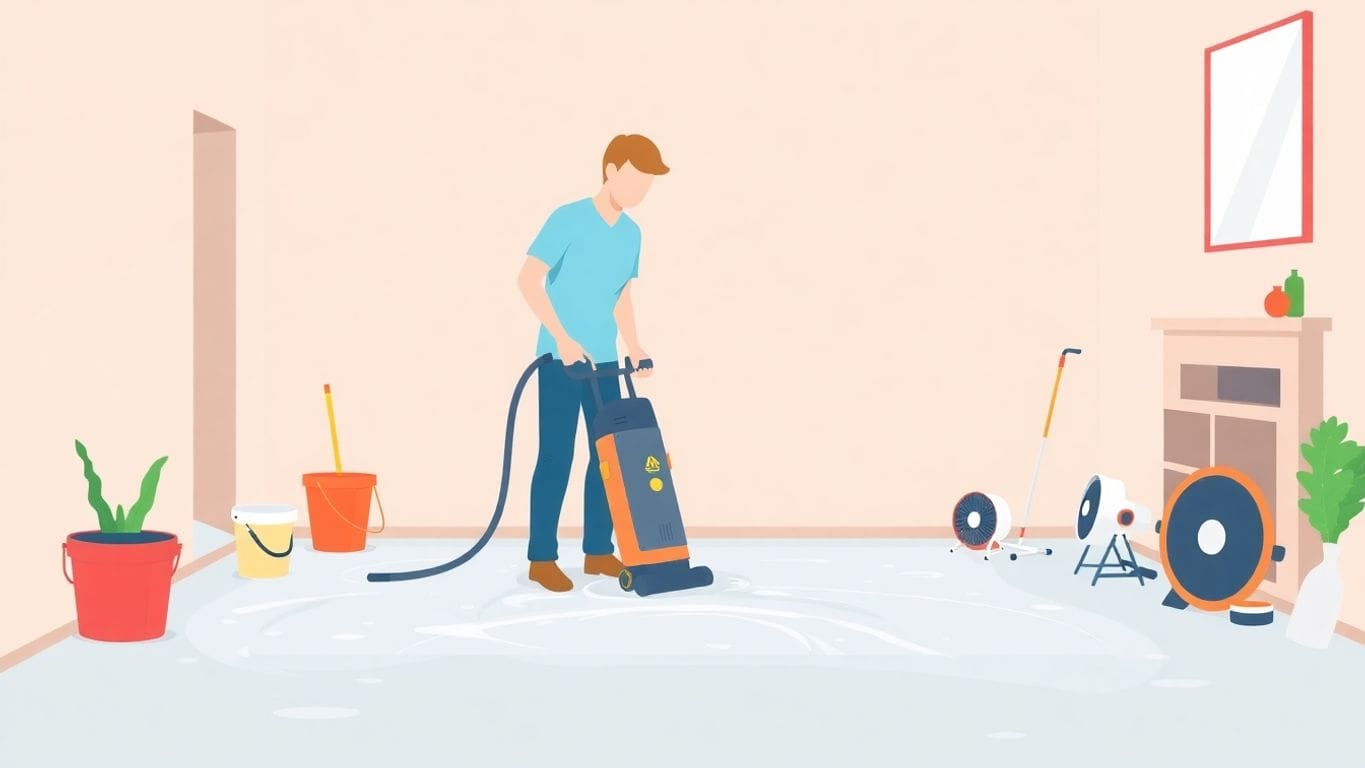
A wet/dry vacuum is a powerful tool for removing water. These vacuums are made to suck up both liquids and solids. If you have a lot of standing water, a wet/dry vac can save you a lot of time and effort. Make sure you use a wet/dry vac, not a regular vacuum, because water can ruin a regular one. You can find water damage restoration companies near me that use these.
After you’ve removed as much water as you can with towels, mops, and a wet/dry vacuum, it’s time to dry out the area. Fans and dehumidifiers help with this. Fans increase air circulation, which helps water evaporate. Dehumidifiers pull moisture out of the air. Put fans and dehumidifiers in the affected area to speed up the drying process. This is a key part of water mitigation.
Using fans and dehumidifiers together is more effective than using them separately. Make sure to keep windows closed when using a dehumidifier so it can work its best. Also, keep an eye on the humidity levels to make sure the area is drying properly.
Here’s a simple table to show how long it might take to dry different materials:
| Material | Drying Time (Approximate) | Notes |
|---|---|---|
| Carpet | 24-72 hours | Depends on thickness and ventilation |
| Wood Floors | 2-7 days | May require professional drying |
| Drywall | 12-48 hours | Check for hidden moisture |
After you’ve removed as much standing water as possible, the next big step is drying everything out. This is super important to prevent mold and further damage to your home. Let’s get into how to do it right.
Thorough drying is key to preventing mold growth and structural damage. If things stay damp, mold can start growing within 24-48 hours. Plus, wet materials like wood can warp or rot over time, leading to bigger problems down the road. Don’t skip this step!
Dehumidifiers are your best friend here. They pull moisture out of the air, helping everything dry faster. Here’s how to use them right:
Using a dehumidifier is a great way to remove moisture from the air, but it’s important to remember that it’s not a magic bullet. You’ll still need to take other steps to dry out your home, such as opening windows and using fans. Also, make sure to check for hidden moisture in walls and ceilings.
Sometimes, water can hide in places you can’t easily see, like inside walls or under floors. Here’s how to check for hidden moisture:
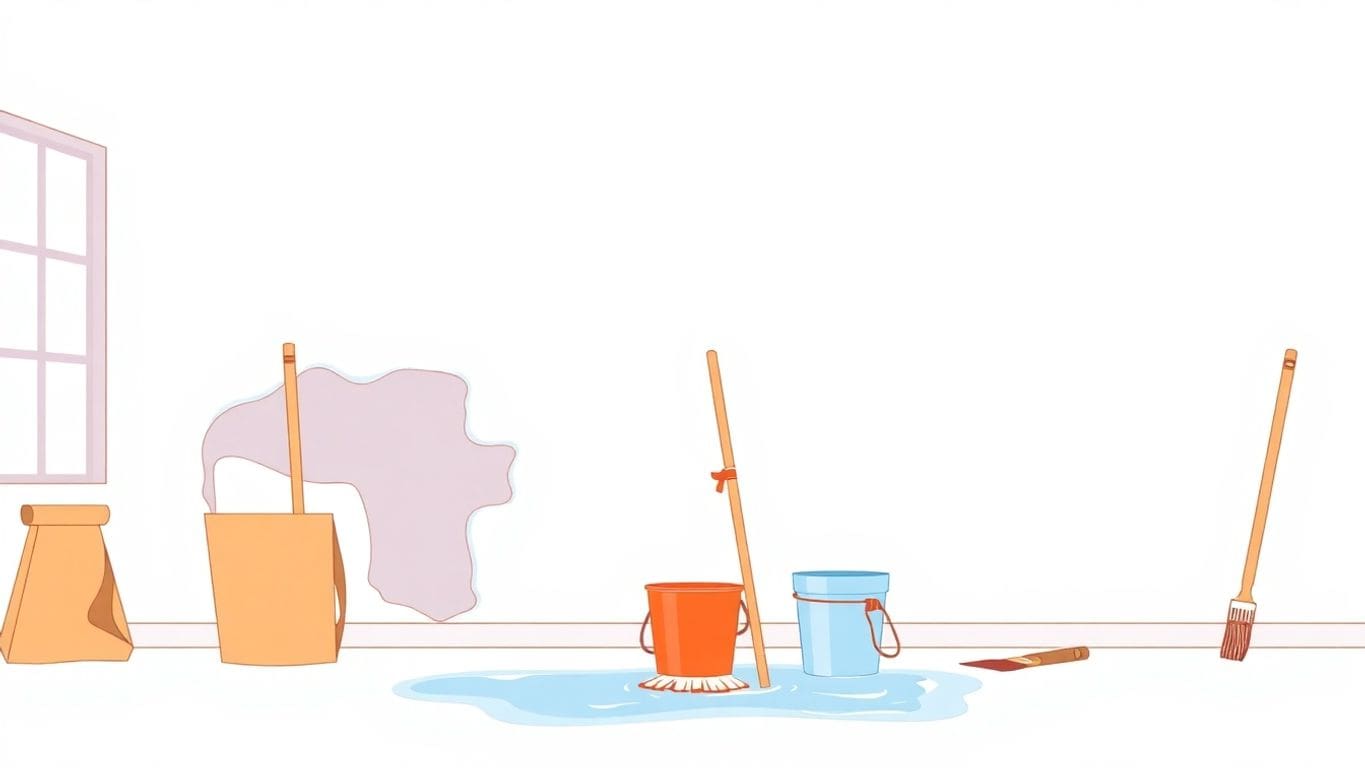
After you’ve removed the water, it’s time to clean up. This step is super important to prevent mold and get rid of any nasty stuff that might be left behind. You don’t want to skip this!
When you’re picking out cleaners, think about what you’re cleaning. For most surfaces, a mix of bleach and water works well. But, be careful! Never mix bleach with ammonia – that’s a big no-no because it makes dangerous fumes. For wood, use a cleaner made for wood. You can find these at most stores. Always read the labels and test the cleaner in a small, hidden spot first to make sure it doesn’t mess up the surface.
Mold loves damp places, so the best way to stop mold is to dry everything out completely. After cleaning, use fans and a dehumidifier to get rid of any extra moisture. You can also spray a mold-killing product in areas that are prone to mold, like bathrooms and basements. Keep an eye on these spots and clean them regularly to keep mold from coming back.
Anything that got really wet, especially with dirty water, might need to be thrown away. This includes things like carpets, padding, and drywall. Put these items in heavy-duty trash bags and seal them up tight. Check with your local trash company about how to get rid of these items safely. You don’t want to risk spreading any contamination.
It’s a good idea to wear gloves and a mask when you’re cleaning up after water damage. This will protect you from any harmful stuff that might be in the water or on the surfaces. Safety first!
After you’ve removed the water and dried everything, it’s time to fix the damage. This can involve anything from patching up drywall to fixing floors. It’s important to take your time and do it right, so you don’t have more problems later.
First, look closely at your walls and ceilings. Do you see any stains, cracks, or areas that are soft to the touch? These are signs of water damage. Small stains might just need some paint, but bigger problems mean you’ll need to replace the damaged drywall.
To fix drywall, cut out the damaged section with a utility knife. Then, put in a new piece of drywall, tape the seams, and apply joint compound. After it dries, sand it smooth and paint it to match the rest of the wall. If the damage is extensive, you might need to call a professional.
Water can really mess up your floors. Wood floors might warp or buckle, and carpets can get moldy. For wood floors, you might be able to sand and refinish them if the damage isn’t too bad. But if they’re badly warped, you’ll need to replace them. Carpets that have been soaked should be removed and replaced, especially if there’s mold.
Replacing flooring can be a big job, but it’s important to do it right. Make sure to choose materials that are water-resistant, especially in areas that are prone to moisture.
If you had a major flood, your foundation might be affected. Look for cracks in the foundation walls, both inside and outside. Small cracks can be patched with concrete crack filler. But if you see large cracks or the walls are bowing, you need to call a structural engineer. These are serious problems that can affect the safety of your home. Ignoring foundation issues can lead to bigger problems down the road, so don’t put them off.
| Type of Crack | Severity | Action Needed |
|---|---|---|
| Hairline | Minor | Monitor |
| Small (1/8") | Moderate | Patch with filler |
| Large (1/4"+) | Severe | Consult engineer |
Remember, safety is key when doing any kind of home repair. If you’re not comfortable doing something yourself, it’s always best to call in a professional. It’s better to be safe than sorry!
Water and electricity are a dangerous mix. After water damage, it’s super important to check your electrical stuff to keep everyone safe. Don’t just assume everything is fine. Take the time to do it right, or call someone who knows what they’re doing.
First, look at all the wiring and outlets that might have gotten wet. See any frayed wires or outlets that look burned? Don’t touch them! Water can stay inside walls, so be extra careful. If you see anything weird, call an electrician. It’s better to be safe than sorry. You might need emergency restoration experts to help with this part.
Seriously, if you’re not an electrician, get one. It’s not worth risking your life to save a few bucks. A licensed electrician knows how to check everything safely and fix it right. They can find problems you might miss. Plus, they can tell you if you need to replace anything.
Before you plug anything back in, make sure it’s dry. Even if it looks dry, water could still be inside. Let appliances dry out for a few days. Then, have an electrician check them before you use them again. If an appliance got really wet, it might be better to just replace it. Here’s a simple checklist:
Remember, electricity is not something to mess around with. If you’re not sure, call a pro. It’s the best way to keep your family safe. Your safety is the most important thing.
After you’ve cleaned up from water damage, it’s smart to think about how to stop it from happening again. You don’t want to go through all that work again, right? Here’s how to keep your home dry and safe.
Check your pipes and hoses often. Look under sinks and around your washing machine and dishwasher. If you see any leaks, fix them fast. Replace old, worn parts before they cause problems. This can save you from a big headache later. Schedule routine assessments by a trusted company.
Put water sensors in places that might leak, like under sinks, near the water heater, and behind toilets. These little gadgets can warn you about leaks before they become big floods. They send alerts to your phone, so you can act fast. Early detection is key!
Make a list of things to check regularly around your house. This could include:
Doing these things regularly can help you spot problems early and fix them before they cause major water damage. It’s like a check-up for your house!
Here’s a simple schedule you can follow:
| Task | Frequency | Notes |
|---|---|---|
| Check for Leaks | Monthly | Under sinks, around toilets, appliances |
| Inspect Gutters | Twice a Year | Spring and Fall |
| Examine Roof | Annually | Look for damaged shingles |
| Inspect Basement/Crawlspace | Annually | Check for cracks and moisture |
Sometimes, fixing water damage yourself isn’t the best idea. It’s important to know when to call in the experts. You don’t want to make things worse or risk your health. Here’s when you should consider getting professional help.
If you see a lot of water or the damage is widespread, it’s likely major damage. This could mean a burst pipe, a flooded basement, or water coming in from a storm. Big problems need professional solutions. If you see any of these signs, it’s time to call a water damage service. Don’t try to handle it alone. It could be dangerous, and you might miss hidden problems.
DIY projects are great, but they have limits. If you’re not sure what you’re doing, you could cause more damage. Electrical problems caused by water are especially dangerous. Also, mold can grow quickly and cause health problems. If you’re not comfortable dealing with these issues, it’s best to call a professional. They have the tools and knowledge to fix the problem safely and correctly.
Trying to fix major water damage yourself can be risky. Professionals have the right equipment and training to handle the situation safely and effectively. They can also find hidden problems that you might miss.
Finding the right water damage restoration company is important. Here are some things to look for:
It’s also a good idea to get quotes from a few different companies before making a decision. Ask them about their process, their experience, and their prices. Don’t be afraid to ask questions. A good company will be happy to answer them and help you understand the limits of DIY.
Dealing with water damage is super stressful. It’s easy to forget about yourself when you’re trying to fix everything. But, taking care of your well-being is really important. You can’t help your home if you’re not helping yourself.
It’s normal to feel stressed when your home is damaged. Try to take breaks and do things you enjoy, even if it’s just for a few minutes. Stress can make it harder to think clearly and make good decisions. Here are some ideas:
Remember, it’s okay to ask for help. You don’t have to do everything alone. A little self-care can go a long way in getting through this tough time.
Don’t be afraid to lean on your friends and family. They can offer emotional support, practical help, or just a listening ear. Sometimes, just talking about what you’re going through can make you feel better. Here’s how they can help:
While you’re fixing the water damage, make sure you’re protecting yourself. Water damage can create hazards you might not think about. Here are some safety tips:
It’s also a good idea to have a first-aid kit handy in case of minor injuries. If you’re not sure about something, it’s always best to ask for help from a professional.
The first thing you need to do is stop the water source. If it’s a broken pipe, turn off the water supply. If you can’t find the source, shut off the water to your whole house.
Clean water usually comes from broken pipes or rain, while contaminated water comes from sewage or floodwaters. If it’s contaminated, leave the area and call a professional.
Make sure to turn off the electricity in the affected area and wear protective gear like gloves and boots. Check for any structural damage before entering.
Take clear photos and videos of all the damage from different angles. Make a list of damaged items to provide to your insurance company.
You can use towels and mops to soak up water, a wet/dry vacuum to suck it up, and set up fans and dehumidifiers to help dry the area.
Use dehumidifiers to remove moisture from the air and check for hidden moisture in walls and floors. It’s important to dry everything thoroughly to prevent mold.
If the damage is extensive or if you suspect mold, it’s best to call a professional. They have the right tools and expertise to handle serious issues.
Regularly check your plumbing, install water leak sensors, and create a home maintenance schedule to catch potential issues early.

Business Owners: Join our insider newsletter for exclusive marketing strategies and growth opportunities for local services business.