Step-by-Step Guide: How to Repair Water-Damaged Drywall Effectively
Dealing with water damage in your drywall can feel overwhelming, but it doesn’t have to be. Whether it’s from a…
Over time, plaster walls can develop hairline cracks due to various reasons like settling, moisture, or temperature changes. If you want to maintain the beauty and integrity of your home, knowing how to repair hairline cracks in plaster walls is essential. This guide will walk you through the necessary steps and tools needed to fix those pesky cracks and keep your walls looking fresh and smooth.
Before you start fixing your plaster walls, it’s good to know what kind of damage you’re dealing with. This helps you choose the right way to fix it. Plaster walls are great, but they can get damaged over time. Knowing the different types of damage helps you fix them the right way. You might even be able to prevent future problems.
Hairline cracks are those tiny, thin lines you see on your walls. They’re usually not a big deal. They often look like spiderwebs. You’ll find them near the corners of ceilings or around doors. They happen because your house settles, the temperature changes, or the plaster shrinks a little. These cracks are superficial and don’t go deep into the plaster.
Medium to large cracks are bigger and wider than hairline cracks. They might mean there’s a more serious problem. These cracks can be caused by bigger shifts in your house’s foundation or maybe even water damage. If you see these, it’s a good idea to keep an eye on them. If they get bigger, you might need to call someone to check your plaster walls.
Holes and gouges are when pieces of plaster are missing. This can happen if something hits the wall or if the plaster gets old and weak. Small holes, like from nails, are easy to fix. Bigger holes need a little more work. Sometimes, water can get in and make the plaster fall apart, causing bigger holes. Here’s a list of common causes:
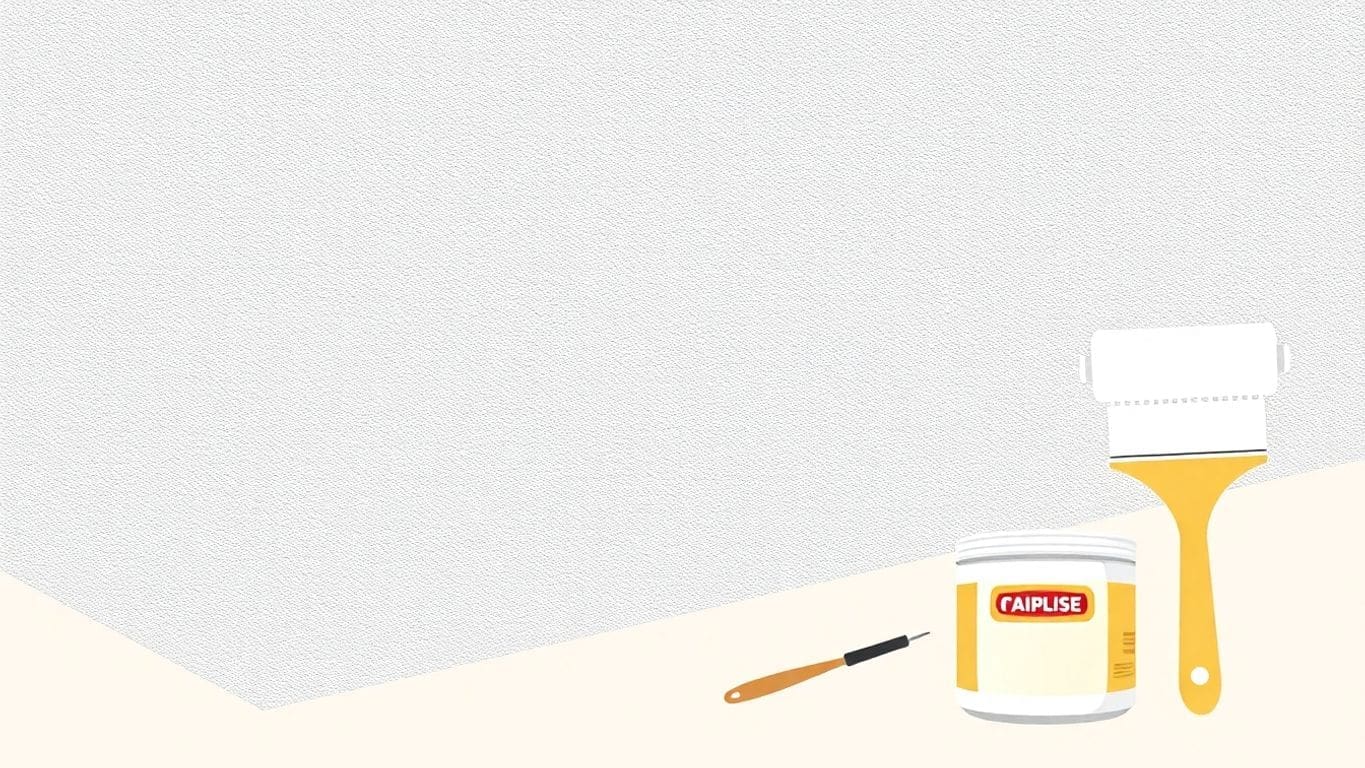
Before you start fixing those cracks, you need to get your tools ready. Having the right tools will make the job easier and help you get better results. Let’s look at what you’ll need.
First, you need the basics. These are the things you’ll use for almost every plaster repair job. Make sure you have these on hand before you even think about starting.
Sometimes, you need something extra to help the plaster stick. That’s where adhesives come in. Picking the right one is important for a lasting repair. For DIY water damage repair, you’ll want to make sure you have the right adhesive to prevent future issues.
Now, let’s talk about the tools that will help you apply the materials. These tools will make the job much easier and give you a professional finish.
Having the right tools and materials is half the battle. Take the time to gather everything you need before you start, and you’ll be much more likely to have a successful repair.
Before you start patching those cracks, you need to get your wall ready. Think of it like prepping a canvas before painting. A clean and prepped surface helps the repair last longer and look better. Skipping this step can cause problems later, like the patch not sticking or new cracks forming.
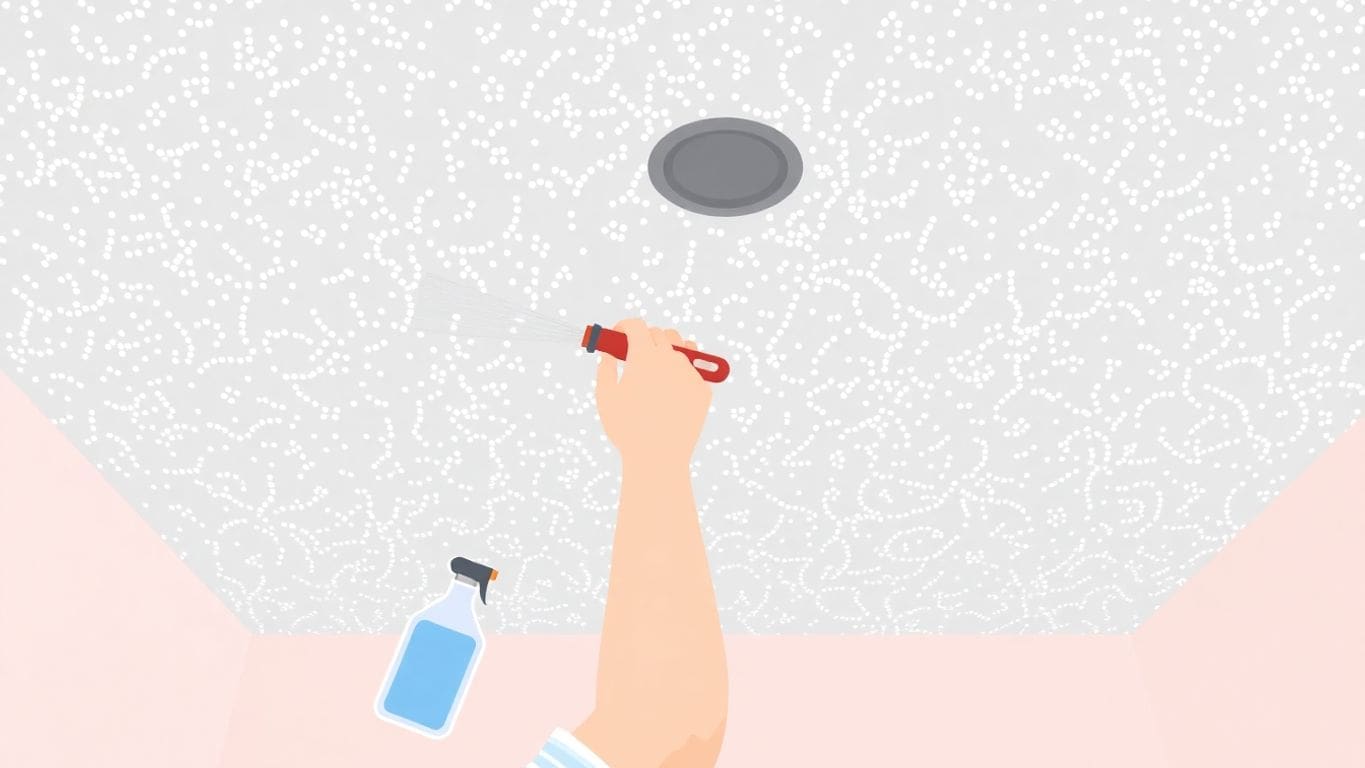
First things first, you need to clean the area around the crack. This gets rid of any dust, dirt, or grime that could stop the patching material from sticking. Use a soft brush or a damp cloth to gently wipe the wall. If there’s any grease, a mild soap and water solution can help. Make sure the wall is completely dry before moving on. A clean surface is key for a strong repair.
Next, check for any loose pieces of plaster around the crack. These need to go! Use a putty knife or a scraper to carefully remove any plaster that’s flaking or crumbling. You want to create a stable surface for the new patching material to grab onto. Be gentle, so you don’t make the crack bigger. After removing the loose stuff, vacuum up any debris to keep the area clean. This is important because loose plaster can prevent the new material from bonding correctly.
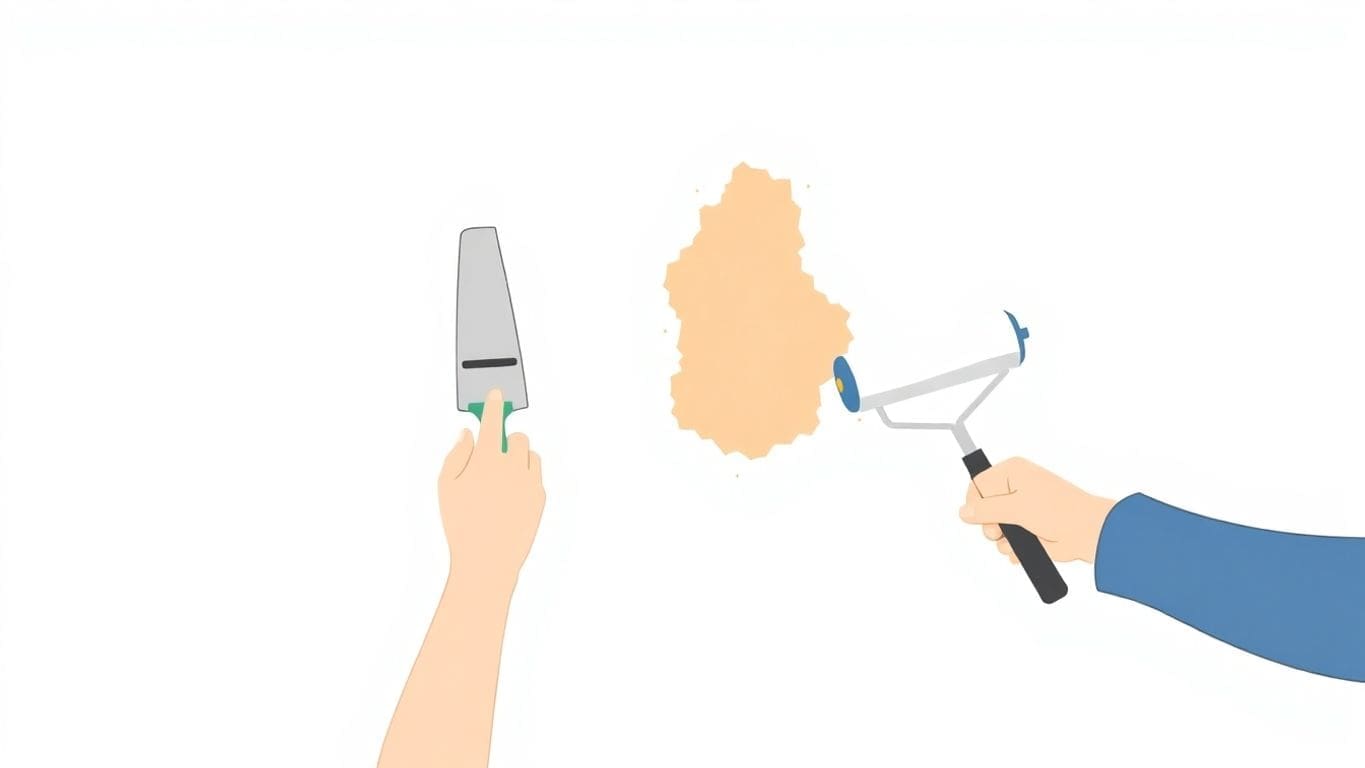
Priming is like putting glue on the wall before patching. It helps the patching material stick better, especially on old or damaged plaster. Use a brush or a small roller to apply a thin coat of plaster primer to the area you’re going to repair. Let the primer dry completely before moving on to the next step. This usually takes a few hours, but check the primer’s instructions for the exact drying time. Using a plaster primer ensures the patch adheres well and lasts longer.
Preparing your wall properly might seem like a pain, but it’s worth it. Taking the time to clean, remove loose plaster, and prime will make your repair stronger and less likely to crack again. It’s all about setting yourself up for success!
So, you’ve got some hairline cracks in your plaster walls? Don’t worry, it happens! These tiny cracks are usually easy to fix yourself. Here’s how to do it, step by step.
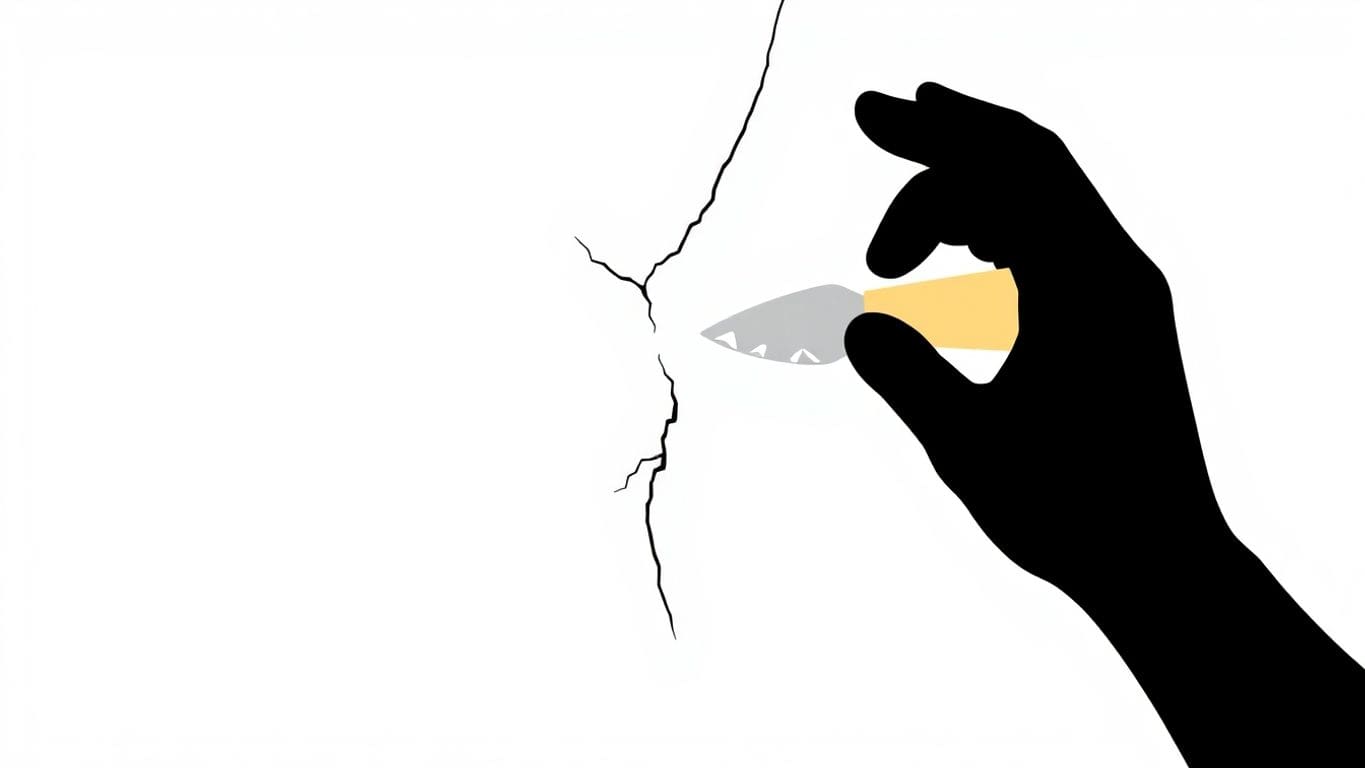
First, you need to widen the crack a little bit. I know, it sounds weird, but it helps the repair material stick better. Use a utility knife or a sharp tool to carefully make the crack slightly wider and create a small groove for the compound to sit in. Be gentle! You don’t want to make a big mess. Just score along the crack to open it up a bit. Vacuum any loose plaster or dust from the crack. This makes sure the area is clean for the next step.
Now it’s time to fill the crack. Get some joint compound (also called drywall mud) from your local hardware store. It’s like a paste that you use to patch walls. Use a small putty knife to scoop up some joint compound and spread it over the crack. Make sure to press the compound into the crack so it fills it completely. You want to slightly overfill the crack. This is because the compound will shrink a little as it dries. Smooth the compound out as best you can with the putty knife. Try to make it level with the rest of the wall. Don’t worry if it’s not perfect, you can fix it later.
After the joint compound is completely dry (usually takes about 24 hours), it’s time to sand it down. Use a fine-grit sandpaper to gently sand the patched area. The goal is to make it smooth and even with the rest of the wall. Be careful not to sand too much, or you’ll end up with a dip in the wall. Once you’re happy with the smoothness, wipe the wall down with a damp cloth to remove any sanding dust. Now, you’re ready to paint! Use a primer first, then paint the wall to match the existing color. And that’s it! Your hairline crack is gone!
Remember, patience is key. Don’t rush the process, and take your time to do it right. If you do, you’ll have a smooth, crack-free wall in no time.
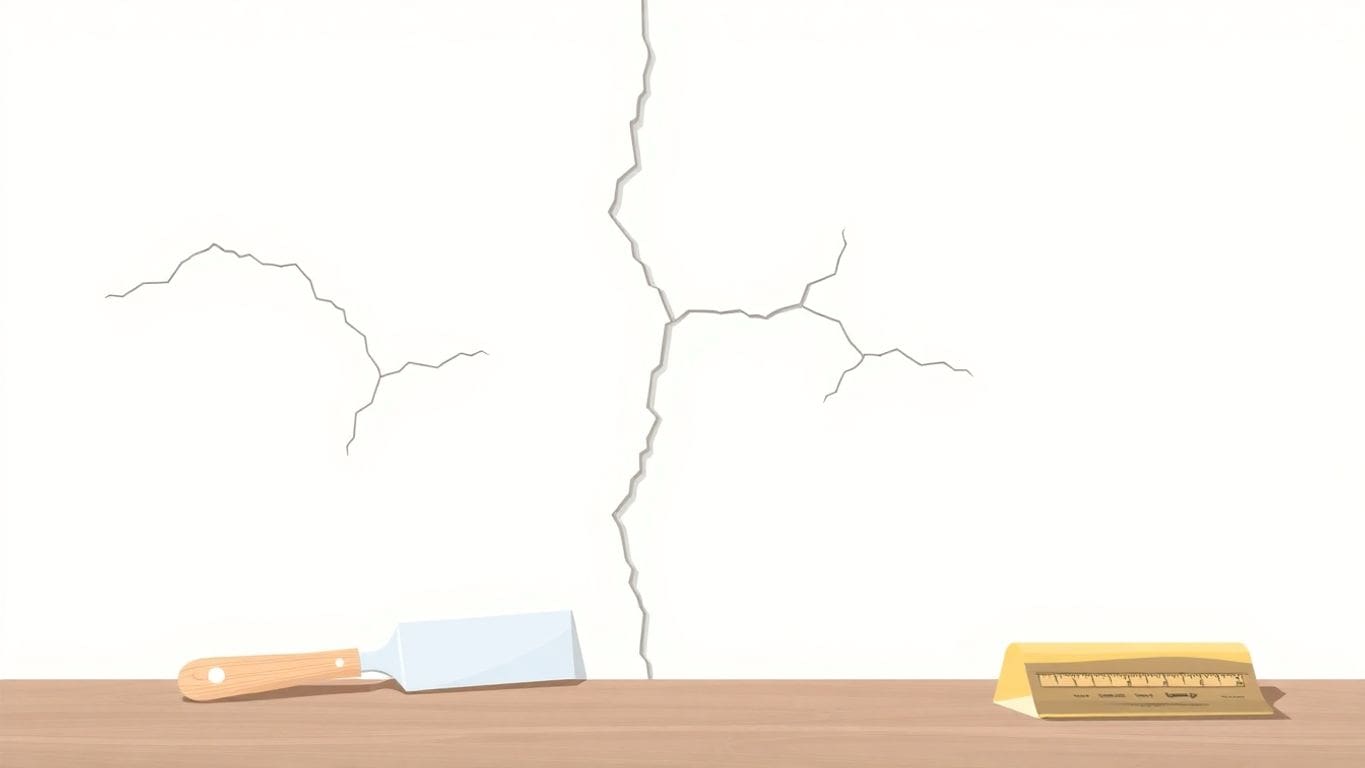
Plaster walls can crack in different ways. Knowing what kind of crack you’re dealing with helps you fix it the right way. Let’s look at some common types and how to handle them.
Hairline cracks are those tiny, thin cracks that look like spiderwebs. They’re often caused by the house settling or changes in temperature. These cracks usually aren’t a big deal, but you should still fix them to keep your walls looking good.
Here’s how to fix hairline cracks:
Deep cracks are wider and go further into the wall. They can be a sign of bigger problems, like structural issues. If you see a deep crack, it’s important to figure out what’s causing it before you try to fix it. Ignoring water damage can make the problem worse.
Here’s how to fix deep cracks:
If the deep crack keeps coming back, it could be a sign of a serious problem. You might need to call a professional to take a look.
Sometimes, cracks keep coming back even after you fix them. This usually means there’s an underlying issue that needs to be addressed. It could be a problem with the foundation, the framing, or even just the way the house settles. Recurring cracks can be frustrating, but don’t give up!
Here’s what to do about recurring cracks:
Mesh tape is great when you need extra strength for your plaster repair. It helps to keep cracks from coming back. Here’s how to use it:
Using mesh tape is like adding a bandage to a wound. It gives the plaster extra support while it heals.
Getting the texture right is key to making your repair look like it was never there. If your wall has a special texture, you need to match it. Here’s how:
Matching the texture takes time and patience, but it’s worth it for a perfect finish.
Sanding and sealing are the last steps to a smooth, long-lasting repair. Here’s what you need to do:
| Step | Description |
|---|---|
| Sanding | Smooth the surface with fine sandpaper. |
| Dusting | Remove dust with a damp cloth. |
| Sealing/Priming | Apply sealer to protect and prepare for paint. |
It’s easy to make mistakes when fixing plaster walls. Knowing what to avoid can save you time and money. Here are some common errors people make when trying to patch your plaster.
Not prepping the wall right is a big mistake. If you skip this step, the repair might not stick, or cracks could come back. Make sure you:
Skipping prep work is like building a house on a bad base. It might look okay at first, but it won’t last.
Using the wrong stuff can cause problems. For example, using drywall compound on plaster doesn’t work well. It can shrink and crack. Always use materials made for plaster repair. Also, when you mix plaster compound, make sure you follow the instructions.
Priming is important. It helps the paint stick better and makes the finish look even. If you don’t prime, the paint might not cover well, and you might need more coats. Also, the color might not look right. Always use a primer made for plaster before you paint.
Fixing plaster can cost different amounts. It depends on how bad the damage is and if you do it yourself or hire someone. Let’s look at the costs.
How much will it cost to fix your plaster? It depends! If you do it yourself, it’s cheaper. If you hire a pro, it costs more. DIY plaster repair usually starts around $5 to $10 per square foot. Hiring a professional can cost $55 to $120 per square foot for labor.
Several things change the price:
If you’re doing it yourself, you need to buy tools and materials. Here’s a list of things you might need:
Make sure you have enough money set aside for all these things. Joint compound is a must.
Don’t forget to add a little extra to your budget. You might need something you didn’t think of. It’s always good to be prepared.
If you hire a professional, labor costs can be a big part of the total price. Labor costs depend on:
Getting a few quotes from different pros is a good idea. This helps you find the best price. Remember, the cheapest price isn’t always the best. You want someone who does good work. If there is water damage repair involved, that will also affect the price.
Sometimes, fixing plaster walls is more than a DIY job. You might need to call in a pro. It’s okay to admit when a project is too big or complex. Let’s look at when it’s best to get professional help.
If you see big cracks, sagging ceilings, or walls that are bulging, these could be signs of structural problems. These issues can be dangerous and need a professional to check them out. Don’t try to fix these yourself. It’s better to be safe and get an expert opinion. They can find the root cause and make sure your home is safe.
Some plaster repairs are just too hard for the average person. If you have extensive damage, like large areas of missing plaster, or if you have a historic home with delicate plasterwork, it’s best to call a professional. They have the skills and tools to handle complex repairs without causing more damage. They also know how to match the old plaster so the repair looks seamless.
It’s important to be honest with yourself about your skills and time. If you’re not comfortable doing plaster repair, or if you don’t have the time, it’s okay to call a professional. It’s better to pay someone to do it right than to mess it up and have to pay even more later. Plus, professionals can often do the job faster and with better results.
Trying to save money by doing it yourself can sometimes backfire. If you’re not careful, you could end up making the problem worse and costing yourself more money in the long run. It’s often worth it to pay for professional help to ensure the job is done correctly the first time.
Plaster walls can last a long time if you take good care of them. It’s like taking care of anything else in your home. Regular care can help you avoid big problems later on. Let’s talk about how to keep your plaster walls in good shape.
Check your plaster walls every now and then. Look for new cracks or any changes. Finding problems early can save you time and money. It’s easier to fix a small crack than a big one. Here’s what to do:
Moisture is bad for plaster. It can cause the plaster to crack or even fall apart. Keep water away from your walls. Here are some ways to do that:
Keeping moisture away from your plaster walls is super important. It can help prevent a lot of problems and keep your walls looking good for longer.
Here are some other things you can do to keep your plaster walls in good shape:
Plaster can be harder to fix than drywall. Drywall is usually one layer, so you can cut out the bad part and put in a new piece. Plaster, though, is often many layers. This makes it trickier to repair plaster because you might mess up more than you planned when you try to fix it.
Plaster is usually stronger and lasts longer than drywall. It can handle more bumps and scrapes without getting damaged. Drywall is easier to dent or break. But, when plaster does break, it can be harder and more expensive to fix than drywall.
Fixing plaster often means using special skills to match the old texture. You might need to use special tools and materials. Drywall is easier to work with because you can use joint compound and tape. It’s also easier to sand drywall smooth.
Plaster is more resistant to water damage than drywall. If you have a leak, drywall can get ruined quickly. Plaster can hold up better, but it still needs to be fixed to prevent more problems.
Plaster repairs usually take about 24 hours to dry completely, but it can vary based on the thickness of the applied plaster.
Yes, you can use drywall compound on plaster walls, but it’s best to ensure the surface is well-prepared for a good bond.
Joint compound is a lighter material used for finishing drywall, while plaster is denser and used for creating a smooth wall surface.
If a crack is wider than 1/8 inch or keeps getting bigger, it might be a sign of a bigger problem and should be checked.
Yes, priming is important before painting plaster to help the paint stick better and prevent peeling.
You’ll need sandpaper, a putty knife, a utility knife, and possibly some drywall tape and joint compound.
You can fix small cracks yourself with the right tools and materials, but for big cracks or structural issues, it’s best to hire a professional.
To prevent cracks, keep your home well-ventilated, control humidity, and regularly check for any signs of water damage.

Business Owners: Join our insider newsletter for exclusive marketing strategies and growth opportunities for local services business.