
Understanding the Average Cost of Water Damage Repair Per Square Foot in 2024
Water damage can be a serious issue for homeowners, leading to costly repairs and potential health hazards. In 2024, understanding…
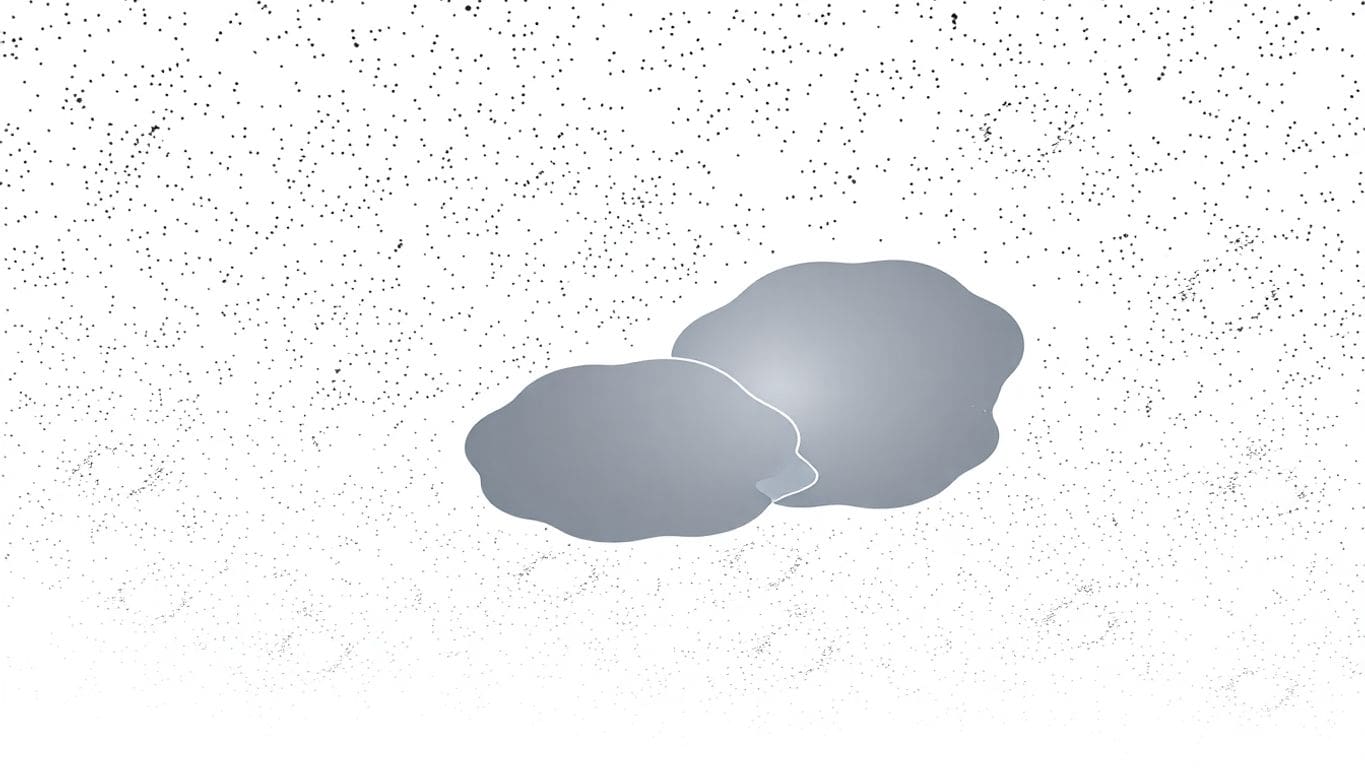
If you’ve noticed water stains or peeling paint on your textured ceiling, it’s important to act quickly. Water damage can worsen over time, leading to more serious problems. This guide will help you understand how to repair textured ceiling water damage effectively, step by step, whether you choose to do it yourself or hire a professional.
So, you’ve noticed something weird on your ceiling. It might be water damage. Look for these signs to be sure:
These are the big hints that water’s been doing a number on your ceiling.
Wondering how this happened? Here are some usual suspects:
Any of these can lead to water seeping into your ceiling.
Now, you gotta figure out how bad it is. Here’s a quick way to check:
If it looks serious, you might need a pro to take a look. It’s better to be safe than sorry.
Getting ready to fix your ceiling can feel like a big job, but breaking it down into steps makes it easier. Here’s how you can start:
First things first, you need the right tools. Make sure you have everything before you start. Here’s a list to get you going:
Having these tools handy will save you time and frustration.
Safety should be your top priority. Remember these key points:
Taking these steps can keep you safe while you work.
Before you start repairing, clear the area. Move furniture out of the way and cover the floor with a drop cloth. This keeps your stuff from getting dusty or damaged. Plus, it gives you more room to move around.
Preparing your space well can make the repair process smoother and more efficient. It’s like setting the stage for a successful project.
With all this done, you’re ready to tackle the ceiling repair. Take it step by step, and you’ll do great!

First things first, you gotta get rid of the loose stuff. Use a putty knife or a scraper to carefully peel off the damaged texture. Be gentle so you don’t mess up the good parts. It’s like peeling a sticker—go slow and steady.
Once you have all the damaged bits off, don’t just leave it lying around. Bag it up and toss it in the trash. If it’s a big job, you might need a big trash bag. Some folks recycle, but that’s up to you.
After you’ve cleared the junk, it’s time to clean up. Wipe down the area with a damp cloth to get rid of dust and dirt. If there’s mold, you might need some cleaner. Make sure it’s all clean before moving on.
Take your time with this step. A clean surface makes the next steps way easier.
That’s it! Now you’re ready to move on to fixing the ceiling itself. Easy, right? Just keep at it and you’ll do fine.
First, you gotta check if your ceiling is still strong. Look for cracks or sagging spots. These are signs your ceiling might be weak. Use a flashlight to see better. If you find any big problems, it might be time to call in the pros. Don’t ignore these signs, or you could end up with a bigger mess.
If the ceiling looks weak, you need to make it strong again. You can add some support beams or brackets. Here’s a simple list to help:
This will help keep your ceiling from falling down.
Once the ceiling is strong, it’s time to put up some drywall. This is like a fresh start for your ceiling. Follow these easy steps:
Make sure the drywall is flat and smooth. This will make the next steps easier.
Sometimes, fixing the ceiling feels like a big job. But if you take it step by step, it’s not so bad. Just keep going and you’ll get it done.
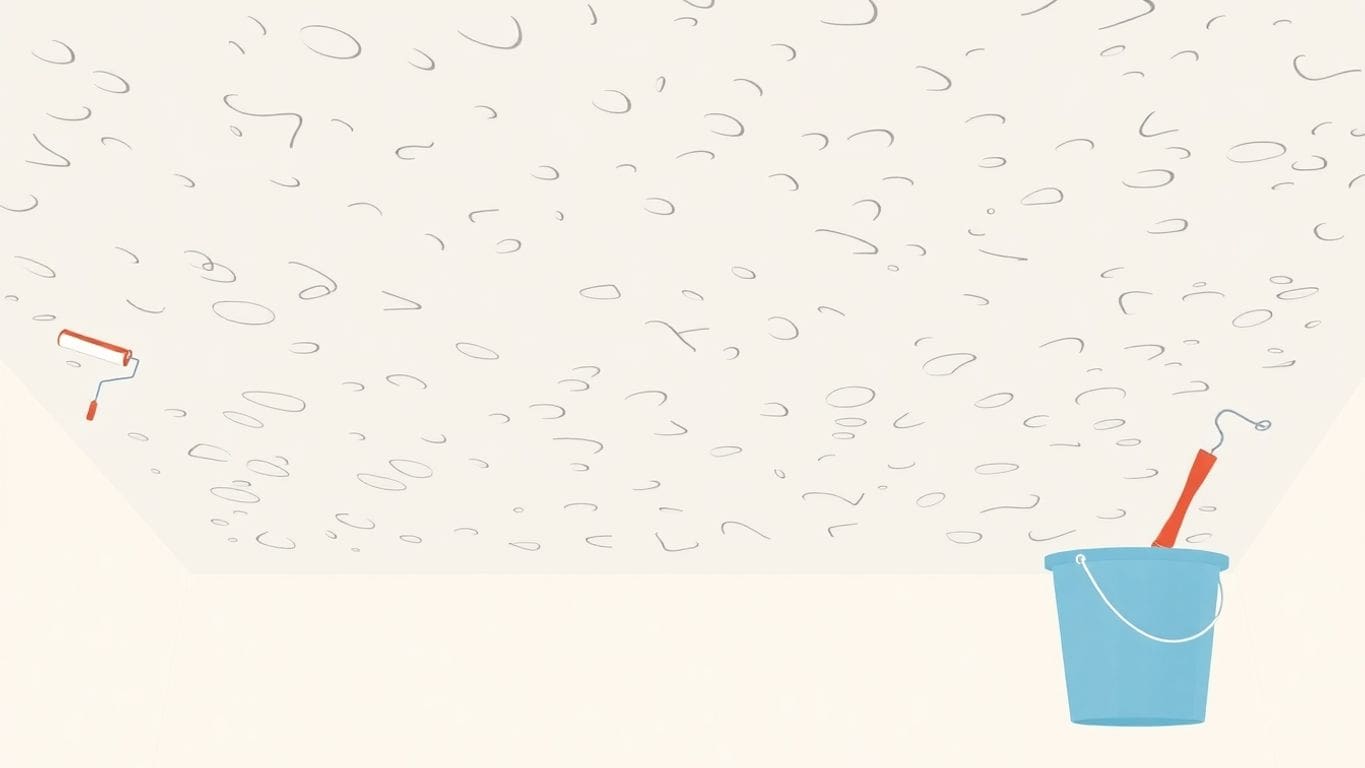
So, you’ve fixed the ceiling structure. Now, it’s time to make it look nice again with some texture. Let’s dive into how you can do it yourself.
First off, decide on the texture style you want. There’s a bunch to pick from, like knockdown, popcorn, or orange peel. Think about what matches the rest of your home. Pick a style that blends well with your existing ceiling.
Next, you’ll need to mix the texture compound. Follow the instructions on the package. Usually, you just mix water and powder. Stir until it’s smooth, like pancake batter. If it’s too thick, add a bit more water.
Now, grab a roller or a spray gun to apply the texture. Start in one corner and work your way across. Try to keep it even, but don’t worry if it’s not perfect. It adds character! Here’s a simple way to do it:
Restoring a textured ceiling isn’t rocket science. Take your time and enjoy the process. You’ll be proud of what you accomplish.
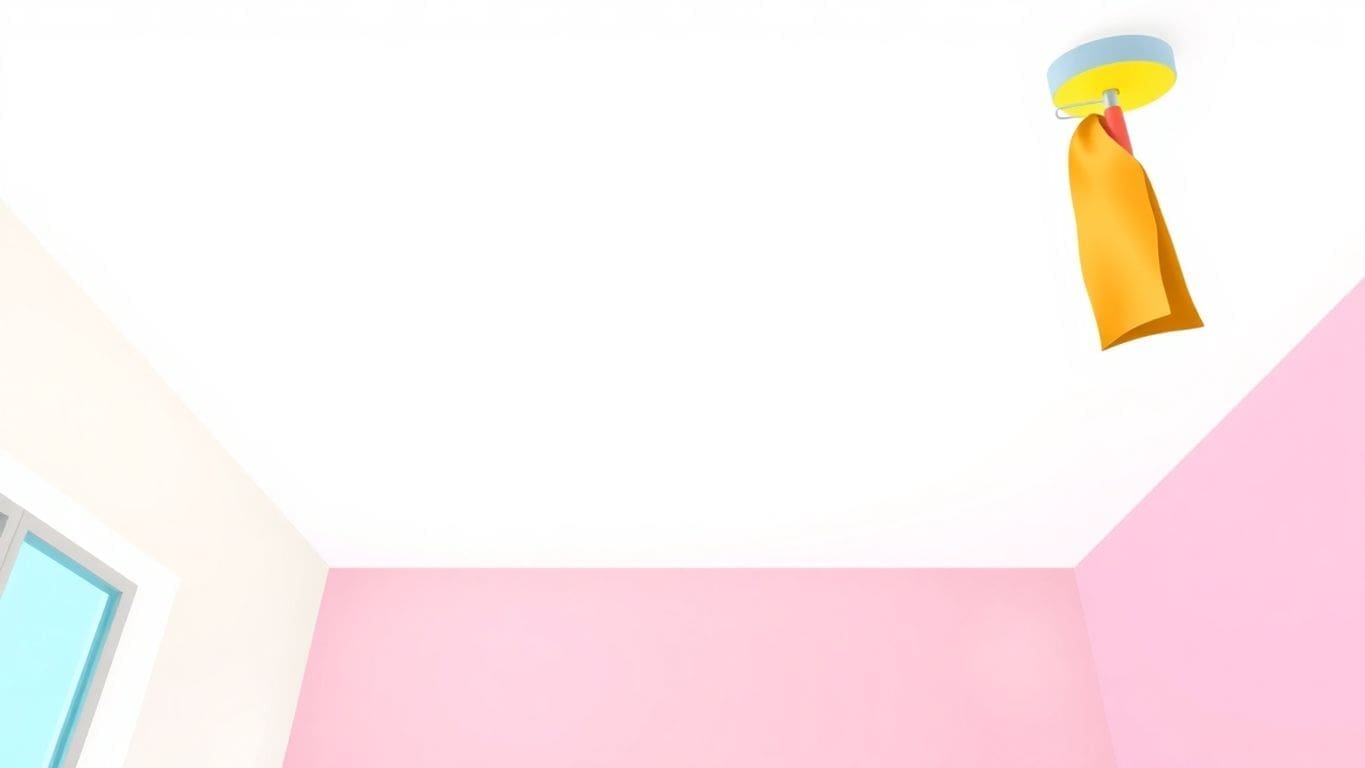
So, you’ve fixed the ceiling, and now it’s time to paint. First, pick the right paint. Ceiling paint is different from wall paint. It’s thicker and less likely to drip. Look for paint labeled as ceiling paint. You might want a flat finish because it hides flaws better.
Blending the new paint with the old can be tricky. Here’s how you do it:
To get a smooth finish, make sure the surface is clean and dry. Sand any rough spots before you start. It helps to use a primer first, especially if you patched large areas.
A good primer can make a big difference, helping the paint stick better and look even. Don’t skip this step if you want a nice, even look.
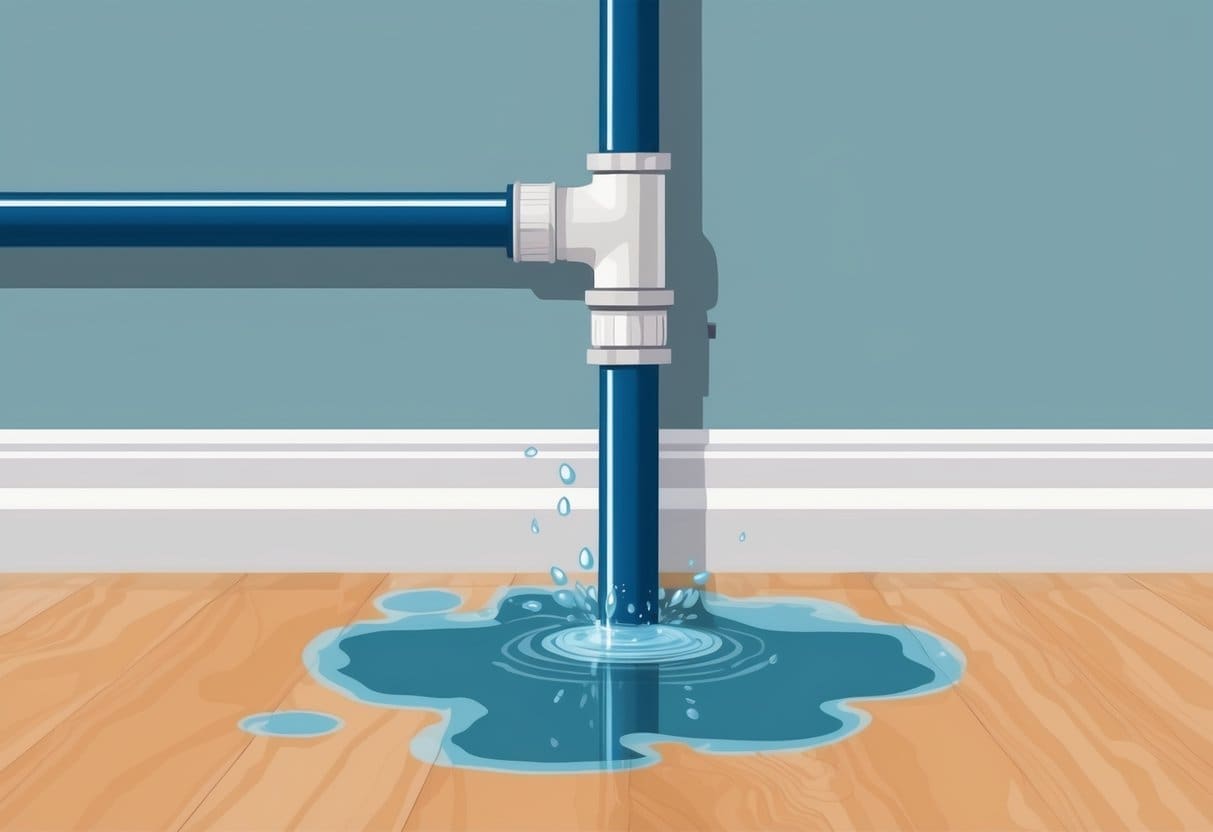
Spotting where water might sneak into your home is key. Look out for leaks in pipes and check for cracks in the walls or foundation. Dark spots or weird bumps on the ceiling or floor are big red flags. Keep an eye on these things to catch problems early.
Good airflow can keep your home dry. Open windows when you can and use fans to move air around. In bathrooms and kitchens, exhaust fans are your best friends. They help get rid of moisture from showers or cooking.
Keep up with small repairs to avoid big headaches later. Here’s a simple list to follow:
Regular maintenance can save you from expensive repairs down the road. It might seem like a hassle, but it’s worth it to keep your home safe and sound.
By watching for water trouble, keeping air moving, and staying on top of repairs, you’ll have a better shot at keeping your home dry and comfy. Water damage is a pain, but with these tips, you can keep it at bay.
Sometimes, fixing a textured ceiling isn’t a simple task. If the damage is big or if you’re not sure how to fix it, think about calling in the pros. They have the right tools and know-how to get the job done right. Plus, they can spot problems you might miss. So, if you’re feeling overwhelmed or the damage looks really bad, it might be time to get some help.
Finding the right contractor can be tricky. Here are some tips:
When you talk to them, ask lots of questions. You want to make sure they’re the right fit for your project.
Knowing how much the repair will cost is important. Costs can vary based on how much damage there is and what needs to be fixed. Here’s a simple way to think about it:
Sometimes, spending a bit more now can save you from bigger problems later. It’s like an investment in your home’s future.
In the end, whether you go with a pro or do it yourself, make sure you understand what you’re getting into. Weigh the costs and benefits before making a decision. If you’re ever unsure, don’t hesitate to bring in someone who knows what they’re doing. It’s better to be safe than sorry when it comes to your home.
So, you’re staring at that ugly water spot on your ceiling and thinking, "Can I fix this myself?" Here’s the deal: if it’s just a small stain or a tiny crack, you might be able to handle it. But if the ceiling is sagging or there’s a lot of damage, it could be tricky. Ask yourself:
Let’s talk money. Doing it yourself can save you cash, but only if you do it right. Here’s a rough idea:
| Option | Cost |
|---|---|
| DIY | $50 – $200 (materials only) |
| Pro | $500 – $2,000 (depending on damage) |
DIY is cheaper upfront, but if you mess up, fixing mistakes can get pricey. Professionals charge more, but they usually get it right the first time.
Time is money, right? Think about how long you want this project to take. DIY might take a weekend or more, especially if you’re learning as you go. Pros can often get it done quicker because they know what they’re doing. Consider:
Taking on a DIY project can be fun and rewarding, but also a bit of a gamble. Weigh the pros and cons before you decide. Sometimes, letting the experts handle it is the smart move.
Keeping your textured ceiling in good shape isn’t too hard. It just takes a little time and care. Here’s how you can do it.
Taking care of your textured ceiling is like looking after any other part of your home. A little effort goes a long way. Regular checks and cleaning can keep your ceiling looking great for years.
Remember, if you ever feel unsure, it’s okay to ask for help. Better safe than sorry!
You might notice stains, discoloration, or peeling paint on your ceiling. If the texture feels soft or wet, that’s a sign of water damage.
Water damage can happen due to leaks from pipes, roof issues, or even high humidity. Sometimes, heavy rain can also cause water to seep in.
Look for large stains or sagging areas. If it’s just a small spot, it might be easy to fix. But if there are many spots or structural issues, it could be serious.
You will need tools like a putty knife, a scraper, a drill, and safety gear like gloves and goggles. Also, have some drywall and texture compound ready.
Start by wearing safety gear. Use a scraper to gently lift the damaged texture. Be careful not to hurt yourself or damage the area around it.
It depends on how bad the damage is. If it’s small, you can try fixing it yourself. For bigger problems, it’s best to hire a professional.
To avoid future issues, check for leaks regularly, keep your roof in good shape, and make sure your home has good air flow.
If you spot mold, it’s important to clean it up right away. You might need to use special cleaning products or call a professional to handle it.

Business Owners: Join our insider newsletter for exclusive marketing strategies and growth opportunities for local services business.