Top Signs Your Home Has Water Damage: How to Identify the Hidden Threats
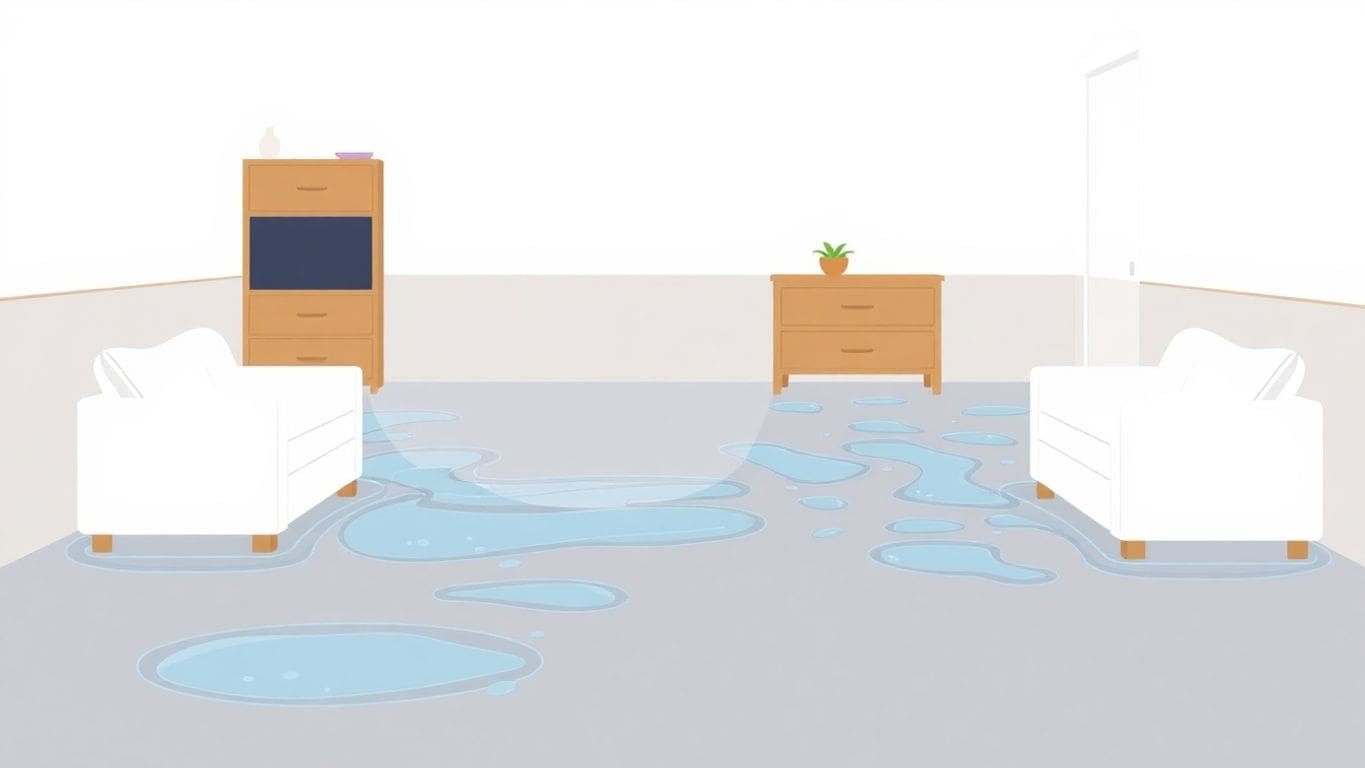
Water damage can sneak up on you, often hiding in places that are hard to see. If left unchecked, it…
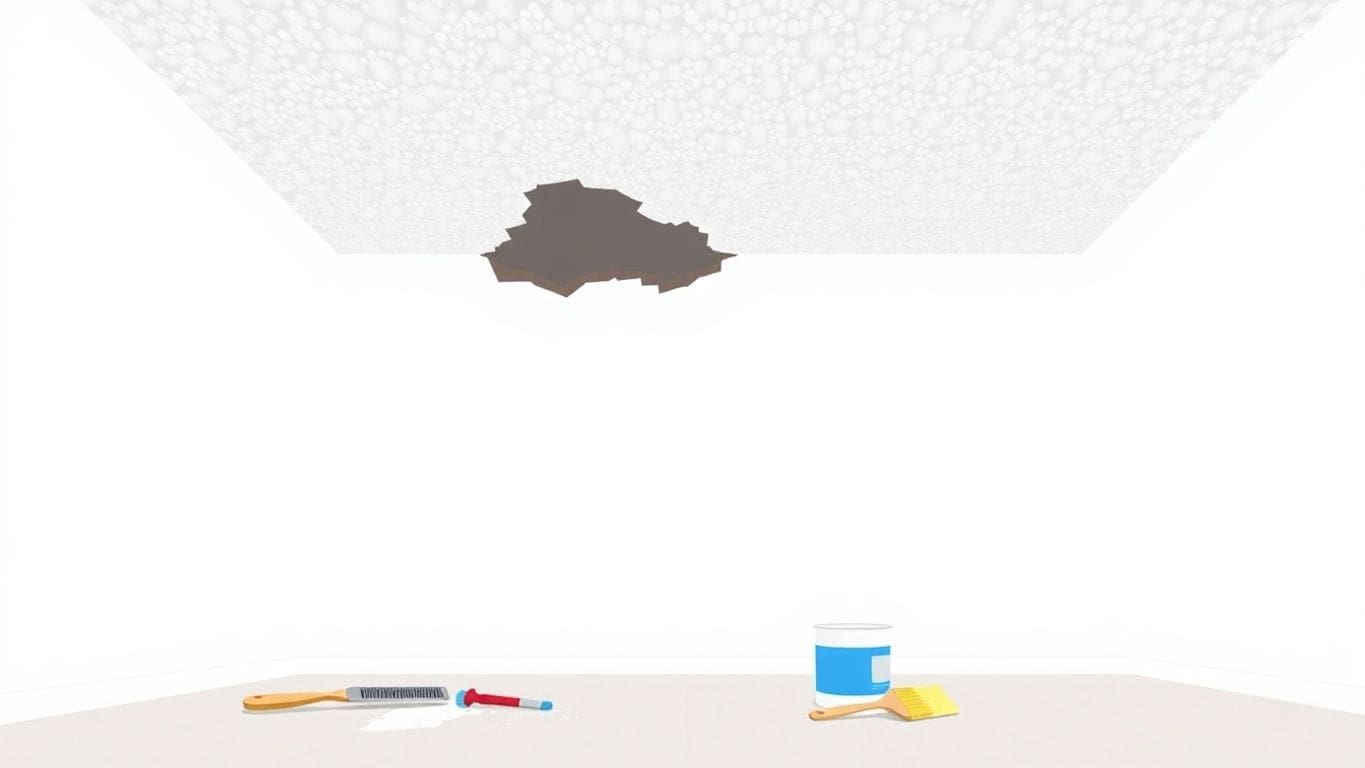
Popcorn ceilings, those bumpy surfaces that were super trendy back in the day, can be a real headache when they get water damage. If you’ve ever stared up at those unsightly stains and wondered how to tackle the mess, you’re not alone. Fixing water damage on popcorn ceilings might seem daunting, but with the right steps, it’s totally doable. Whether it’s a leaky roof or a plumbing mishap causing the trouble, addressing it before it gets worse is key. Let’s dive into how you can fix popcorn ceiling water damage effectively without tearing your hair out.
Popcorn ceilings, popular from the 1950s to the 1980s, can hide many issues, especially water damage. Water stains often come from a few common sources:
Spotting water damage early can save you a lot of trouble. Look for these signs:
If you notice any of these signs, it’s time to take action. Identifying signs of water damage early is crucial for early intervention.
Ignoring water damage can lead to bigger problems. Here’s why you shouldn’t wait:
"Don’t ignore water damage on your popcorn ceiling. It might seem minor now, but it can lead to major headaches later."
Before you dive into fixing that popcorn ceiling, it’s super important to keep safety in mind. Let’s talk about some key steps you should take.
If your home was built before the 1980s, there’s a chance your popcorn ceiling might contain asbestos. This is a harmful material that could cause serious health issues if disturbed. It’s best to have a professional check your ceiling for asbestos. If it’s present, you should hire a licensed expert to remove it. They know how to handle it safely, so you and your family stay protected.
Safety gear is your best friend when you’re working on ceiling repairs. Make sure to wear:
Having the right gear can make a big difference in keeping you safe.
When you’re working with paints or cleaning solutions, good airflow is crucial. Open windows and doors to let fresh air in. You might also want to use fans to help circulate the air. This helps reduce the risk of inhaling fumes and keeps the working area comfortable.
Remember, taking the time to set up a safe work environment helps prevent accidents and keeps your home a safe place to be.
By following these precautions, you’re not just protecting yourself but also ensuring that your repair work goes smoothly. It’s all about being prepared and staying safe while getting the job done.

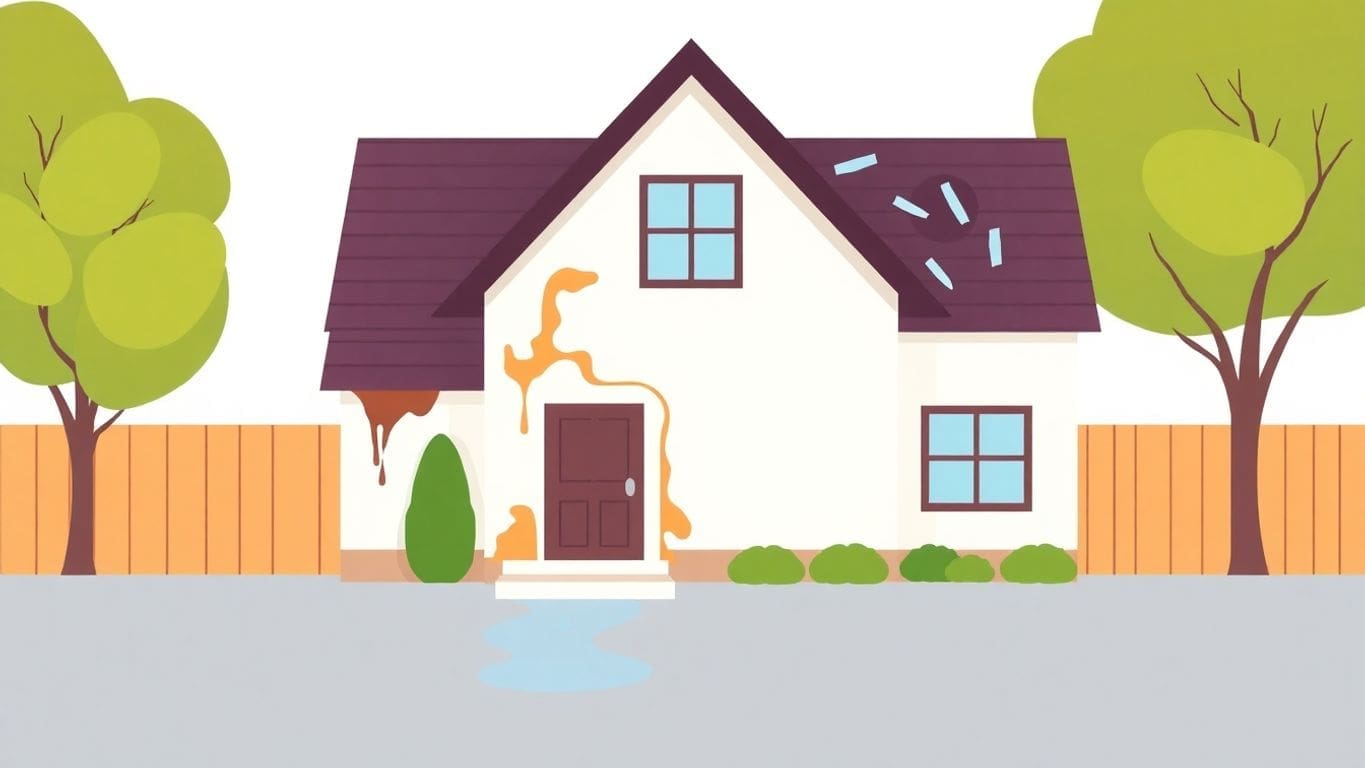
Roof leaks are sneaky little problems that can cause big headaches. Water can slip through damaged or missing shingles, worn-out flashing, or even clogged gutters. To check for roof leaks, start by looking for water stains on your ceiling. These stains might be brownish or yellowish and usually grow over time. If you can, safely climb up to your attic during daylight and look for any spots where light peeks through. That’s a sign of a hole that water can also get through. Don’t forget to check your roof after heavy rain; that’s when leaks are most obvious.
Plumbing problems are another common source of water damage. Leaky pipes, dripping faucets, or busted plumbing can all lead to water damage on your ceilings. Listen for the sound of dripping water when everything else is quiet. Check under sinks and around toilets for any signs of moisture or leaks. If you see any watermarks or peeling paint on your ceiling, it might be time to inspect your plumbing. Remember, even a tiny leak can cause big damage over time.
Condensation happens when warm, moist air meets a cool surface. In homes, this can cause water to collect on ceilings, especially in rooms like bathrooms and kitchens where humidity is high. To tackle condensation, make sure your home is well-ventilated. Use exhaust fans during and after showers or while cooking. If you notice water droplets forming on your ceiling, it might be time to invest in a dehumidifier to keep the air dry. Keeping your home well-ventilated and dry can help prevent condensation-related damage.
Tip: Regularly check your home for signs of water damage, like stains or musty smells. Early detection can save you from costly repairs.
For more insights on how different types of water damage can affect your home, including clean, gray, and black water damage, understanding these can help you prevent and address issues effectively.
Before you jump into fixing your popcorn ceiling, you gotta get the area ready. This step is important to make sure your repairs go smoothly and last. Here’s how you can do it:
First things first, clear out the room as much as you can. Move furniture out if possible, or at least push it to one side and cover it with plastic sheeting. This keeps everything safe from dust and debris. Plus, it gives you more space to work.
Next, you need to clean and dry the damaged spot. Use a cloth to wipe away any dust or loose materials. If the area is damp, let it dry completely. You can use a fan or a dehumidifier to speed things up. Make sure the area is dry before moving on.
Here’s a quick list of what you might need:
Having everything ready before you start will save you time and hassle.
Proper preparation is not just a step; it’s the foundation of a successful repair. Skipping this can lead to more problems down the road, so take your time to do it right.
Water stains on your popcorn ceiling can be quite an eyesore. First, make sure you fix the source of the water leak to prevent further damage. Once the area is dry, use an oil-based stain-blocking primer. This will stop the stain from showing through your paint. You might need two coats for the best results. After priming, apply a coat of ceiling paint with a brush or roller that matches the rest of your ceiling.
If parts of your popcorn ceiling have come loose, don’t worry. You can fix it using a popcorn ceiling repair spray or a simple mix of white glue and water. Spray or dab the solution onto the loose texture, then press it back into place. Be sure to wipe away any extra glue with a clean cloth.
Once you’ve patched and reattached the texture, you’ll need to blend the repair with the rest of the ceiling. Use a popcorn ceiling patching compound designed to mimic the original texture. Apply it with a roller or texture sprayer following the manufacturer’s directions. Remember, it might be tricky to get the exact texture, but with patience, you can achieve a seamless look.
Repairing a popcorn ceiling might seem daunting, but with the right approach, you can tackle it yourself. Take your time and pay attention to detail to ensure a smooth finish.
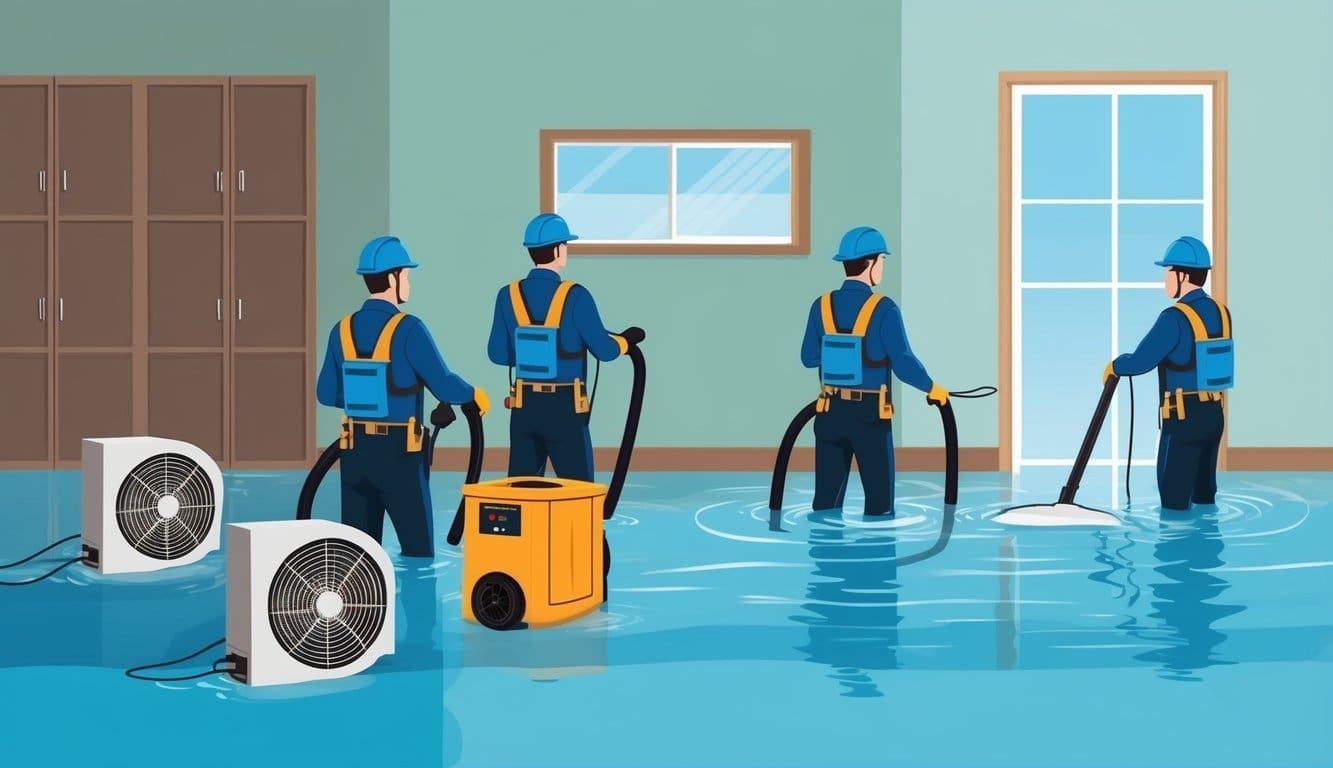
For more detailed guidance on handling water damage, consider exploring effective water damage restoration techniques that ensure safety and prevent future problems.
When it comes to painting popcorn ceilings, you want to choose a paint that sticks well and doesn’t weigh down the texture. Flat or matte finishes are often best because they hide imperfections and don’t reflect light, which can highlight flaws. Avoid glossy paints as they can make the texture look uneven. If you’re unsure, ask for a paint that’s specifically labeled for ceilings.
Painting a popcorn ceiling can be tricky, but with the right approach, it’s doable. Here’s a simple way to get it done:
To get a smooth, even look, it’s important to keep a few things in mind:
Taking your time with these steps can make a big difference. A well-painted ceiling can really freshen up a room and make it feel new again. Remember, patience is key!
Sometimes, the damage is just too much for a DIY fix. If your popcorn ceiling is sagging, has large cracks, or you notice the ceiling feels soft or spongy, it’s time to call in the pros. These are signs of serious water damage that could mean structural issues. Trying to fix this yourself might make it worse, and it’s best to let an expert handle it.
If you’ve tried everything and that pesky leak keeps coming back, it might be time to get help. Persistent leaks can cause ongoing damage and even lead to mold. A professional can find the source of the leak, whether it’s a plumbing issue or a roof problem, and fix it for good.
Older homes might have asbestos in the popcorn texture. If your house was built before the 1980s, there’s a chance it could be hiding in your ceiling. In this case, don’t mess with it yourself. Asbestos can be dangerous when disturbed. A licensed professional can test for asbestos and safely remove it if needed.
It’s always better to be safe than sorry. If you’re unsure about the extent of the damage or the presence of asbestos, reaching out to a professional is the best course of action. They have the tools and knowledge to handle it safely and effectively.
When you’re dealing with water damage, understanding the average cost of water damage repair can help you decide whether to DIY or hire a pro. Remember, sometimes spending a little more upfront can save you a lot in the long run.

Keeping your popcorn ceiling clean is easier than you think. Use a soft-bristled brush or a vacuum with a brush attachment to gently remove dust. This helps prevent dirt buildup that can dull your ceiling’s appearance. Remember, a little cleaning goes a long way.
High humidity can be a sneaky enemy for your ceiling. Use dehumidifiers or exhaust fans in places like bathrooms and kitchens. This helps keep moisture at bay, reducing the risk of water damage.
Check your popcorn ceiling regularly for any signs of damage or water stains. Catching issues early can save you a lot of trouble down the road. If you spot anything unusual, it might be time to investigate further.
Keeping an eye on your ceiling isn’t just about maintaining looks—it’s about catching problems before they spiral out of control. A little attention now can prevent big headaches later.
When you’re fixing a popcorn ceiling, one big mistake is using too much water. Too much water can make the ceiling sag or even fall apart. Use just enough to dampen the area. If you have to remove a stain, use a spray bottle to lightly mist the spot. Let it dry completely before moving on.
Picking the wrong materials can mess up your repair job. If you use the wrong kind of paint or texture, it might not match the rest of the ceiling. Always check what materials are best for popcorn ceilings. Look for products that say they are specially made for this type of texture.
Safety is super important. Before you start, make sure you have all the right gear. Wear a dust mask, goggles, and gloves. If your house was built before 1980, it might have asbestos, which is dangerous. You should get it tested before you start any work.
Remember, fixing a popcorn ceiling isn’t just about making it look good. It’s also about keeping your home safe and sound. Take your time and do it right to avoid bigger problems later.
If you’re not sure about doing it yourself, think about calling a pro. They can help you avoid these common mistakes and get the job done right.
For more on how to prevent water damage and keep your home safe, check out this guide on water damage prevention.
When tackling popcorn ceiling water damage, having the right tools is key. Here’s a list of what you’ll need:
Choosing the right products can make or break your repair job. Consider these options:
Safety should always come first, especially when working overhead. Make sure you have:
Before you start your repair, double-check that you have all necessary tools and materials. Preparation is half the battle when it comes to successful DIY repairs.
When you’re thinking about fixing a popcorn ceiling yourself, it’s important to know what it might cost. DIY repairs can save you money, but you need to budget for materials and tools. Here’s a quick rundown of common expenses:
Don’t forget about any safety gear you might need, like masks and goggles.
Taking on a DIY project means you have control over the costs, but it also requires time and effort. Weighing these factors will help you decide if it’s the right choice for you.
Hiring a pro can be more expensive, but it often saves time and hassle. When you get quotes from different companies, keep these things in mind:
Even with a plan, surprises can pop up. It’s wise to set aside a little extra money just in case. Consider these potential extra costs:
In the end, being prepared helps you handle any unexpected turns during your ceiling repair project.
Water damage on popcorn ceilings can be caused by roof leaks, plumbing issues, or condensation from high humidity areas.
Look for yellow stains, peeling texture, or sagging areas on the ceiling, which are signs of water damage.
It can be safe if you’re cautious, but older ceilings may contain asbestos, so testing and professional help might be needed.
You’ll need a ladder, protective gear, stain-blocking primer, ceiling paint, and possibly a popcorn ceiling repair spray.
Use a popcorn ceiling patching compound and apply it with a roller or texture sprayer to blend with the existing texture.
Call a professional if there’s extensive damage, potential asbestos, or persistent leaks that you can’t fix yourself.
Yes, you can paint over it, but use a thick-nap roller and be careful not to damage the texture.
Regularly clean it, control humidity, and inspect for leaks or damage to catch problems early.

Business Owners: Join our insider newsletter for exclusive marketing strategies and growth opportunities for local services business.