
Essential Guide on How to Fix Hairline Cracks in Drywall Ceiling Effectively
If you’ve noticed some hairline cracks in your drywall ceiling, you might be wondering if it’s a big deal or…
Owning an RV is a fantastic way to see the world, but it comes with its own set of challenges. One big issue many RV owners face is water damage to the ceiling. It’s not just a small problem you can ignore; it can lead to serious damage and costly repairs if not taken care of. This guide will walk you through the steps on how to repair RV ceiling water damage, helping you keep your RV in top shape for all those adventures on the road.
Water leaks in your RV can come from various sources. The most common culprits are roof issues. Over time, seals and caulking can crack, letting water seep inside. Tree branches or debris can also puncture the roof, especially during storms. Improper installation of roof fixtures like vents or antennas can lead to gaps where water can enter.
Weather plays a big role in causing water damage. Heavy rain, snow, and even high winds can stress your RV’s roof. Hail can cause dents or cracks. In hot climates, the sun can dry and crack the roof materials, making them more prone to leaks when it rains.
Ignoring small problems can lead to bigger issues. Routine checks and maintenance are vital. If you don’t regularly inspect your roof, small leaks can go unnoticed, leading to significant damage over time. Regular maintenance helps catch these issues early, saving you from costly repairs later.
Keeping an eye on your RV’s roof and doing regular maintenance can prevent most water damage issues. It’s all about staying ahead of potential problems before they become serious.
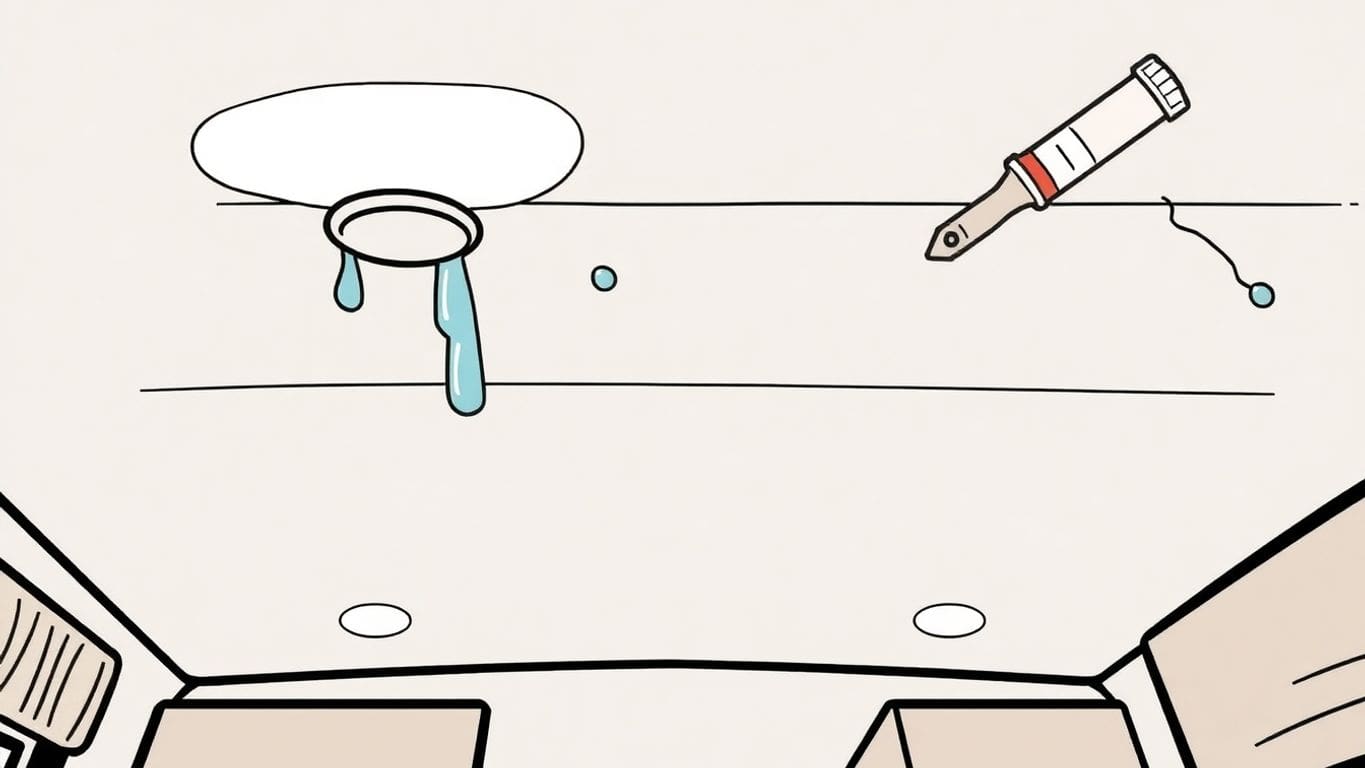
One of the first things you might notice when there’s water damage in your RV is water stains. These usually show up as brown or yellow spots on your ceiling or walls. They’re a clear sign that water is sneaking in from somewhere, likely through the roof. If you see these, it’s time to take a closer look at your RV’s roof and seals.
A musty smell in your RV isn’t just unpleasant; it’s a warning sign. This smell often means there’s mold or mildew growing somewhere, thanks to moisture getting inside. Mold loves damp, dark places, so if you catch a whiff of that musty odor, it’s a good idea to start searching for any hidden leaks or damp spots.
When you walk around inside your RV, pay attention to how the floor feels. If you notice any soft spots, especially in the ceiling or walls, it could mean the structure is weakened by water damage. This happens when water seeps in and starts to break down the materials inside your RV. It’s important to fix these areas quickly to avoid bigger problems down the road.
Remember, catching water damage early can save you a lot of hassle and money. Regular checks can help you spot these signs before they turn into major repairs. If you find any of these issues, you might want to assess the extent of damage to decide if you can handle it yourself or if it’s time to call in a pro.
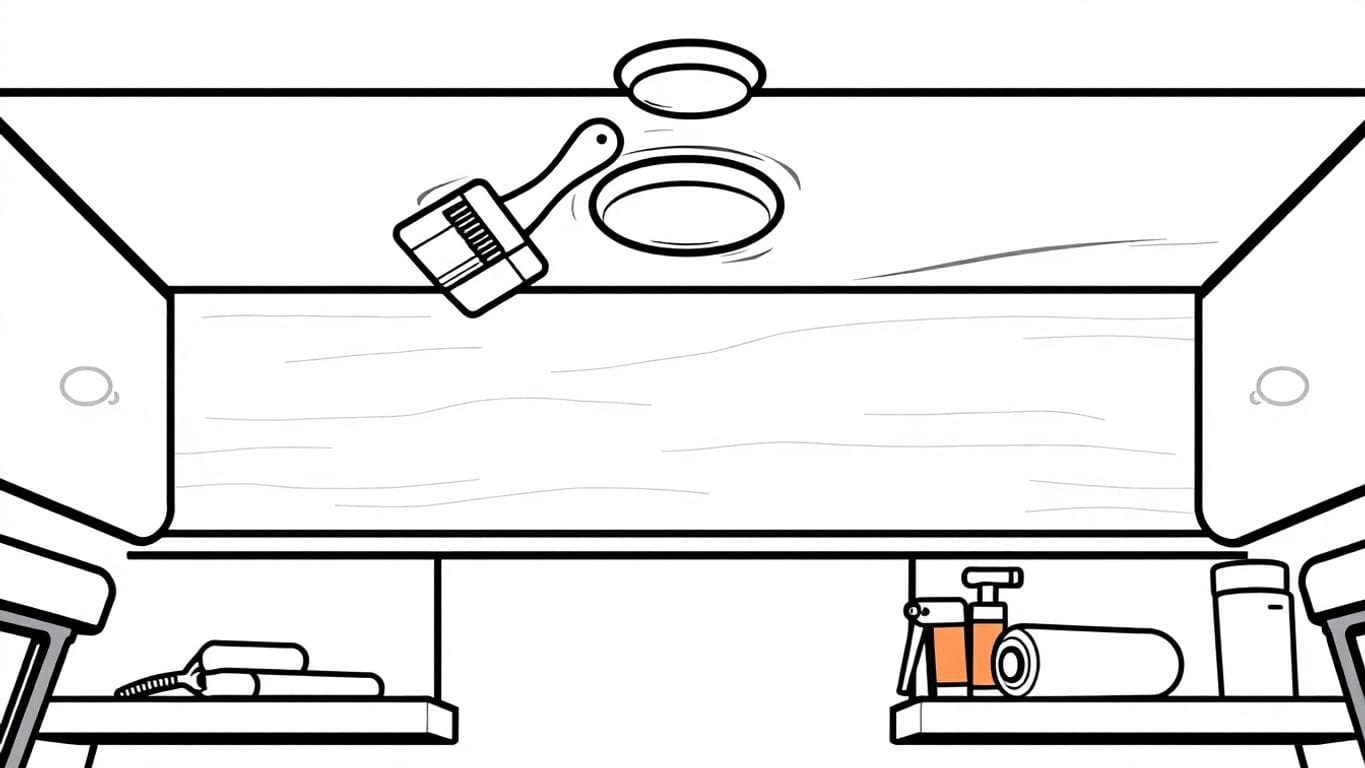
Repairing water damage in your RV’s ceiling can seem daunting, but having the right tools makes it manageable. You’ll need a few basics to get started:
These tools are your allies in tackling ceiling water damage. Always prioritize safety by using a sturdy ladder and proper gear.
Sealants are a must when fixing water damage. They help prevent future leaks and seal up any current issues. Here’s what to consider:
Choosing the right sealant depends on your RV’s roof material and the extent of the damage. It’s worth investing in a high-quality product for long-lasting results.
Safety should be your top priority. Before you begin any repair work, make sure you have:
Remember, working on an RV ceiling can be tricky. Take your time, use the right equipment, and don’t rush the process. Your safety is more important than a quick fix.
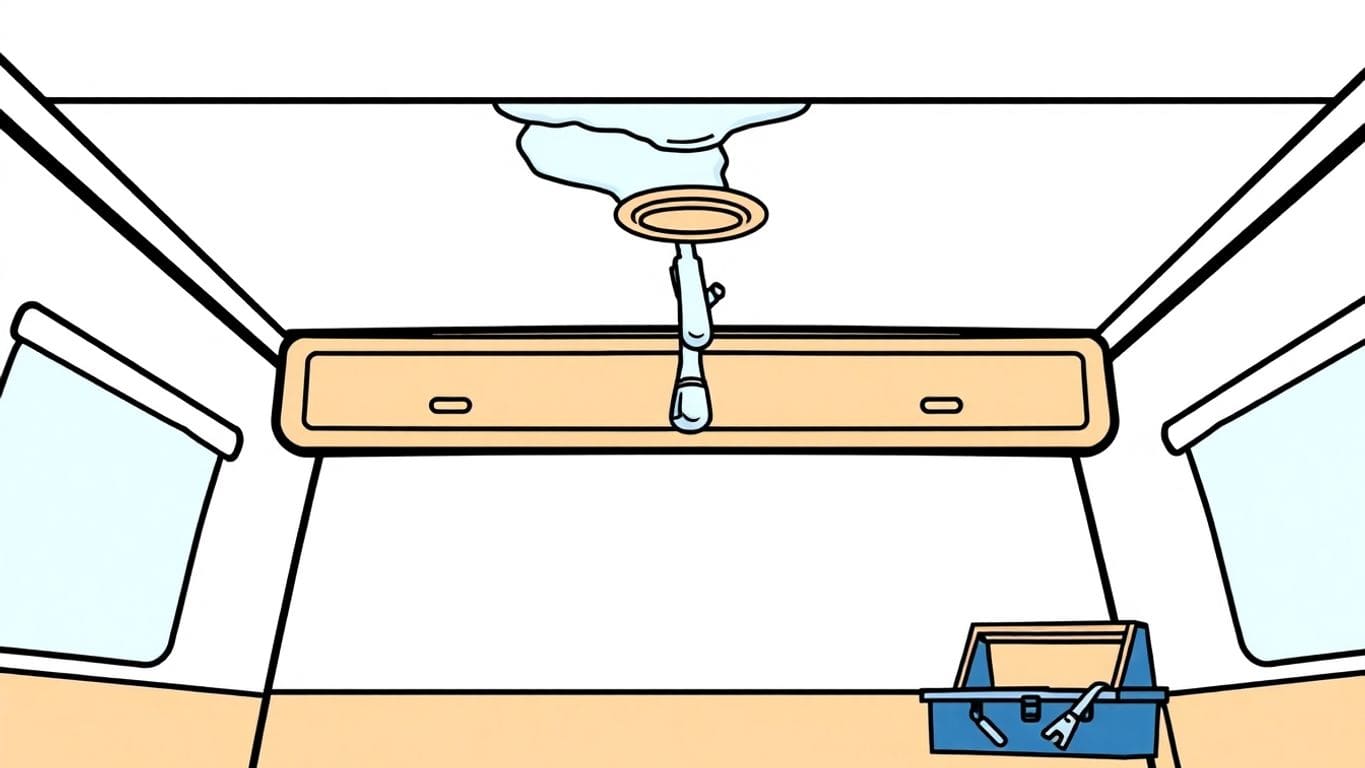
Before you start, you need to figure out where the water is coming from. Check the ceiling for any signs of leaks like stains or mold. Pay attention to areas around vents and skylights since they often cause leaks. Finding the exact source of the leak is crucial to fixing it properly. If you’re unsure, it might be helpful to consult a professional.
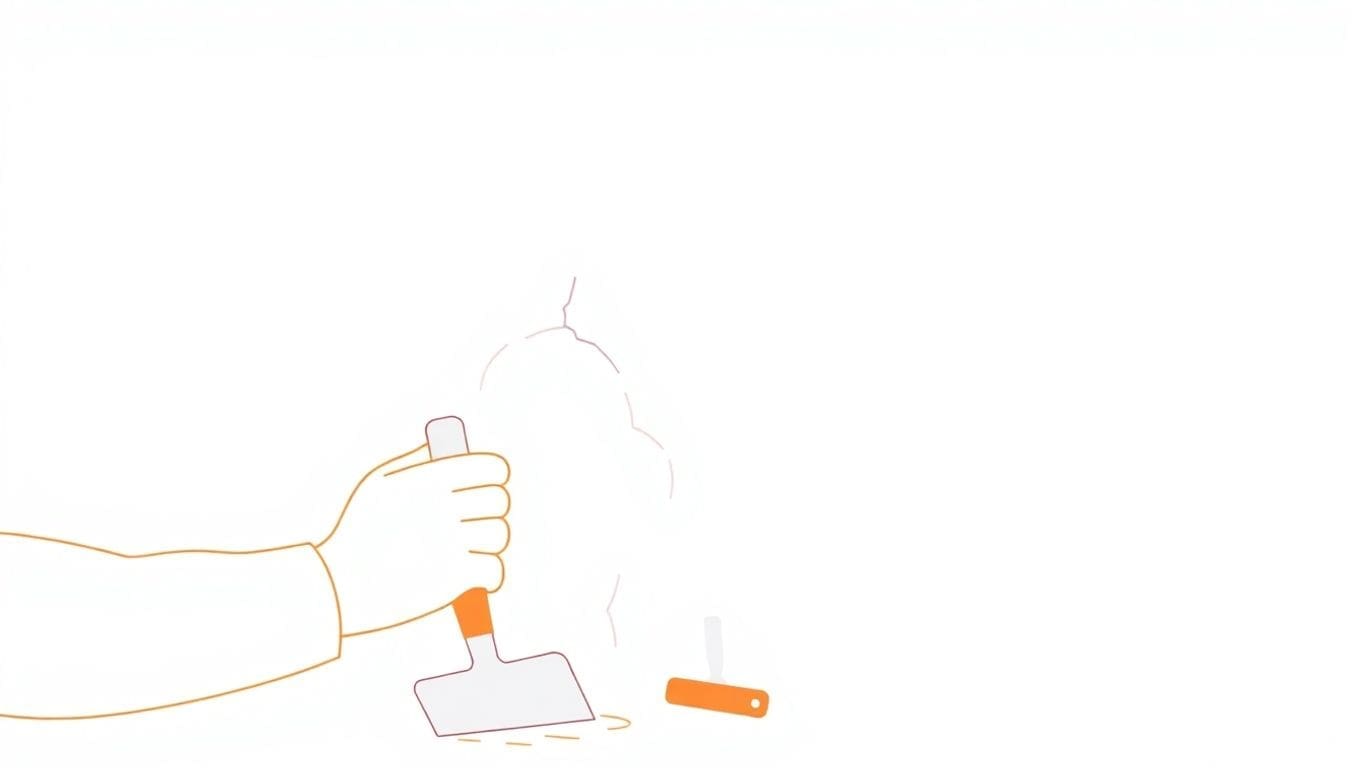
Once you’ve found the leak, clean the area well. Use a mild cleaner and a soft brush to scrub away dirt and any old sealant. Make sure everything is dry before you move on. This helps the new sealant stick better and last longer.
Now, it’s time to fix the leak. Choose a sealant that matches your roof type. For rubber roofs, a special rubber sealant works best. For metal or fiberglass roofs, use the appropriate sealant. Apply the sealant carefully, making sure to cover the entire damaged area. Let it dry completely before you test it with water.
Repairing your RV ceiling might seem like a big job, but with the right tools and a bit of patience, you can do it yourself. Remember to take your time and follow each step carefully. This will save you money and help keep your RV in good shape for your next adventure.
Keeping an eye on your RV’s roof can save you from a lot of trouble. You should check it at least twice a year. Look for cracks, dried areas, or any signs of wear. Pay special attention to the seals around vents and antennas. If you spot something off, fix it right away to avoid bigger problems later.
Good airflow inside your RV is super important. It helps keep moisture levels down, which stops mold and mildew from growing. Make sure your vents are open when you’re cooking or showering. Using a dehumidifier can also help, especially in humid areas.
A protective coating can be a lifesaver for your RV roof. It acts like a shield against rain, sun, and snow. Applying a fresh coat every few years will keep your roof strong and less likely to leak. Investing in a quality roof coating can save you money on repairs in the long run.
Staying on top of these preventative measures not only protects your RV but also keeps your adventures worry-free. Remember, a little effort now can prevent a lot of hassle later.
Sometimes, water damage in your RV can be too much to handle on your own. If you notice large areas of mold, extensive ceiling stains, or water dripping from several spots, it might be time to call in an expert. Professional help is crucial when the damage threatens your RV’s structure or when you’re unsure about the repair process.
Choosing the right specialist is important. Look for someone with experience in RV repairs, especially with water damage. Ask around or search online for reviews. Make sure they have the right certifications and tools to handle the job. Don’t hesitate to ask questions about their methods and materials.
Repair costs can vary. To avoid surprises, get a detailed estimate before work begins. Ask for a breakdown of costs, including labor and materials. Remember, sometimes spending a bit more upfront can save you money in the long run by preventing future issues.
When in doubt, seeking professional advice can save you from making costly mistakes and ensure your RV stays in great shape. Taking action early can prevent minor issues from turning into major headaches.
For more on how to handle water damage effectively, check out our comprehensive guide that covers everything from causes to repair methods.
Keeping your RV roof clean is the first step in maintaining its condition. Dirt and debris can hide potential problems like cracks or worn-out seals. Use a gentle cleaner and a soft brush to scrub the roof. Aim to clean your roof at least twice a year.
Seals and joints are common places where leaks can start. Inspect these areas regularly for any signs of wear or damage. If you find cracked or dried-out sealant, apply a fresh layer. This simple act can prevent leaks and save you from bigger headaches down the road.
If you spot a small issue, like a tiny crack or a worn seal, fix it right away. Use a high-quality sealant designed for RVs. A quick repair can stop a minor issue from becoming a major problem.
Regular inspections and prompt repairs are key to a long-lasting RV roof. Don’t wait for small issues to turn into costly repairs.
By following these tips, you can keep your RV roof in great shape and enjoy many adventures without worry. Remember, a little effort now can save a lot of trouble later. For more detailed advice on when to handle repairs yourself or hire a professional, consider assessing the extent of damage to make informed decisions.
Rubber roofs are pretty common on RVs. They’re made from EPDM or TPO, which are types of rubber. The main advantage is they’re lightweight and flexible. This makes them easy to install and repair. However, they can be prone to damage from tree branches or sharp objects. You might need to reapply sealant every so often to keep them in good shape.
Fiberglass roofs are known for their durability. They can handle a lot of wear and tear, which is great if you’re traveling often. But, they can be heavy and may add extra weight to your RV. Also, if they crack, repairs can get pricey. Keeping them clean and free of debris will help maintain their condition.
Metal roofs, usually made of aluminum, are another option. They’re tough and can last a long time without needing much upkeep. Just watch out for corrosion, especially in salty or humid areas. Regular inspections can help catch any rust early on. It’s also a good idea to check the seals around vents and edges to prevent leaks.
Choosing the right roof material for your RV depends on how you use it. Consider your travel habits and the climates you drive through. Each material has its own benefits and downsides, so weigh them carefully before making a decision.
It’s easy to overlook tiny leaks, thinking they’re no big deal. But these little drips can lead to major problems over time. Water spreads quickly and can cause mold or rot if not addressed. Always fix even the smallest leaks as soon as you spot them.
When repairing your RV’s ceiling, using the wrong materials can make things worse. Not all sealants or patches are suitable for every type of RV roof. Make sure you choose products that are specifically designed for your RV’s material. This will ensure the repair holds up against the elements.
Safety should always come first, even if you’re just doing a quick fix. Working on an RV roof can be dangerous. Use a sturdy ladder and wear non-slip shoes. If you’re using any chemicals or sealants, gloves and goggles are a must. Never rush through a repair without taking the proper precautions.
Remember, taking the time to do it right the first time can save you from bigger headaches down the road. It’s better to be safe and thorough than to have to redo a botched repair.
Taking care of your RV is like taking care of a home on wheels. Regular maintenance is key to making sure it lasts a long time. Check your RV’s roof, windows, and doors often. Look for any signs of wear or damage. It’s much easier to fix small problems before they become big ones. If you’re not sure what to look for, ask a friend or a professional for help.
Sometimes, the best way to care for your RV is to upgrade its parts. Consider using better materials for your roof. For example, rubber roofs are popular, but fiberglass or metal might last longer. Think about what works best for your travel needs and climate. An upgrade now can save you from more repairs later.
Every season brings different challenges for your RV. In the winter, you need to protect it from snow and ice. During summer, the sun can be harsh. Here’s a simple list to follow:
Taking small steps throughout the year can make a big difference in how long your RV lasts. Care for it like you would a beloved home, and it will take care of you on the road.
Remember, by following these tips, you can enjoy more adventures without the worry of unexpected repairs. For more detailed advice on preventing water damage, consider checking out regular maintenance and inspections for your home, which can offer useful insights for your RV as well.
Water damage in an RV ceiling is often caused by leaks in the roof, poor maintenance, or harsh weather conditions like heavy rain or snow.
Signs of water damage include water stains, musty odors, mold, and soft spots on the ceiling or walls.
You’ll need tools like a ladder, sealant, a putty knife, cleaning supplies, and safety gear to fix water damage.
Regular roof inspections, proper ventilation, and using protective roof coatings can help prevent water damage.
If the damage is extensive or you’re unsure how to fix it, it’s best to call a professional RV repair specialist.
Yes, small leaks can often be fixed with DIY methods using the right tools and materials.
Ignoring small leaks can lead to bigger problems, like mold growth and structural damage, which can be costly to repair.
It’s a good idea to inspect your RV roof before and after trips, and at least once every season.

Business Owners: Join our insider newsletter for exclusive marketing strategies and growth opportunities for local services business.