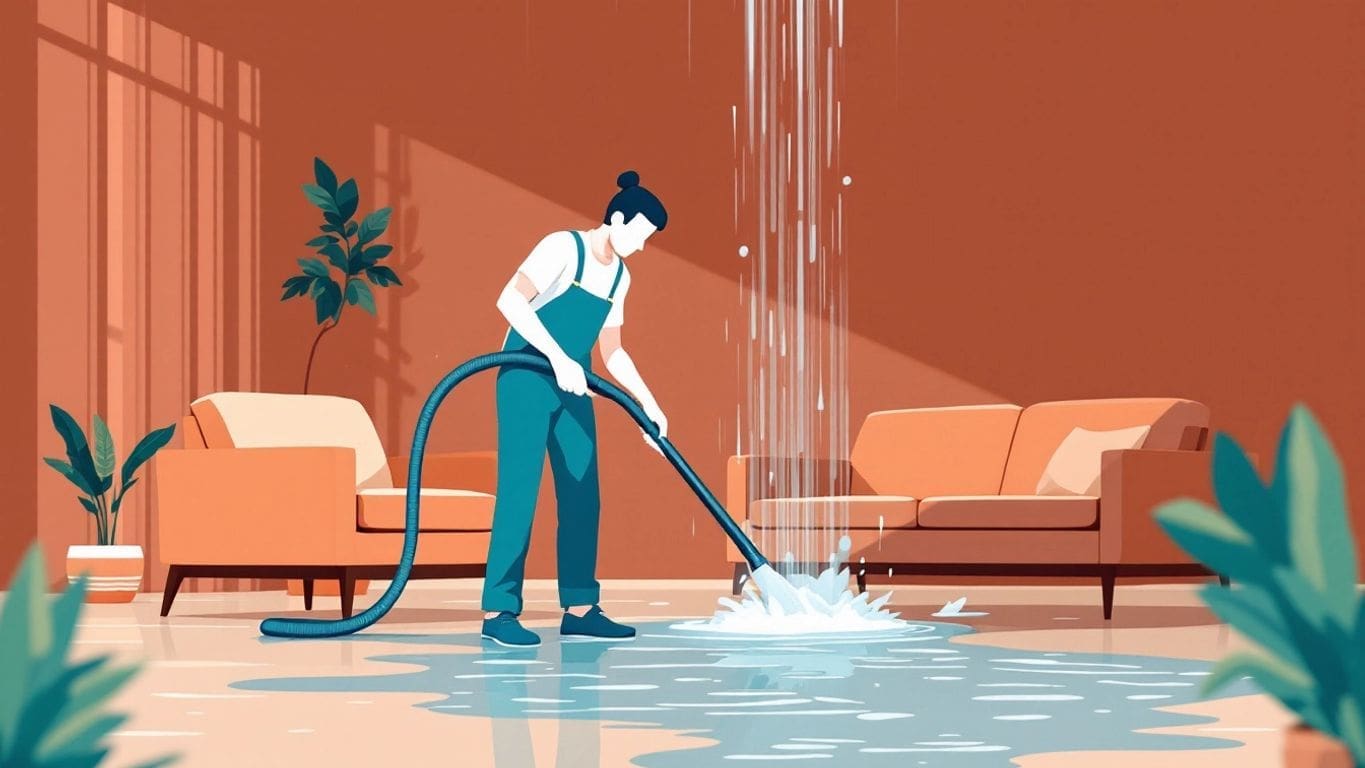
Essential Guide to Emergency Water Removal: Fast Solutions for Homeowners
Water damage can happen to anyone at any time, and knowing how to respond quickly is crucial. This guide provides…
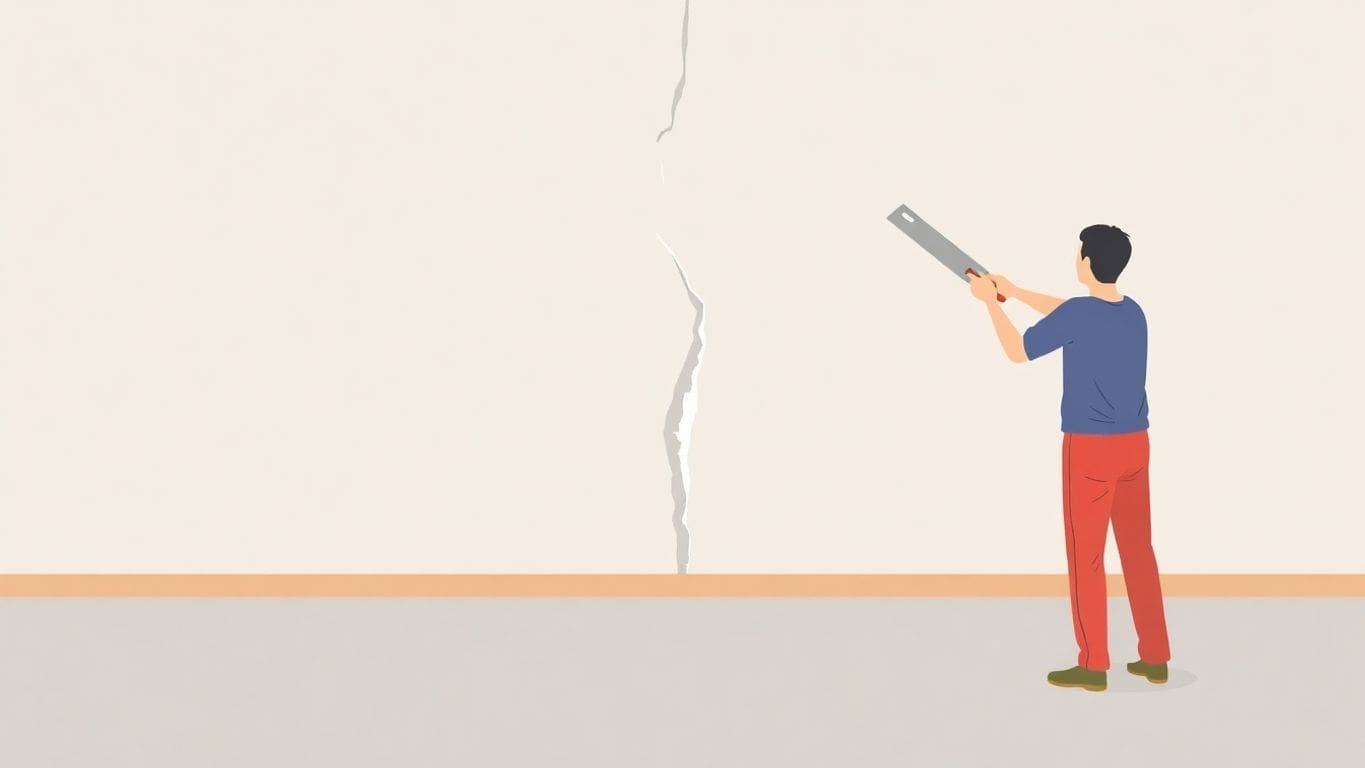
If you’ve got cracks in your plaster walls, you’re not alone. Many homes experience this issue over time, but the good news is that fixing them isn’t as hard as it seems. With a little patience and the right approach, you can learn how to repair cracks in plaster walls like a pro. This guide will walk you through everything you need to know, from prepping the area to painting over your repairs.
Plaster walls, while adding character to older homes, aren’t immune to cracks. Knowing why these cracks appear and what they mean is the first step in fixing them. Let’s explore the common causes, how to spot serious problems, and when it’s best to call in a pro.
Plaster walls crack for several reasons. One major reason is changes in temperature and humidity. As the weather changes, the plaster expands and contracts, which can lead to cracks over time. House settling is another common cause. As your house ages, it might shift slightly, putting stress on the walls. Normal wear and tear also plays a role. Over time, the plaster can simply degrade, leading to those annoying cracks. Understanding these causes helps you prevent future cracks and choose the best repair method.
Not all cracks are created equal. Some are just cosmetic, while others can signal bigger problems. Keep an eye out for these warning signs:
If you notice any of these signs, it’s important to investigate further. Structural issues can affect the safety of your home, so don’t ignore them.
Sometimes, DIY isn’t the answer. If you’re dealing with any of the following, it’s best to call a professional:
A professional can assess the situation and make sure the repairs are done correctly. They can also identify any underlying issues that need to be addressed. It might cost more upfront, but it can save you money and headaches in the long run.
Before you start fixing those cracks, getting the wall ready is super important. It’s like prepping a canvas before painting – it makes the final result way better. Let’s walk through the steps to get your plaster wall ready for its makeover.
First things first, you need space! Move any furniture away from the wall you’re working on. Cover the floor with a drop cloth. You don’t want plaster dust or spackle mess all over your stuff. Trust me, cleaning that up later is a pain. Securing the drop cloth with painter’s tape can keep it from sliding around.
Next, grab a brush or vacuum to get rid of any loose bits of plaster or dust around the crack. Then, wipe down the wall with a damp sponge. You want a clean surface so the patching material sticks properly. If there’s any grease or grime, use a mild cleaner. Let the wall dry completely before moving on. This step is key for a good, lasting repair.
Make sure you have everything you need before you start. Running back and forth to the store is annoying. Here’s a list of stuff you’ll probably need:
Getting organized beforehand will save you time and frustration. It’s like having all your ingredients ready before you start cooking – it just makes the whole process smoother.
Having the right tools makes the job so much easier. It’s worth spending a few extra bucks on quality tools that will last. Trust me on this one.
Before you start patching, it’s important to figure out what kind of damage you’re dealing with. This will help you choose the right tools and materials, and make sure the repair lasts. Take your time and look closely at the cracks and any other problems with your plaster walls.
First, check how big the cracks are. Hairline cracks are tiny, less than 1/16 of an inch wide. These are usually not a big deal. Larger cracks, wider than 1/8 of an inch, might mean there’s a bigger problem. Knowing the size helps you pick the right repair method.
Once you know the size, think about how you’ll fix it. Small cracks can be fixed with joint compound or spackle. Bigger cracks might need plaster and mesh tape. If there are holes, you’ll need to fill them with plaster. The right method makes the repair stronger and look better.
Look for what caused the damage. Are there water stains? Is the wall bulging? These could mean there’s a leak or structural problem. Fix the cause first, or the cracks will come back. Ignoring these issues means the problem will only get worse.
It’s important to check for any signs of water damage, like discoloration or bubbling plaster. Water can cause serious problems with plaster walls, so it’s best to fix any leaks before you start repairing the cracks. This will help prevent the cracks from coming back and keep your walls in good shape.
Small cracks in plaster are common, and you can fix them yourself! It’s a pretty easy job that can save you money. Let’s walk through how to do it.
First, you need to get the crack ready. Use a putty knife to scrape away any loose pieces of plaster around the crack. Then, take a damp rag and wipe the area clean. This gets rid of dust and stuff that could stop the new filler from sticking. Making sure the crack is clean is super important for a good [plaster repair](#3efa].
Now it’s time to fill the crack. Spackle or joint compound works great for small cracks. Use your putty knife to scoop up some spackle. Press it into the crack, making sure it fills the whole thing. Smooth it out so it’s level with the wall around it. Let it dry. Check the package for how long it needs to dry – usually a few hours.
Once the spackle is dry, it might be a little rough. Grab some fine-grit sandpaper and lightly sand the area. This will smooth it out and blend it with the rest of the wall. If you can still see the crack, you might need to add another layer of spackle. Just repeat the steps above: apply, dry, and sand.
Fixing small cracks is all about taking your time and doing it right. Don’t rush, and you’ll get a smooth, professional-looking finish. It might take a couple of tries, but you’ll get the hang of it!
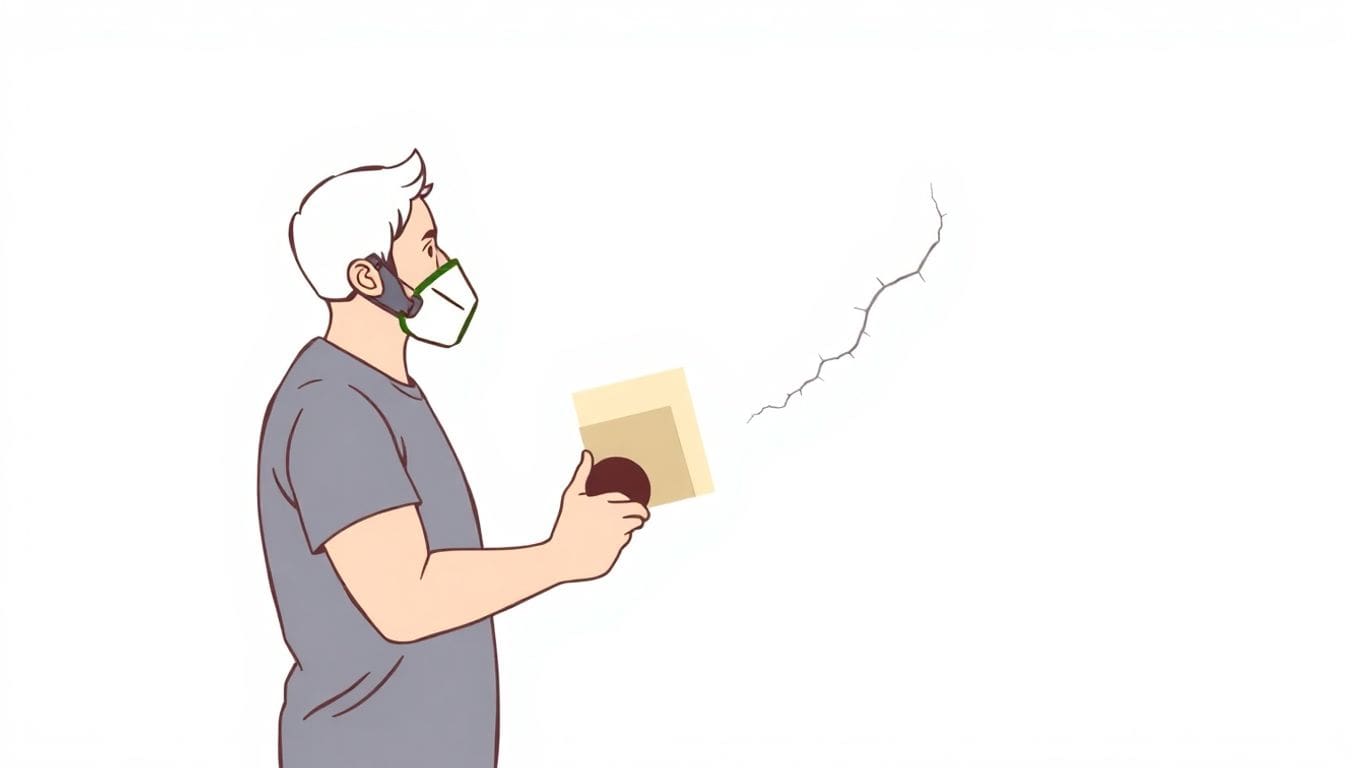
Remember to always wear a mask when sanding to avoid breathing in dust.
Larger cracks in plaster need a bit more work than the small ones. Don’t worry, you can still handle it! We’ll walk you through the steps to make your walls look great again.
First, you might need to make the crack a little bigger. It sounds weird, but it helps the new plaster stick better. Use a utility knife to carefully widen the crack a bit. Then, vacuum out all the dust and loose pieces. Now, get a 3/16-inch masonry drill bit and drill holes every 3 inches along the crack. These holes will help the plaster grip the wall. This is important to prevent future cracks.
Next, you’ll start layering the plaster. Mix your plaster of Paris or premixed plaster repair compound according to the instructions. Use a trowel to press the plaster into the crack, making sure it fills all the holes you drilled. Let it dry for at least 24 hours. After it’s dry, sand it down with medium-grade sandpaper. If the crack was really wide, you might need to add another layer of plaster. Just repeat the process: apply, dry, and sand.
For extra support, you can use mesh tape. This is especially helpful for cracks that are likely to move or expand.
Here’s how to do it:
Using mesh tape gives the plaster something to hold onto, which helps prevent the crack from coming back. It’s like giving your wall a little bandage.
Let it dry overnight, then sand it smooth. You might need a second coat of compound to make it perfectly even. Remember to let each coat dry completely before sanding. This step is crucial for a smooth, professional finish.
Sometimes, you might find that you’re not just dealing with cracks, but actual chunks of plaster missing from your walls. Don’t worry, it’s still fixable! It might take a little more work, but you can get your walls looking good again. This section will guide you through the steps to repair those missing sections.
First, you need to get the area ready for new plaster. Start by making sure the edges of the existing plaster are solid. Remove any loose pieces. Then, use a brush to put a bonding agent on the exposed lath (the wood strips behind the plaster). This stuff is like glue for plaster. It helps the new plaster stick to the old plaster and the lath. Let the bonding agent dry according to the instructions on the package. This usually takes a few hours.
Now it’s time to start filling in the missing plaster. Don’t try to do it all at once! It’s better to apply several thin layers. This helps prevent cracking and gives the plaster a chance to dry properly. Use a water damage cleanup trowel to apply the first layer of plaster. Press it firmly into the lath and make sure it’s level with the surrounding wall. Let each layer dry completely before adding the next one. This could take a day or two, depending on how thick the layers are.
After you’ve built up the plaster to the right level, it’s time to smooth it out. Use your trowel to feather the edges of the new plaster into the old plaster. This means making the transition between the two as smooth as possible. You can also use a damp sponge to gently smooth the surface. The goal is to create a seamless finish that blends in with the rest of the wall. If you still see any imperfections, you can apply another thin layer of plaster and smooth it out again. Be patient, and take your time to get it right. It’s worth it in the end!
Fixing missing plaster takes time and patience. Don’t rush the process. Let each layer dry completely before adding the next one. This will help prevent cracking and ensure a strong, lasting repair.
After you’ve repaired the cracks, it’s time to make the wall smooth and ready for paint. This step is super important for a professional-looking finish. You don’t want to skip it!
It all starts with the sandpaper. You’ll want to use a fine-grit sandpaper. Something around 120-grit to 220-grit should work well. This will help smooth out any bumps or uneven spots without damaging the plaster. Wrap the sandpaper around a sanding block for even pressure. This helps prevent you from accidentally gouging the wall.
Sanding creates a lot of dust. Before you can paint, you need to get rid of all that dust. Use a damp cloth or sponge to wipe down the entire area. You can also use a vacuum cleaner with a brush attachment. Make sure the wall is completely dry before moving on to the next step. This will help the paint adhere properly.
Priming is like putting on a base coat before painting your nails. It helps the paint stick better and gives you a more even color. Use a good quality primer made for plaster walls. Apply one or two coats, letting each coat dry completely before applying the next. This will give you a smooth, professional finish.
Priming is a step you don’t want to skip. It helps seal the repaired area and creates a uniform surface for the paint to adhere to. This will make your paint job last longer and look better.

After you’ve patched and sanded your plaster walls, it’s time to paint. Painting makes the repair blend in with the rest of the wall. Here’s how to do it right.
Choosing the right paint is key. You’ll want to use a paint that matches the existing wall color and finish. Latex paint is often a good choice because it’s easy to work with and clean up. Consider the sheen of your current paint. Is it matte, eggshell, or semi-gloss? Matching the sheen will help the repaired area blend in. If you’re unsure, take a small chip of the old paint to the store for matching. You can also use color matching apps.
To get a smooth, even finish, use these painting tips:
Painting can be tricky, especially when trying to match an existing color. Take your time and don’t be afraid to experiment. It might take a few tries to get it just right.
Matching the wall color perfectly can be tough. Here are some tips to help:
Taking care of your plaster walls is key to keeping them looking good for years. It’s not hard, but it does take some effort. Think of it like taking care of a classic car – a little attention goes a long way.
Make it a habit to check your plaster walls every few months. Look for any new cracks, water stains, or areas that seem to be bulging. Early detection is super important. The sooner you spot a problem, the easier it will be to fix. Don’t ignore small issues, because they can turn into big headaches later on.
Cracks happen, but you can take steps to prevent them. Here are a few ideas:
Preventing cracks is way easier than fixing them. A little bit of prevention can save you a lot of time and money in the long run.
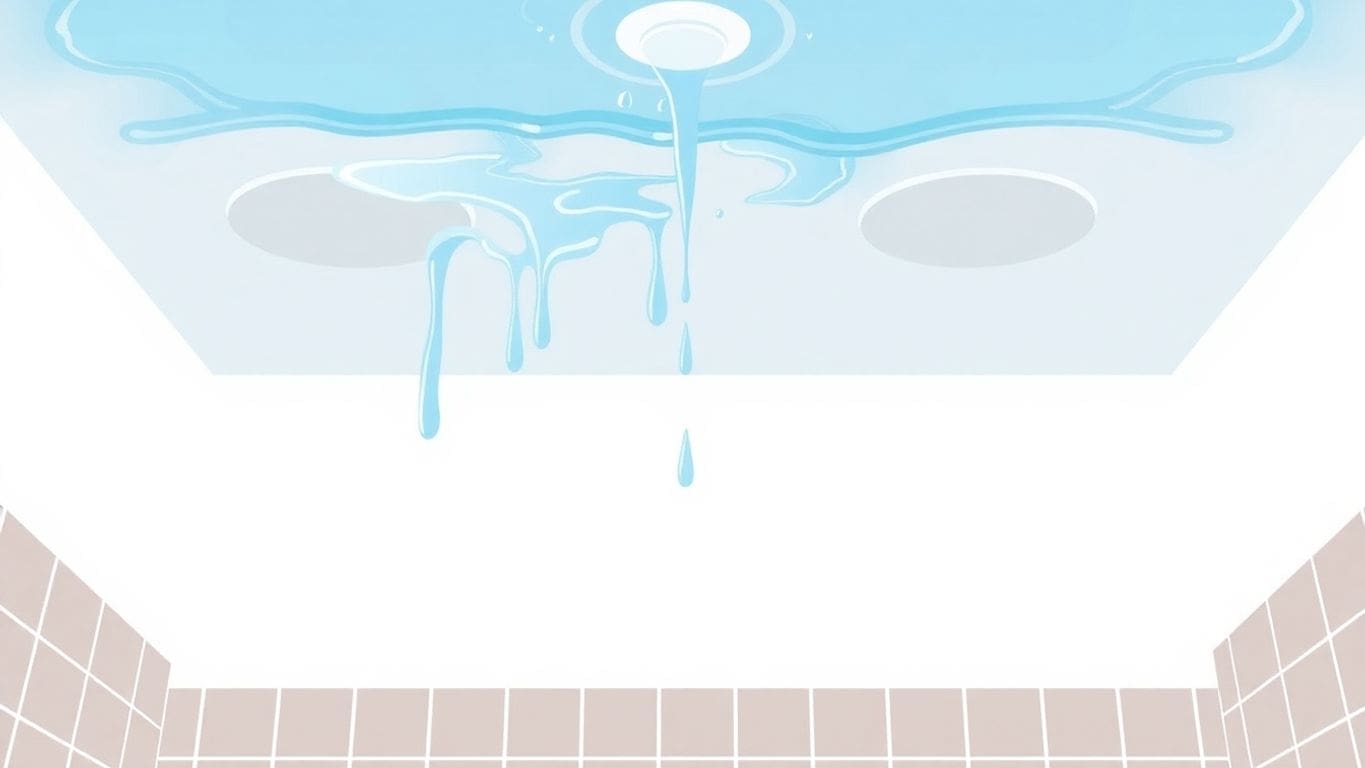
Moisture is a plaster wall’s worst enemy. Leaks, condensation, and high humidity can all cause serious problems. If you see signs of water damage, act fast. Here’s what to do:
Keeping your plaster walls dry is essential for their long-term health.
Before you start patching those plaster walls, it’s important to have all your tools and materials ready. Getting everything together beforehand will make the job go much smoother. Trust me, you don’t want to be running to the store mid-project!
Okay, let’s talk tools. You’ll need a few basics to get started. Here’s a list to help you:
Choosing the right plaster is key. Here are a few options:
It’s important to read the labels carefully when buying plaster. Different types have different consistencies, which can affect how easy they are to work with and the final result.
Safety first! Plaster work can be dusty and messy, so protect yourself.
Take a good look at the areas you fixed. Do they look smooth and even with the rest of the wall? Check for any spots you might have missed. Sometimes, it helps to look at the wall from different angles to catch imperfections. Make sure the repaired areas blend in well.
If you see any small bumps or uneven spots, now is the time to fix them. Use a little bit of spackle or joint compound to fill in any low spots. Let it dry, and then sand it lightly until it’s smooth. Don’t be afraid to go back and touch things up. Patience is key here.
You did it! Fixing plaster walls can be tricky, but you took the time and effort to do it yourself. Stand back and admire your work. You’ve not only fixed your walls but also learned a new skill. Now you can enjoy your smooth, crack-free walls. Good job!
Plaster walls can crack for various reasons. Common causes include changes in temperature, movement in the building, and normal wear and tear over time.
Yes, it’s quite common for older plaster walls to develop cracks. These can be repaired, and it’s important to check for any underlying issues.
For small cracks, spackle or joint compound works well. For larger cracks, consider using mesh tape and plaster for better support.
If you notice large cracks, signs of moisture, or if the wall feels unstable, it’s best to consult a professional for a thorough assessment.
Yes, many plaster repairs can be done by homeowners using basic tools and materials. Just follow the right steps for your specific repair.
You’ll need a putty knife, sandpaper, spackle or joint compound, and possibly mesh tape for larger cracks. A damp sponge is helpful for cleaning.
After repairing, sand the area lightly and wipe it down with a damp sponge to remove dust. Then, apply primer before painting.
It’s best to use latex-based paint that matches the color of your existing wall for a seamless look.

Business Owners: Join our insider newsletter for exclusive marketing strategies and growth opportunities for local services business.