
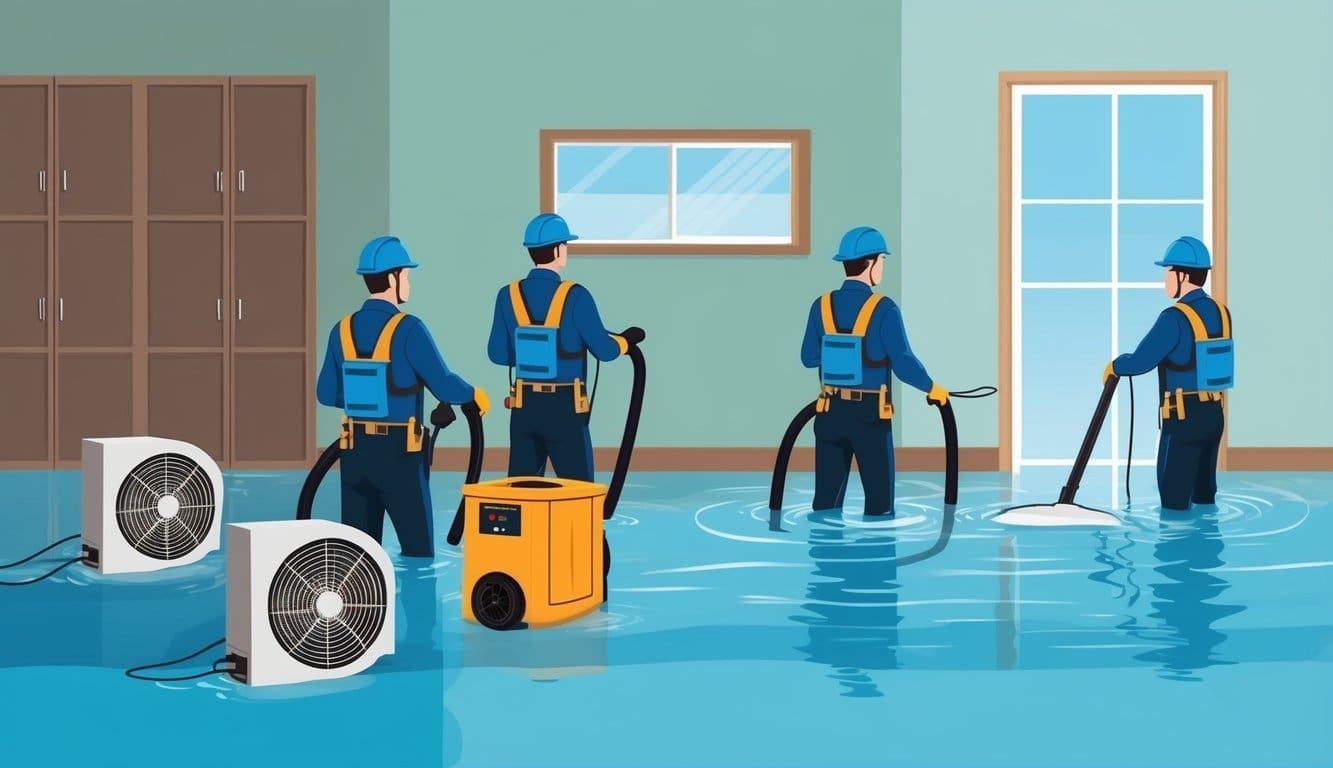
Is It Bad to Have Water in Your Basement? Understanding the Risks and Solutions
Ever walked into your basement and found a puddle of water? It’s not just annoying; it can be a sign…
Repairing plaster walls can seem overwhelming, but with the right approach, it’s totally doable. If your walls are showing signs of wear, like cracks or holes, this guide will help you tackle those issues head-on. We’ll walk you through the process of how to repair plaster walls with drywall, from gathering your tools to applying the final coat of paint. Let’s get started!
Before you start fixing your plaster walls, it’s good to know what you’re dealing with. Plaster walls are different from drywall, and understanding them helps you repair them the right way. Let’s get into it.
Plaster walls aren’t just one thing. They’re usually made of a few layers. The base is often wooden or metal strips called lath. Then, there are layers of plaster on top of that. These layers give plaster walls a strong, solid feel.
Plaster walls can have problems over time. Here are some common ones:
Plaster walls can last a long time, but they need some care. Knowing what can go wrong helps you fix things before they get too bad.
Fixing your plaster walls is worth the effort. Here’s why:
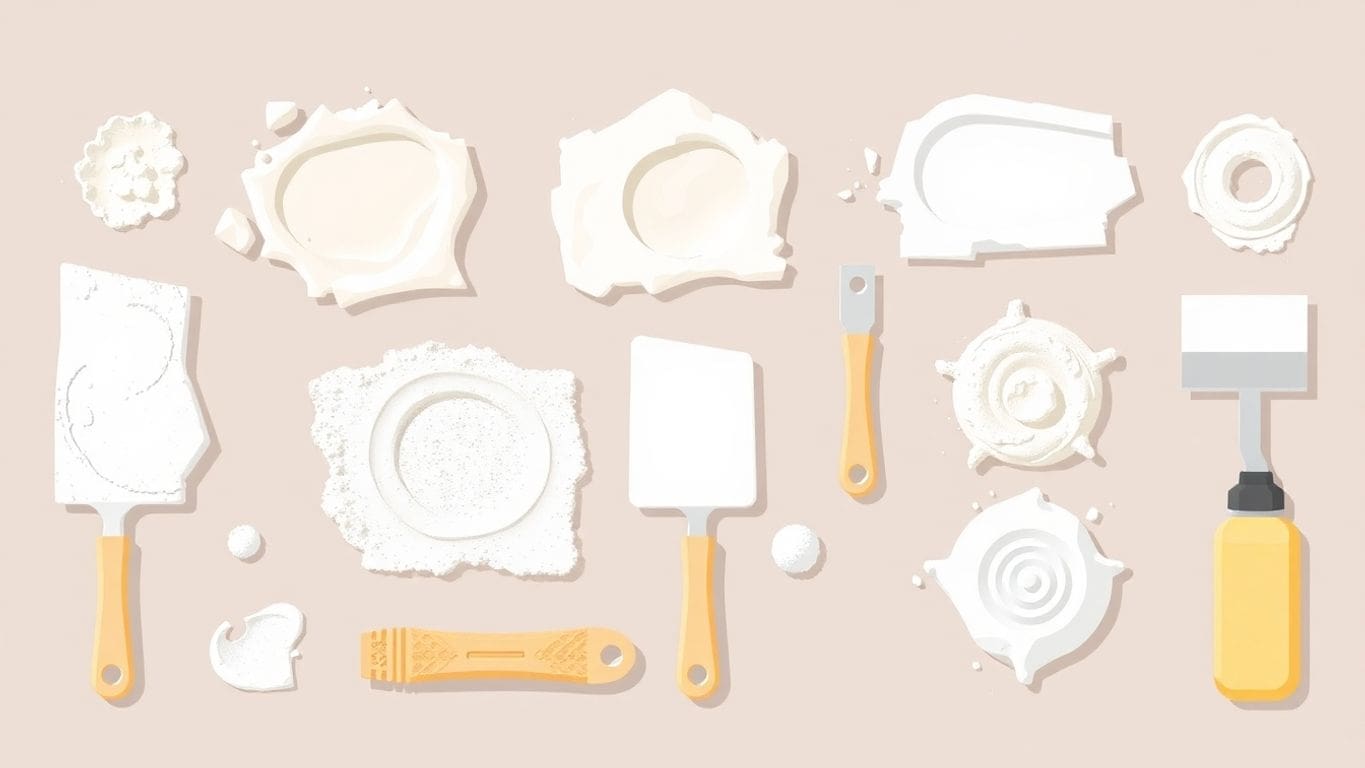
Before you start fixing your plaster walls, it’s important to get all your tools and materials ready. Having everything on hand will make the job easier and faster. Let’s talk about what you’ll need.
Okay, so what tools do you need? Here’s a list to get you started:
Besides the tools, you’ll need some materials. Here’s what I suggest:
Safety first! Make sure you have these items before you start:
It’s a good idea to wear old clothes or a work apron too. Plaster can be messy, and you don’t want to ruin your good clothes.
Having the right tools and safety gear will make your plaster repair project go much smoother. Take the time to gather everything before you start, and you’ll be well on your way to fixing those walls!
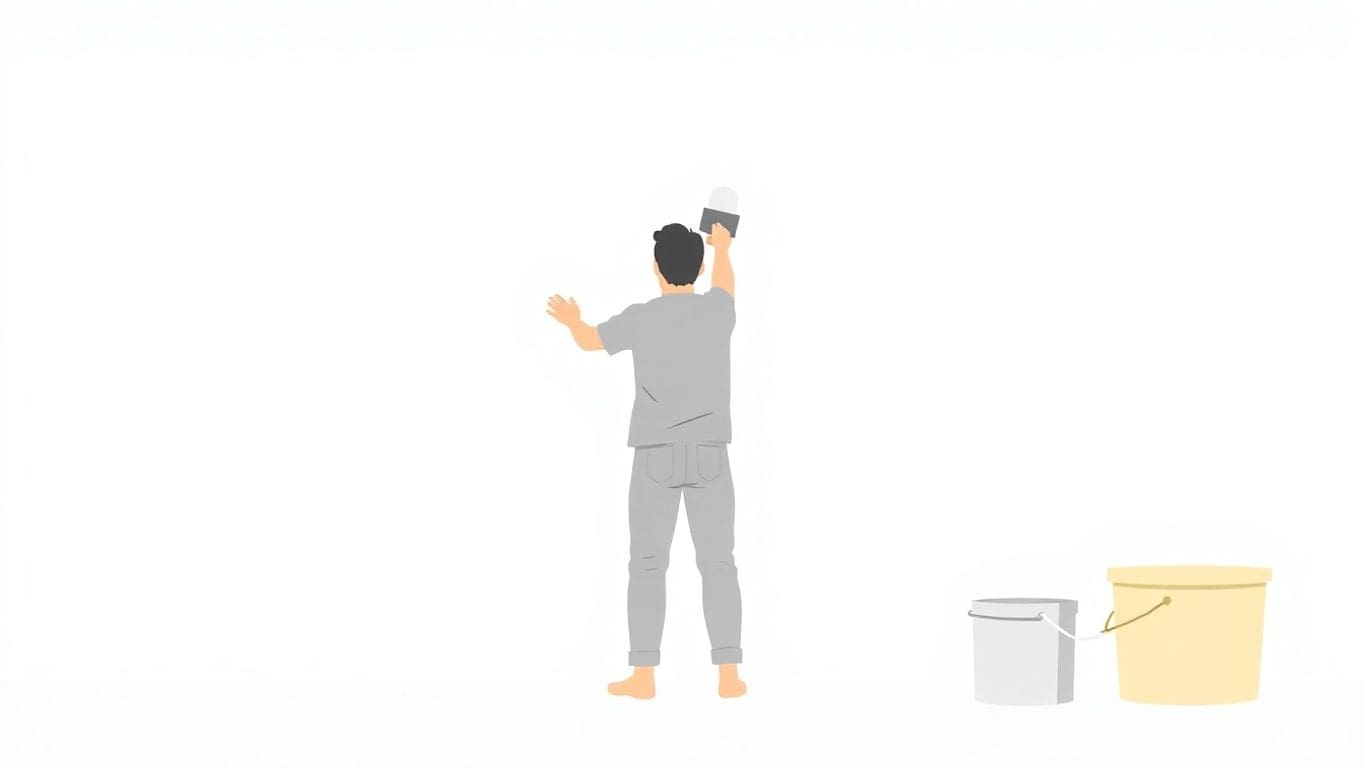
Before you start slapping plaster on your walls, you’ve got to get them ready. Think of it like prepping a canvas before painting. If you skip this step, your repairs might not last, and you could end up with a bigger mess than you started with. Trust me, I’ve learned this the hard way.
First, take a good look at the wall. What kind of damage are we talking about? Small cracks? Big holes? Is the plaster crumbling? Knowing what you’re dealing with will help you choose the right repair method and materials. Use a putty knife to gently scrape away any loose plaster. This helps you see how bad the damage really is. It’s like a doctor diagnosing a patient – you need to know the problem before you can fix it.
Next up, cleaning. You can’t just plaster over dust and dirt. The new plaster won’t stick properly, and you’ll be back to square one before you know it.
This might sound weird, but dampening the wall slightly before applying plaster can make a big difference. Dry plaster sucks moisture out of the new plaster, which can cause it to dry too quickly and crack. A quick spritz of water from a spray bottle will do the trick. Don’t soak the wall, just a light misting. It’s like wetting a sponge before wiping a table – it helps the new stuff stick better.
Preparing the wall is more than just a quick wipe-down. It’s about creating a solid base for your repairs. Take your time, do it right, and you’ll be much happier with the results. It’s like building a house – you need a strong foundation.
Picking the right plaster is super important for fixing your walls. It’s like choosing the right tool for a job. You wouldn’t use a hammer to screw in a screw, right? Same thing here!
There are a few main types of plaster you can use:
Think about these things when you’re picking your plaster:
It’s always a good idea to do a little research before you start. Knowing what kind of plaster your walls already have can help you pick the right one for the repair.
If you’re not sure which plaster to use, it’s okay to ask for help. A professional can look at your walls and tell you what’s best. They can also do the repair for you if you don’t feel comfortable doing it yourself. Getting expert advice can save you time and money in the long run.
Mixing plaster might seem tricky, but it’s something you can totally handle. Getting the mix right is super important for a smooth and lasting repair. Let’s walk through how to do it!
Mixing plaster isn’t hard if you follow these steps. Trust me, you’ll get the hang of it!
Getting the right consistency is key. Here are some tips to help you out:
Getting the right mix is important. If you don’t, the plaster might crack or not stick to the wall. Take your time and follow the instructions, and you’ll be fine.
Everyone makes mistakes, but knowing what to avoid can save you time and trouble. Here are some common mixing mistakes:
Okay, so you’ve mixed your plaster, and now it’s time to put it on the wall. This part can be a little tricky, but don’t worry, you’ll get the hang of it. The base coat is important because it gives the top coat something to stick to. Think of it like the foundation of a house. You want it to be solid.
The trowel is your best friend here. It’s the tool you’ll use to scoop up the plaster and spread it on the wall. Here’s how to use it right:
Getting even coverage is key to a good repair. You don’t want any bumps or dips in your wall. Here’s how to do it:
I remember one time I tried to rush this part, and the whole thing cracked. It was a mess! So, trust me, be patient.
| Issue | Possible Cause | Solution |
|---|---|---|
| Cracks | Drying too fast | Let it dry longer, control room humidity |
| Uneven surface | Inconsistent trowel technique | Practice smooth, even strokes |
After you put on the base coat, it’s time for the top coat. This coat makes your wall look smooth and nice. It covers up any little bumps or marks left by the base coat. Think of it like the final touch that makes everything look professional.
When you put on the finish coat, remember that less is more. You want to put on a thin layer. This helps you avoid drips and makes it easier to get a smooth surface. Use your trowel to spread the plaster evenly. Try to cover the whole area without leaving any thick spots. The goal is to make the new plaster blend in with the old wall.
Feathering the edges means making them super thin so they mix in with the rest of the wall. To do this, use your trowel to gently smooth out the edges of the wet plaster. Press lightly and move the trowel outwards. This makes the new plaster fade into the old wall, so you can’t see where the repair starts and ends. It takes a little practice, but it makes a big difference.
To get a smooth surface, you need to be patient. After you put on the finish coat, let it dry a little bit. Then, use your trowel to smooth it out again. You might need to do this a few times. If you see any small bumps, gently scrape them off with the edge of your trowel. Keep smoothing until the surface looks even and flat. After the plaster dries, you can lightly sand it to make it even smoother. This step is important for water damage repair to look its best.
Getting a smooth finish takes time and practice. Don’t worry if it’s not perfect the first time. Just keep smoothing and sanding until you’re happy with how it looks. Remember, the goal is to make the repair blend in, so it looks like the wall was never damaged.
After you’ve patched and smoothed your plaster, it’s time to make it look like the damage never happened! Priming and painting are key to blending the repair with the rest of the wall. Let’s get started!
Primer is like a base coat for your paint. It helps the paint stick better and gives you a more even finish. For plaster, you’ll want to use a good quality acrylic primer. Oil-based primers can also work well, especially on older, more porous plaster. Make sure the primer is designed for interior walls. This will help ensure proper adhesion of the paint.
Now for the fun part: painting! Here’s how to do it right:
Painting can be tricky, but with a little patience, you can get a professional-looking result. Remember to let each coat dry completely before applying the next. This will help prevent streaks and ensure a smooth, even finish.
Once the paint is dry, take a step back and look at your work. Do you see any spots you missed? Any drips or uneven areas? If so, touch them up with a small brush. If you repainted the whole wall, consider adding some decorative elements, like stencils, to personalize the space. And that’s it! You’ve successfully repaired and painted your plaster wall. Enjoy your beautiful, smooth wall!
Plaster walls can last a long time if you take good care of them. Here’s how to keep your plaster walls in great shape.
Check your plaster walls every few months. Look for small cracks or signs of damage. Catching problems early can stop them from getting worse and costing you more money to fix later.
Plaster walls are durable, but they can be damaged by water, impacts, and improper handling. Taking preventive measures can extend the life of your plaster and keep your home looking its best.
Sometimes, you might need a pro. If you see big cracks, or if the plaster is falling apart, it’s time to call someone who knows how to repair plaster walls. They can figure out what’s wrong and fix it the right way.
Even with careful planning, you might run into some snags when fixing your plaster walls. Don’t worry, most problems have easy solutions. Here’s how to handle some common issues.
Catching problems early can save you time and effort. Look closely at your walls before, during, and after the repair. Are there new cracks forming? Is the plaster not sticking? Is the texture uneven? Addressing these issues right away can prevent bigger headaches later. Regular inspections are key to maintaining your walls.
Cracks and holes are the most common plaster problems. For small cracks, use patching compound. Widen the crack a bit with a utility knife, clean out any loose plaster, and then fill it. For larger holes, you might need to use a mesh patch for support. Make sure to apply the compound in thin layers, letting each layer dry before adding the next. This prevents shrinking and cracking.
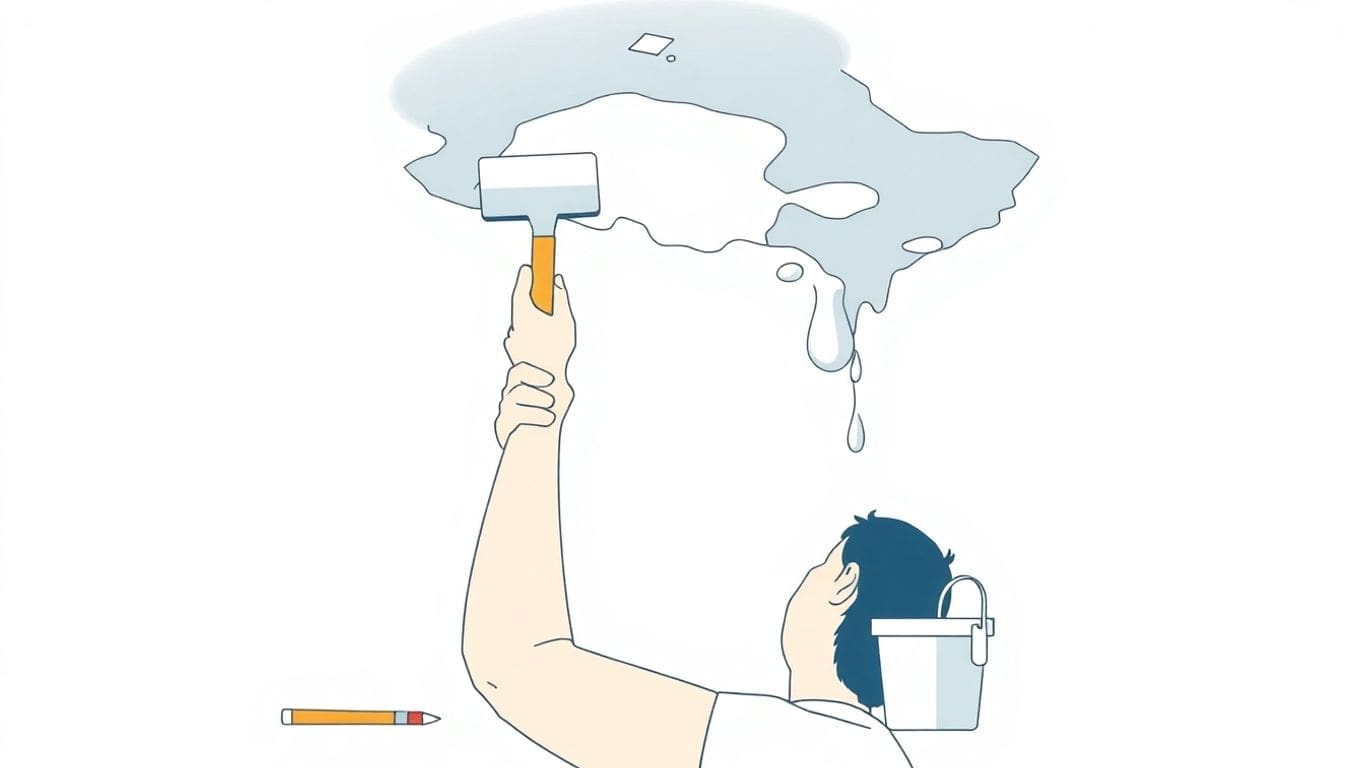
Moisture is a plaster wall’s worst enemy. It can cause the plaster to bubble, crumble, or even detach from the lath. If you see signs of moisture, find the source and fix it before you start any repairs. This could be a leaky pipe, a roof problem, or just poor ventilation. Let the wall dry out completely before you start patching. If the damage is extensive, you might need to replace a larger section of the plaster.
Ignoring moisture problems will only lead to more damage down the road. Always address the source of the moisture before attempting any repairs. This will ensure your repairs last longer and prevent future issues.
So, you’ve patched your plaster walls. Now, let’s make them look amazing! It’s all about the details to get that professional look. Don’t worry, it’s easier than you think.
Getting a flawless finish is about patience and doing things right. Here are some tips:
If your walls have a special texture, you’ll want to match it. There are tools you can use to do this. It might take some practice, but it’s worth it to make the repair blend in. You can find plaster wall repair tools at most hardware stores.
Sanding is key to a smooth finish. Here’s how to do it right:
Remember, the goal is to make the repair disappear. Take your time, and don’t be afraid to try again if you don’t get it right the first time. With a little effort, you can achieve a professional finish on your plaster walls.
You can definitely repair plaster walls by yourself! While some people might choose to hire a professional for bigger jobs, many smaller repairs can be done with the right tools and instructions. This guide is here to help beginners feel confident in fixing their plaster walls.
The type of plaster you need depends on how old your house is. Older homes often have lime-based plaster, which is good for letting moisture escape. Newer homes usually have gypsum-based plaster because it’s easier to work with and dries faster. If you’re unsure, ask a professional or look up information about your home.
To fix plaster walls, you’ll need some basic tools like a putty knife, a plastering float, and sandpaper. You’ll also need materials like plaster patching compound and primer. Having the right tools will make your repair work much easier.
Before you start fixing the wall, you should clean the area well. Use a putty knife to remove any loose plaster and then wipe down the surface with a damp sponge. This will help the new plaster stick better.
A common mistake is not mixing the plaster enough, which can lead to clumps. Make sure to follow the instructions carefully and mix until the plaster is smooth and has a consistent texture.
The drying time for plaster can vary depending on the type you use and the thickness of your application. Generally, it can take anywhere from a few hours to a full day for plaster to dry completely.
If cracks show up after your repair, it might be due to not preparing the surface properly or using the wrong type of plaster. Make sure to check for any underlying issues and consider redoing the repair if necessary.
To achieve a smooth finish, apply a thin top coat of plaster and feather the edges to blend it in with the surrounding wall. After it dries, lightly sand the area to remove any bumps or imperfections.

Business Owners: Join our insider newsletter for exclusive marketing strategies and growth opportunities for local services business.