Effective Strategies for Mitigating Water Damage in Your Home
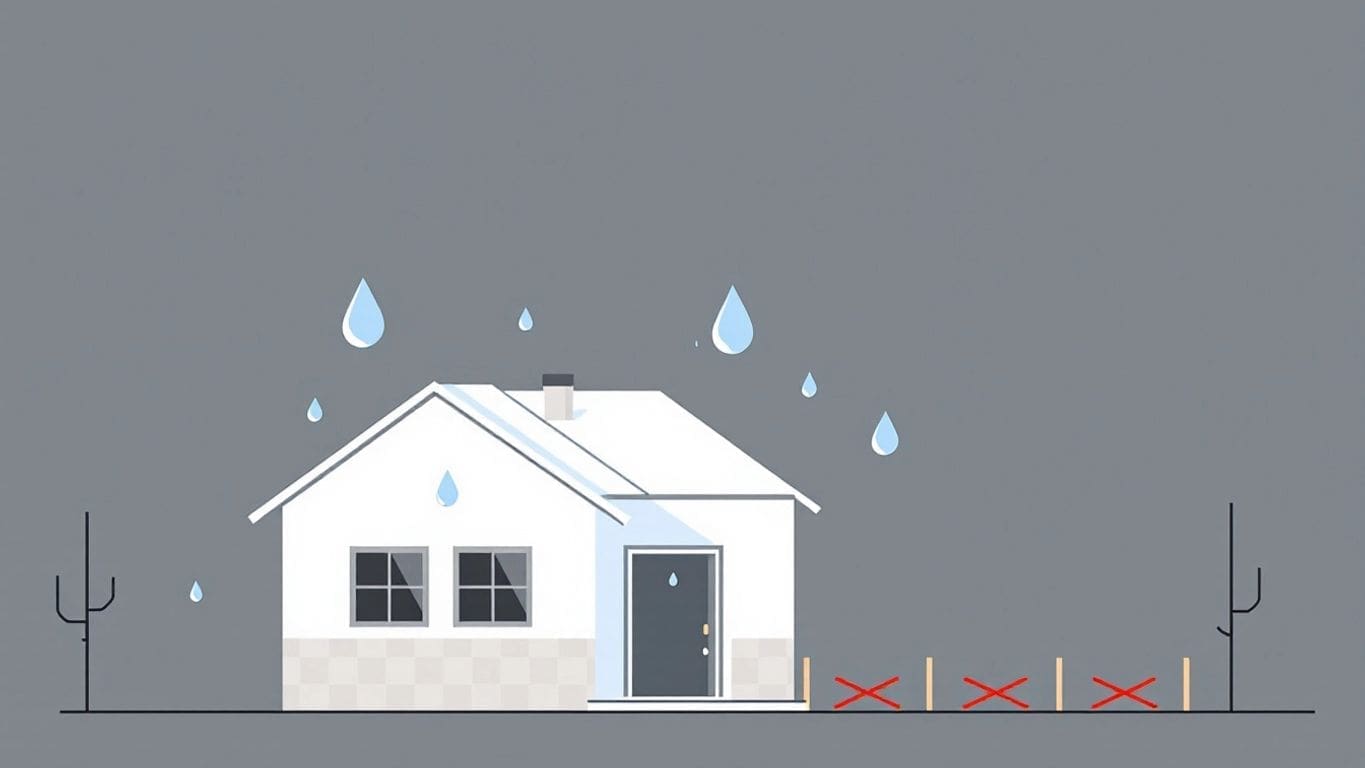
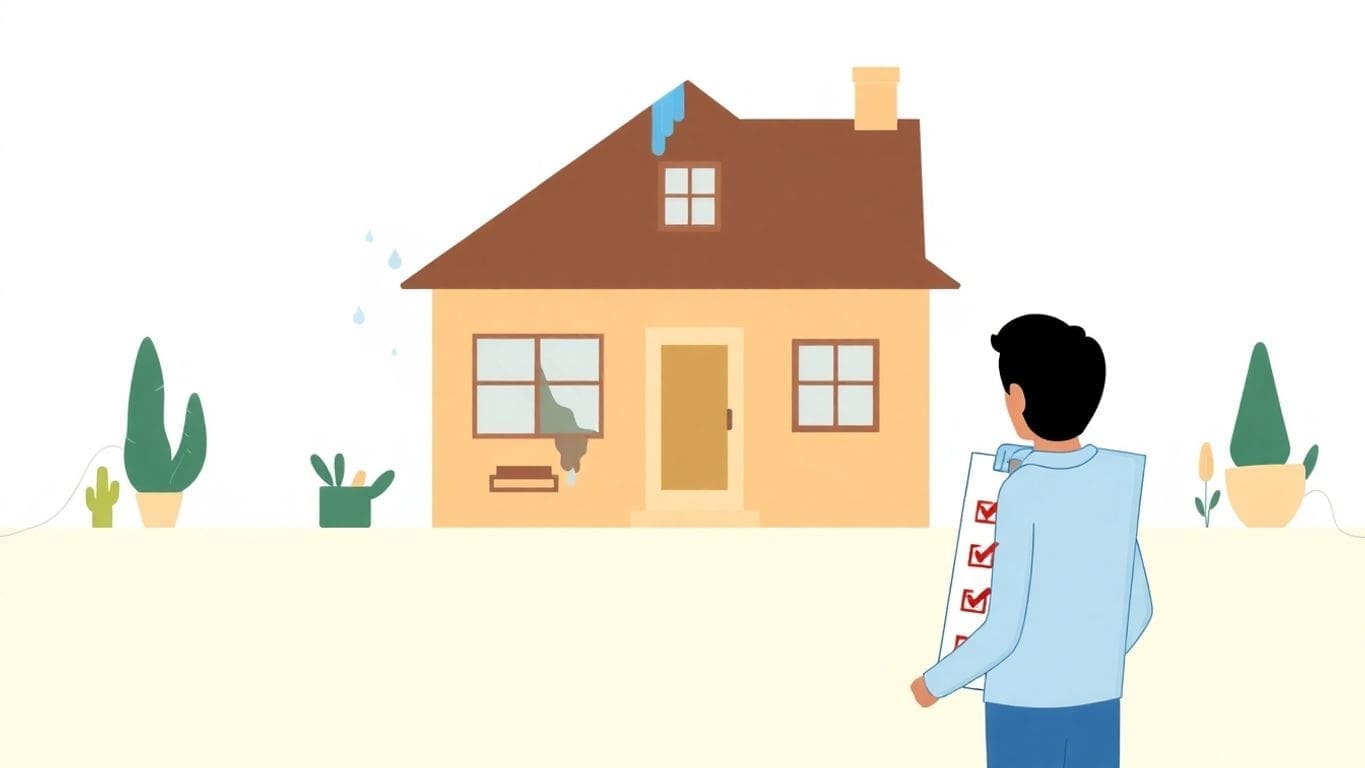
Water damage can be a serious issue for homeowners, leading to costly repairs and potential health risks. Understanding how to…
If you’re planning to fix drywall, you might think it’s a straightforward task. But trust me, it can get tricky. Many people, including DIY enthusiasts, make common mistakes that can lead to frustrating results. This article will help you avoid those pitfalls by outlining essential tips for a flawless finish. By steering clear of these common mistakes to avoid when repairing drywall, you’ll save time, effort, and maybe even some money on repairs later.
Before you start patching up those walls, let’s talk about what drywall actually is. It’s good to know the basics so you can do the job right. Trust me, it makes a difference!
Drywall, which some people also call gypsum board, is what most walls and ceilings are made of these days. It’s basically a layer of gypsum (a type of mineral) that’s pressed between two sheets of paper. This makes it easy to work with and gives you a smooth surface to paint on. It’s way better than older methods like plaster, which took forever to dry and was super messy.
There are tons of reasons why drywall is so popular.
Plus, it gives you a nice, even surface for painting or wallpaper. What’s not to love?
You’ll find drywall everywhere in homes and offices. It’s used for:
Basically, if it’s a wall, there’s a good chance it’s drywall. Knowing this helps you understand why getting the repair right is so important!
Okay, so you’re ready to fix some drywall! That’s awesome. But before you start slapping stuff on the wall, you gotta make sure you have all the right stuff. Getting your materials together beforehand will make the whole process way smoother. Trust me, you don’t want to be running to the store halfway through because you forgot something.
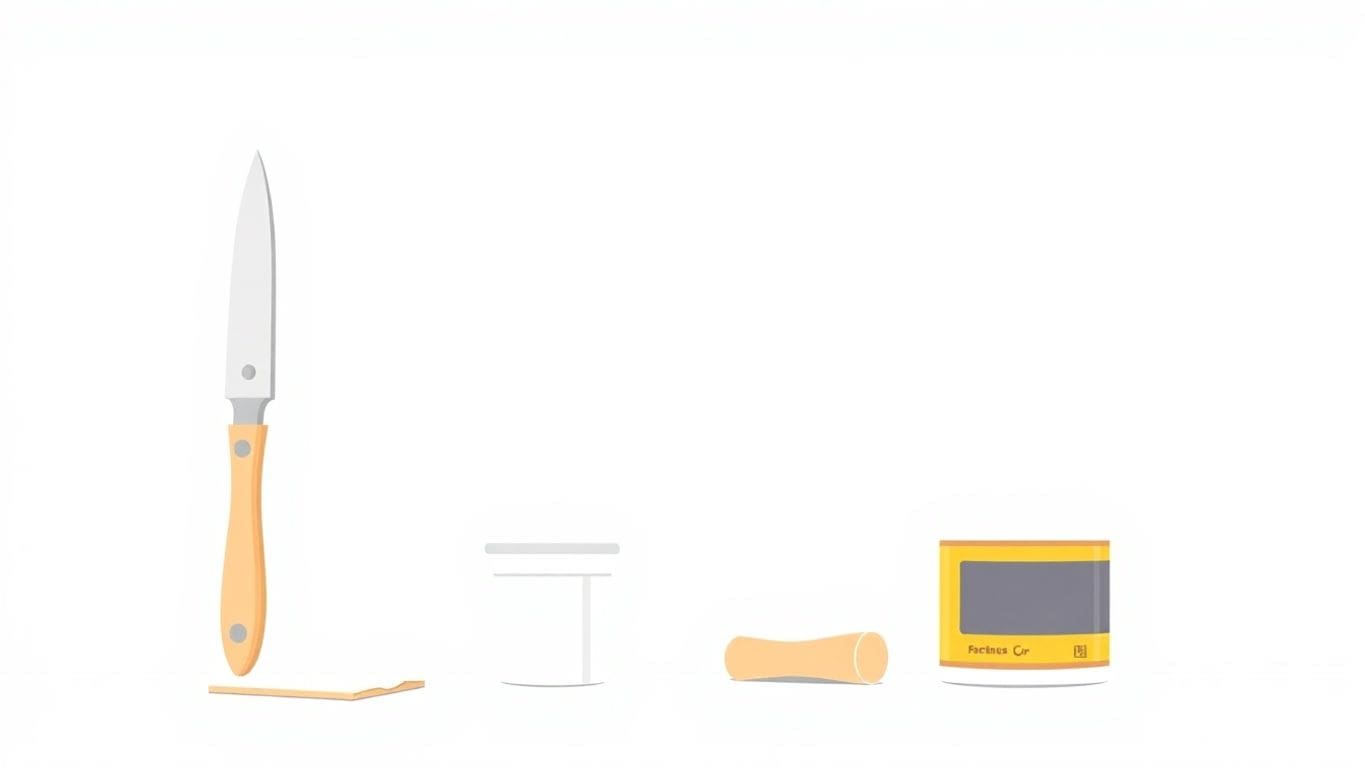
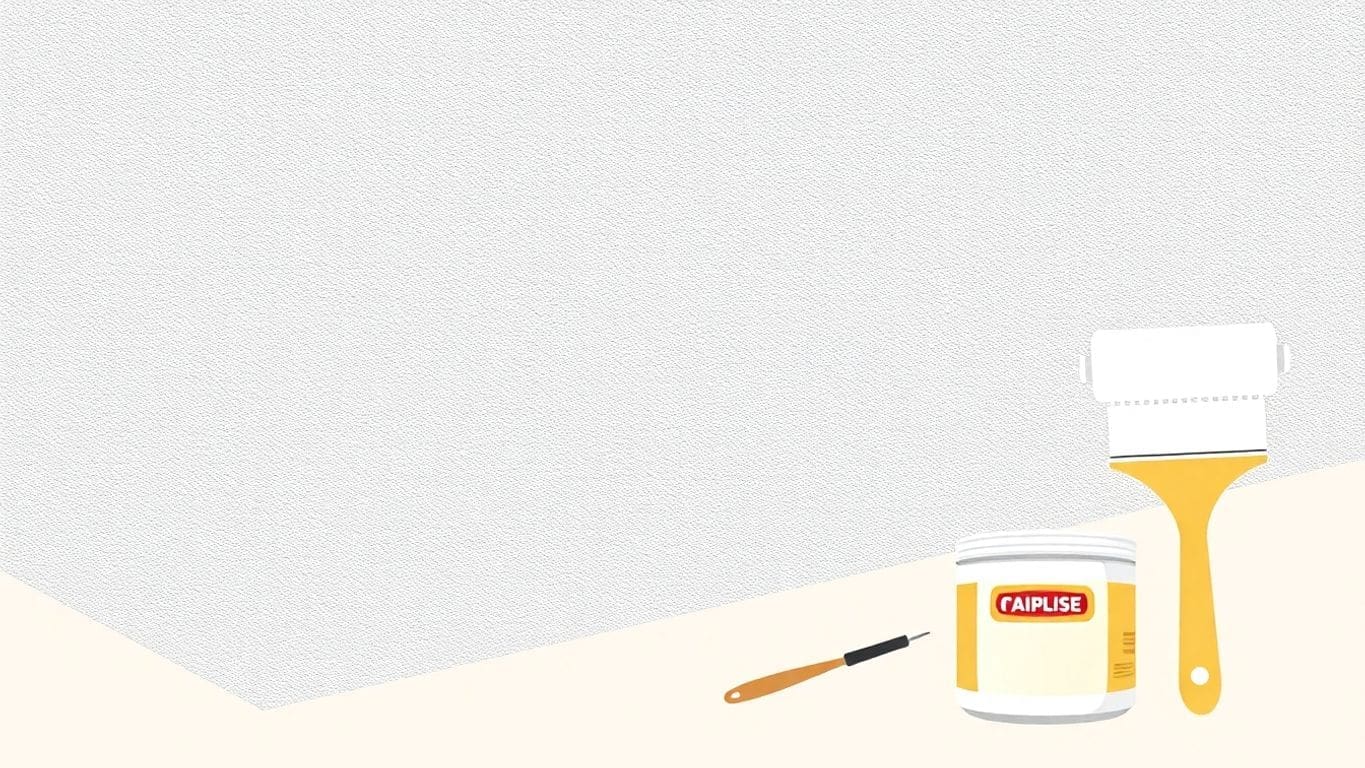
Think of these as your drywall repair toolkit. You’ll need:
Drywall compound, also called mud, comes in a few different types. All-purpose is good for most jobs. There’s also lightweight compound, which is easier to sand. And quick-setting compound, which dries super fast (use this if you’re in a hurry, but it can be tricky to work with). For most small repairs, all-purpose is your best bet.
Don’t skimp on your materials! Cheap drywall tape might not stick well. Low-quality compound can be hard to sand. It’s worth spending a little extra to get good stuff. It will make your job easier and the finished drywall will look better.
Using quality materials can really make a difference in how your drywall repair turns out. It might cost a bit more upfront, but it’s worth it in the long run. You’ll get a smoother finish, and the repair will last longer. Plus, you’ll save yourself some frustration!
Before you start slapping on the compound, you’ve got to get the drywall ready. Think of it like prepping a canvas before painting. A little work here makes a HUGE difference in how the final job looks. Trust me, skipping this step is a recipe for disaster.
First, take a good look at the drywall. Are there any holes, dents, or cracks? Even small problems can show through your finish if you don’t fix them now. Use a flashlight to help you see everything clearly. Look for nail pops (nails that have come loose and are sticking out). Also, check for any signs of water damage. If you find any, you’ll need to address that before moving on.
Next, clean the drywall. Dust, dirt, and grime will stop the compound from sticking right. Use a damp sponge or cloth to wipe down the entire area. Make sure you don’t get the drywall too wet, or it could damage it. Let it dry completely before you start applying compound. A clean surface is key to a smooth finish.
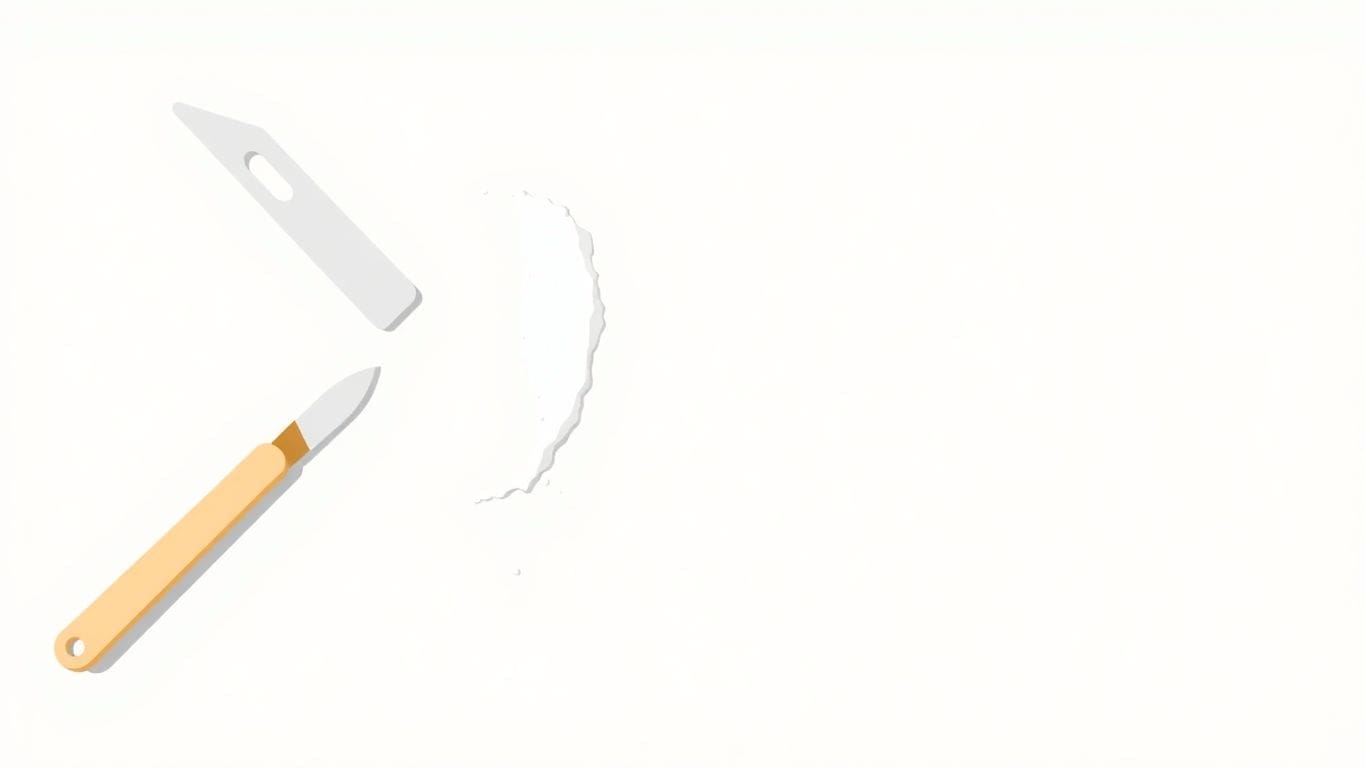
Now, let’s fix those dents and holes. For small dents, you can usually just fill them with drywall compound. For larger holes, you might need to use a patch. Here’s how to fix a small hole:
Prepping the drywall is like laying the foundation for a house. If the foundation is bad, the whole house will be unstable. Take your time and do it right, and you’ll be much happier with the results.
Let the compound dry completely before moving on to the next step. This is important! Rushing it will only cause problems later.
Taping drywall is a key step. It helps make the wall strong and look smooth. If you mess up the tape, you’ll see it in the final paint job. Let’s get it right!
There are two main types of drywall tape: paper and mesh. Paper tape is stronger and better for corners. Mesh tape is easier to use, especially for beginners, because it’s sticky. However, mesh tape can sometimes crack later on. For most jobs, paper tape is the way to go. It’s worth the extra effort for a better, longer-lasting finish. Think about where you’re using it. For corner bead, paper tape is your best bet.
Before you put on the tape, you need a thin layer of joint compound. This is also called mud. Use your taping knife to spread a thin, even layer of mud over the drywall seam. This mud will help the tape stick and fill in any small gaps. Don’t put on too much mud, just enough to give the tape something to grab onto. Think of it like glue for your tape.
Now, put the tape on the mud. Press it down gently with your taping knife. Start at one end and work your way to the other. The goal is to get rid of any air bubbles under the tape. Air bubbles can cause the tape to peel or crack later. Use firm, even pressure. Wipe away any extra mud that squeezes out from under the tape. If you see any bubbles, poke them with your knife and smooth the tape again. You want the tape to be flat and smooth against the wall.
Okay, you’ve taped the drywall. Now it’s time for the first coat of compound. This is where you start to hide the tape and make the wall look smooth. Grab your joint compound and a wide knife, like a 6-inch one. Load up the knife with a good amount of compound. Don’t be shy, but don’t go overboard either. Start spreading it over the taped seam. The goal is to cover the tape completely. Press down firmly and spread the compound evenly along the seam. Make sure you get into the little dips and valleys. You want a nice, even layer that covers the tape without being too thick.
Feathering the edges is super important. It means blending the compound out so it’s not a sharp line on the wall. If you don’t feather, you’ll see a ridge after you paint, and nobody wants that. To feather, ease up on the pressure as you get to the edge of the compound. Use the edge of your knife to smooth the compound out so it gets thinner and thinner until it blends into the wall. Think of it like making the compound disappear into the wall. This takes a little practice, but you’ll get the hang of it.
Lots of people mess up the first coat, so don’t feel bad if you do. One big mistake is using too much compound. It’s better to use less and add more later than to glob it on and have to sand it all off. Another mistake is not cleaning your knife. If you have dried compound on your knife, it will leave streaks in your fresh compound. Keep a bucket of water and a sponge handy to wipe your knife clean. Also, don’t rush! Take your time and do it right. Rushing leads to bumps, ridges, and a bad finish.
Applying the first coat of compound is a key step in drywall repair. It’s important to take your time and apply the compound evenly, feathering the edges to create a smooth transition. Avoid common mistakes like using too much compound or not cleaning your knife. With a little practice, you can achieve a professional-looking finish.
Here’s a list of common mistakes:
After your first coat of compound is dry, you might still see some imperfections. That’s normal! This is where subsequent coats come in. They help you get a really smooth, professional-looking finish. Think of it like applying layers of paint – each one builds on the last to create a better result.
Patience is key here. Don’t rush! You need to let each coat of compound dry completely before you start sanding or applying the next one. If you don’t, you could end up with a mess. The drying time depends on the type of compound you’re using, the humidity in the air, and how thick you applied it. Usually, it takes about 24 hours, but always check the compound manufacturer’s guidelines for the best results.
There’s no magic number. It depends on the size and type of repair you’re doing. For small nail holes, two coats might be enough. For larger holes or taped seams, you’ll probably need three. The goal is to create a smooth, even surface that blends in with the surrounding wall. Keep applying thin coats until you achieve that.
It’s tempting to slather on a thick coat of compound to try and fill in imperfections quickly, but that’s a bad idea. Thick coats take longer to dry, are more likely to crack, and are harder to sand smooth. Apply thin, even coats instead. It might take more time, but the results will be much better. Plus, it’s easier to sand down a thin layer than a thick one.
Think of each coat as refining the surface. The first coat fills the hole or covers the tape. The second coat smooths out any bumps or ridges. The third coat blends everything together seamlessly. By applying thin coats, you’re building a strong, smooth foundation for your paint.
Sanding is super important to get your drywall looking great. It’s how you make the patched area blend in with the rest of the wall. If you skip this step or do it wrong, you’ll definitely see the repair, and nobody wants that!
First, you need the right sandpaper. Don’t just grab any old sandpaper! You’ll want a few different grits. Start with a medium grit, like 120-grit, to knock down any big bumps or ridges. Then, switch to a finer grit, like 220-grit, for smoothing things out. For the final pass, use an even finer grit, like 320-grit, to really make it smooth. Using the right sandpaper is essential for a professional finish.
Okay, now for the sanding itself. Here’s how I usually do it:
Remember to wear a dust mask! Drywall dust is not good to breathe in. Also, cover anything in the room that you don’t want to get dusty.
Here are some common mistakes to watch out for:
Take your time, and don’t be afraid to go back and sand a little more if you need to. With a little patience, you can get a smooth drywall finish that looks like new!
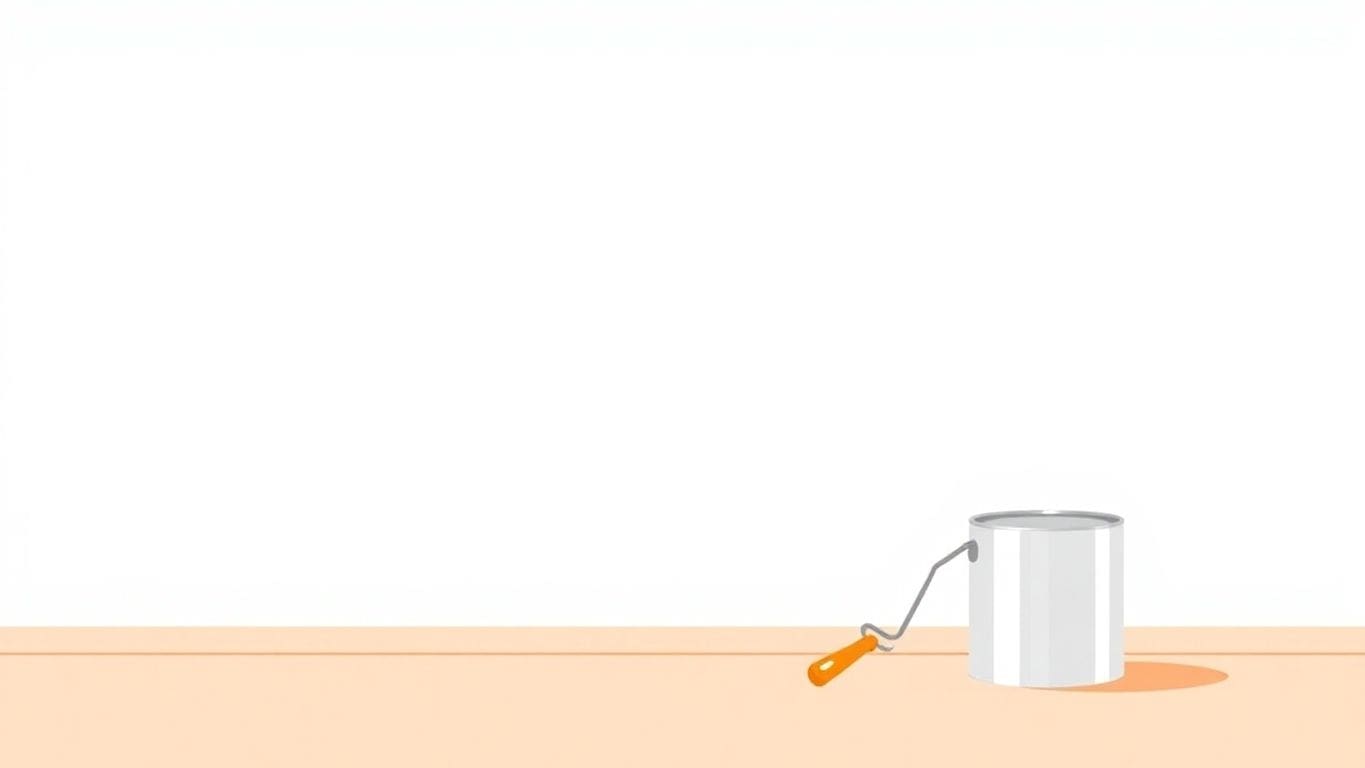
Think of primer as the undercoat for your paint. It’s what helps the paint stick to the drywall. Without it, you might find that your paint doesn’t look as good or last as long. Primer also helps to seal the drywall, so the paint doesn’t soak in too much. This means you’ll use less paint overall. It also helps to hide any small imperfections you might have missed during sanding.
There are a few different types of primer, so picking the right one is key. Here’s a quick rundown:
Choosing the right primer can really make a difference in how your paint job turns out. It’s worth spending a little extra time to pick the best one for your needs.
Applying primer is pretty straightforward. You’ll need a roller for the big areas and a brush for the corners and edges. Here’s how to do it:
Choosing the right paint is super important. Think about what the room is used for. Bathrooms and kitchens need paint that can handle moisture. For living rooms and bedrooms, you can pick something based on the look you want. Consider the finish, like matte, eggshell, or gloss. Matte hides flaws better, while gloss is easier to clean. Don’t forget to grab some [high-quality interior paint](#5c76]!
Before you even open the paint can, prep the area. Cover everything! Use painter’s tape to protect trim, windows, and doors. This will save you a lot of cleanup time later. Make sure the drywall is clean and dry. If you see any dust or dirt, wipe it down with a damp cloth. A clean surface helps the paint stick better. Also, make sure you have all your tools ready: brushes, rollers, paint trays, and maybe even an extension pole for those high spots.
Lots of people rush when painting, and that’s a big mistake. Always let each coat dry completely before adding another one. If you don’t, the paint can peel or look uneven. Another mistake is not using enough paint. Skimping on paint can lead to thin spots and a bad finish. Also, don’t forget to stir the paint well before you start. This makes sure the color is even throughout. Finally, clean your brushes and rollers right after you’re done. If you don’t, they’ll get hard and be useless next time.
Painting drywall isn’t hard, but it takes patience and attention to detail. Take your time, prep well, and avoid these common mistakes, and you’ll end up with a great-looking wall.
Drywall repair can be tricky. It’s easy to make mistakes that leave your walls looking worse than before. Let’s look at some common errors and how to avoid them.
One of the biggest mistakes is not letting the drywall compound dry completely between coats. If you rush this, the compound can crack or shrink, and you’ll end up with a weak, uneven surface. Always wait the recommended time (usually 24 hours, but check the product instructions) before sanding or applying another coat.
Skipping surface preparation is a recipe for disaster. Before you even think about applying compound, make sure the area is clean, dry, and free of loose debris. Remove any old, crumbling drywall or paint. If there are any glossy surfaces, sand them down to create a better grip for the compound. A clean surface helps the compound stick properly and prevents future problems.
Using the wrong tools can make the job much harder and lead to poor results. Don’t try to get by with a cheap putty knife or sandpaper. Invest in quality tools like:
Using the right tools will make the job easier and give you a better finish. It’s worth spending a little extra money to get the right equipment.
Trying to spread compound with a butter knife or sanding with rough sandpaper will only lead to frustration and a less-than-perfect repair.
Okay, you’ve put in the time and effort, so now it’s time to really look at your work. Take a step back and view the repaired area from different angles. Look for any imperfections you might have missed, like small bumps, uneven spots, or scratches. Use a bright light to help you see these issues more clearly. It’s better to catch them now than after you’ve painted!
If you find any small problems, don’t worry! You can fix them. For tiny bumps, use your sanding techniques sponge to gently smooth them out. If you see any small holes or dents, apply a tiny bit more drywall compound and let it dry completely before sanding. The goal is to make the repaired area blend in perfectly with the rest of the wall.
Once you’re happy with the repair, it’s time to clean up. This is important for a couple of reasons. First, it keeps your house clean and safe. Second, it helps you see your finished work without any distractions. Here’s what to do:
Cleaning up not only makes your workspace tidy but also allows you to fully appreciate the quality of your drywall repair. A clean environment highlights the smoothness and seamlessness of your work, making any final assessments easier and more satisfying.
Now you can stand back and admire your flawless drywall repair! You’ve successfully fixed the damage and created a smooth, even surface that’s ready for primer and paint. Good job! Remember to address any water damage promptly to prevent future drywall issues.
Drywall, also known as gypsum board, is a building material used to create walls and ceilings. It’s popular because it’s durable, easy to install, and cost-effective.
You will need a few essential tools like a taping knife, drywall compound, drywall tape, a sanding block, and a primer for the best results.
Start by checking for any damages, cleaning the area, and fixing any holes or dents to ensure a smooth surface for the repair.
Apply a thin layer of drywall compound over the seams, then place the tape on top. Use a taping knife to press it down and smooth out any bubbles.
Typically, you should apply at least two to three coats of compound, allowing each coat to dry completely before adding the next.
Some common mistakes include rushing the drying process, skipping surface preparation, and using low-quality tools.
Sanding helps create a smooth surface by removing any bumps or excess compound, which is crucial for a professional-looking finish.
Yes, priming is important as it helps the paint adhere better and improves the overall finish.

Business Owners: Join our insider newsletter for exclusive marketing strategies and growth opportunities for local services business.