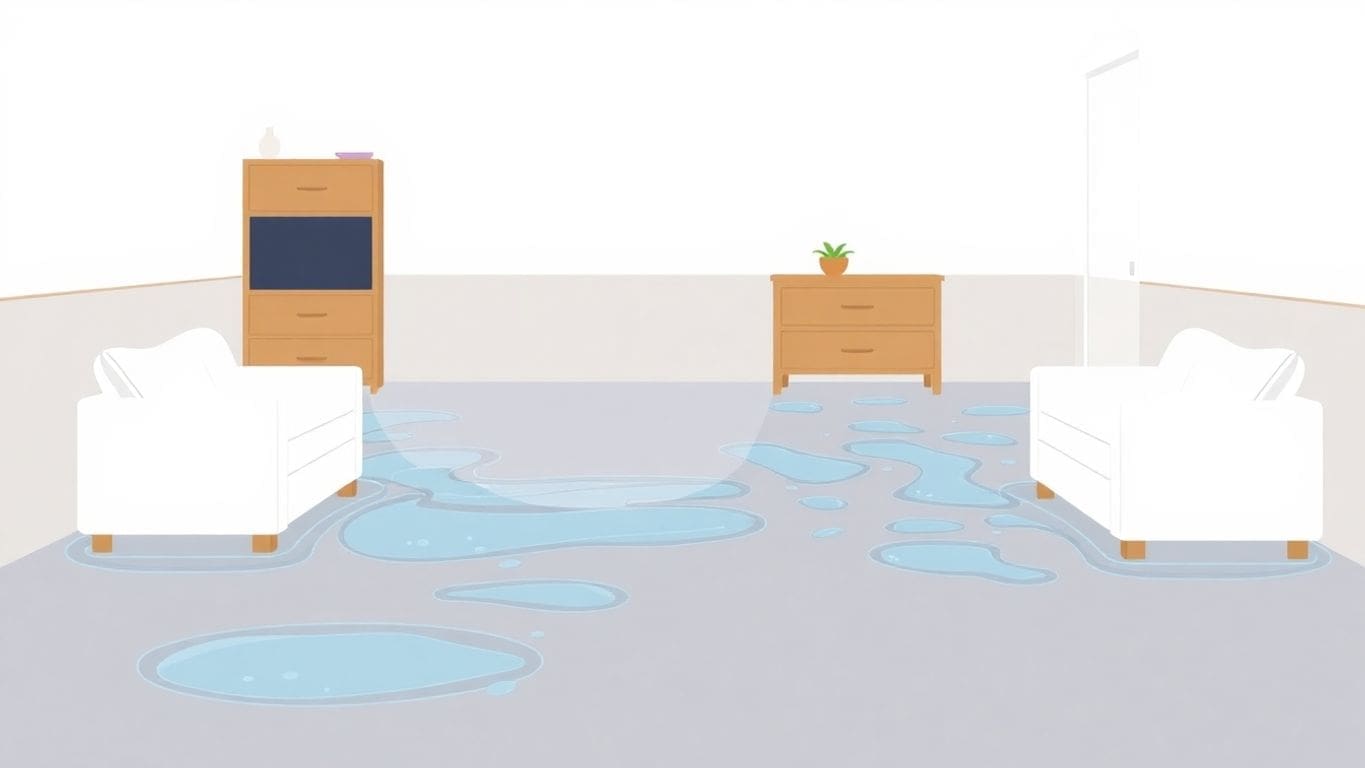
How Much Water in Basement Is Bad? Understanding the Risks and Solutions
Ever walked into your basement and found a puddle? It’s not just a minor inconvenience. Water in the basement can…



Water damage can sneak up on you, whether it’s from a small leak or a sudden flood. If you find yourself in this situation, don’t panic. There are some essential DIY fixes for minor water damage in your home that you can tackle without calling in the pros right away. With a little effort and the right approach, you can minimize damage and keep your home safe and dry.
After you’ve stopped the water source, your next job is to dry everything out. The faster you do this, the less chance mold has to grow. Mold loves damp places, and it can start growing within 24-48 hours. So, time is of the essence!
Get some fans going! Open windows and doors to get some fresh air circulating. Position the fans to blow air across the wet surfaces. This helps the water evaporate faster. Don’t just point the fan at one spot; move it around to cover the whole area. It’s a simple step, but it makes a big difference.
If you’re dealing with a lot of water, a dehumidifier is your best friend. These machines pull moisture out of the air, which speeds up the drying process. You can rent them from most hardware stores. Place the dehumidifier in the center of the room and let it run. Keep the windows closed when using a dehumidifier; otherwise, you’re just dehumidifying the outside air. Check the water collection tank regularly and empty it as needed.
Don’t rush this step! It’s super important to make sure everything is completely dry. Feel around for any damp spots, especially in corners and under carpets. If you have wood floors, check for warping or swelling. If you’re not sure if something is dry enough, give it another day or two. Lingering moisture can lead to mold growth and other problems down the road. It’s better to be safe than sorry!
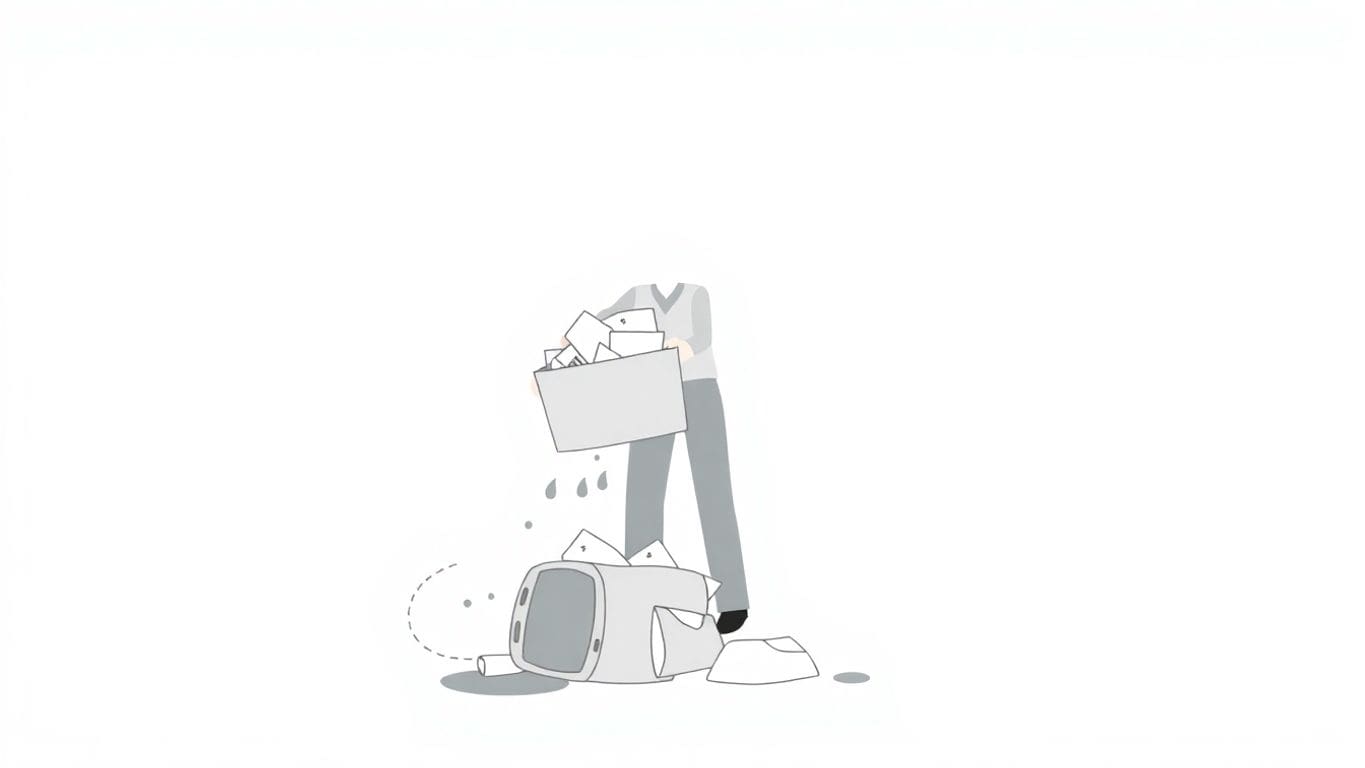
When water damage strikes, some materials just can’t be saved. Porous materials are especially vulnerable because they soak up water like a sponge. This can lead to mold growth and structural problems. Let’s get rid of the unsalvageable stuff.
Porous materials have tiny holes that allow liquids and air to pass through. Common examples include:
If these items have been soaked, they’re likely damaged beyond repair. It’s better to be safe than sorry when it comes to mold and bacteria. You may need to replace rotting wood if it’s been severely damaged.
Before you start tearing things out, gear up! Wear gloves, a mask, and eye protection to avoid contact with mold and other contaminants. For carpet, use a utility knife to cut out the affected sections. For drywall, score it with a knife and then use a hammer to break it away. Insulation can be pulled out by hand, but be careful not to spread it around.
Place the damaged materials in heavy-duty trash bags. Seal the bags tightly to prevent mold spores from escaping. Check with your local waste disposal guidelines for proper disposal methods. Some areas may have specific rules for disposing of water-damaged items. Don’t just leave it by the curb! Getting rid of these materials quickly helps prevent further contamination in your home.
After you’ve removed the damaged stuff, it’s time to clean up. Floodwater can bring in all sorts of nasty things like bacteria and mold. Disinfecting helps kill these and keeps your home safe. It’s a key part of water damage restoration steps.
When it comes to disinfectants, you have options. A common choice is a bleach solution (mix bleach with water). You can also find disinfectants at the store. Just make sure whatever you use is safe for the surfaces you’re cleaning. Read the label and follow the directions. Some people even use homemade options, but store-bought stuff is usually more reliable.
Spray or wipe down all the surfaces that were affected by the water. Don’t miss any spots! Pay extra attention to hard surfaces like floors and walls. For soft items like carpets or curtains, you might need to call in a professional cleaner. They have special equipment to really get the job done.
When you’re using disinfectants, it’s super important to have good airflow. Open windows and doors to let fresh air in. This helps get rid of any strong smells from the disinfectant. Plus, it helps the area dry faster. Use fans to circulate air to help with this. If you don’t have good ventilation, those chemicals can build up and cause problems.
Ceilings are tricky because gravity is not your friend. Water damage can make them sag or even fall down. It’s important to deal with ceiling problems quickly.
First, look closely at the ceiling. Are there stains, soft spots, or sagging areas? These are signs of water damage. Check for any discoloration on walls too. If the ceiling is sagging a lot, be careful. It could fall. If you see a small stain, it might be a small leak. But a big stain could mean a bigger problem.
If the ceiling is just stained, you might be able to clean and repaint it. But if it’s soft or sagging, you’ll need to replace the damaged part. This usually means cutting out the bad section and putting in new drywall. Make sure to fix the leak first, or the problem will come back. You might need to remove affected ceiling panels. Always wear safety glasses and a mask when working on ceilings.
Sometimes, ceiling damage is too big or complicated to fix yourself. If the ceiling is about to fall, or if you’re not comfortable doing the work, call a professional. They can find the source of the leak and fix the ceiling safely. Plus, they can check for mold and other problems you might miss.
Fixing a water-damaged ceiling can be messy and difficult. If you’re not sure what you’re doing, it’s best to get help. A professional can make sure the job is done right and prevent future problems.
Time is of the essence when dealing with water damage. The longer water sits, the more damage it can cause. It can soak into your floors, walls, and even the foundation of your home. This can lead to mold growth, rot, and structural problems. Removing standing water quickly is super important to minimize the damage and start the drying process.
If you’re dealing with a small amount of water, grab some buckets and towels. Mops can also be helpful for soaking up water from floors. Just wring out the towels and empty the buckets often. It might seem slow, but it’s a good way to start if you don’t have a wet/dry vacuum handy. Make sure you get all the little puddles!
For bigger water messes, a wet/dry vacuum is your best friend. These vacuums are made to suck up water without getting damaged. Just empty the vacuum often as it fills up. You can usually rent one from a hardware store if you don’t own one. This will make the job much faster than using towels and buckets. Don’t use a regular vacuum, or you’ll break it!
If you have a major flood, like from a burst pipe or a natural disaster, it’s time to call in the pros. Water damage restoration companies have special equipment and training to handle large amounts of water. They can also help with things like mold remediation and structural repairs. It might cost more upfront, but it can save you money and headaches in the long run. Plus, they know how to check and prevent future water damage in your home.
Dealing with standing water can be a pain, but getting it done quickly can save you from bigger problems down the road. Don’t wait – get that water out!
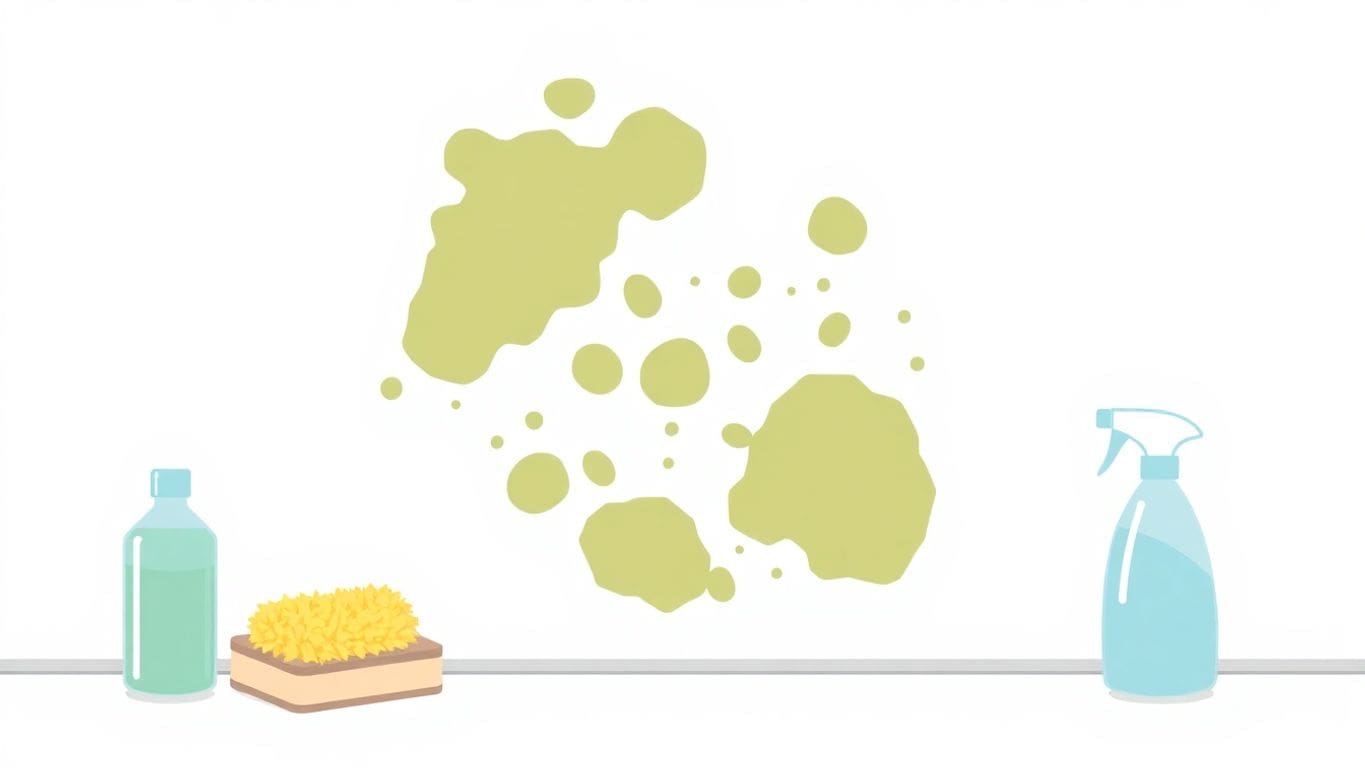
After water damage, mold can start growing fast. It’s super important to check for it early. Mold can cause health problems and damage your home. Here’s what to do:
Check for anything that looks like mold. This includes:
Mold can be different colors, like green, black, white, or brown. Don’t ignore any strange spots or smells.
Mold loves to hide! Look in places you can’t easily see, such as:
Sometimes, you might not see mold, but you’ll smell it. If you have a musty odor, there’s a good chance mold is hiding somewhere. It’s worth investigating further.
If you find mold, don’t wait. Small amounts of mold might be something you can handle yourself. But big mold problems need a pro. Here’s what to do:
It’s better to be safe than sorry when it comes to mold. Taking action quickly can save you from bigger problems later on. Remember that the average cost of water damage can increase if mold remediation is needed.
Water can really mess up your walls. If you act fast, you can fix minor damage yourself. Let’s walk through how to get your walls looking good again.
First, check how bad the damage is. Look for water stains, peeling paint, or soft spots. Small stains might just need some paint. Big problems mean you’ll need to do more work. If the wall feels weak or crumbly, it’s a sign of serious damage.
If the drywall is really damaged, you’ll need to replace it. This means cutting out the bad section and putting in a new piece. Here’s how:
Once the drywall is fixed and the mud is dry, it’s time to paint. Use a primer first to seal the drywall. Then, paint the wall to match the rest of the room. Make sure to use no mold spores linger paint to prevent future problems. This will help protect your walls.
Fixing water-damaged walls can be a bit of work, but it’s worth it to protect your home. If you’re not comfortable doing it yourself, don’t hesitate to call a professional. They can handle the job quickly and correctly.
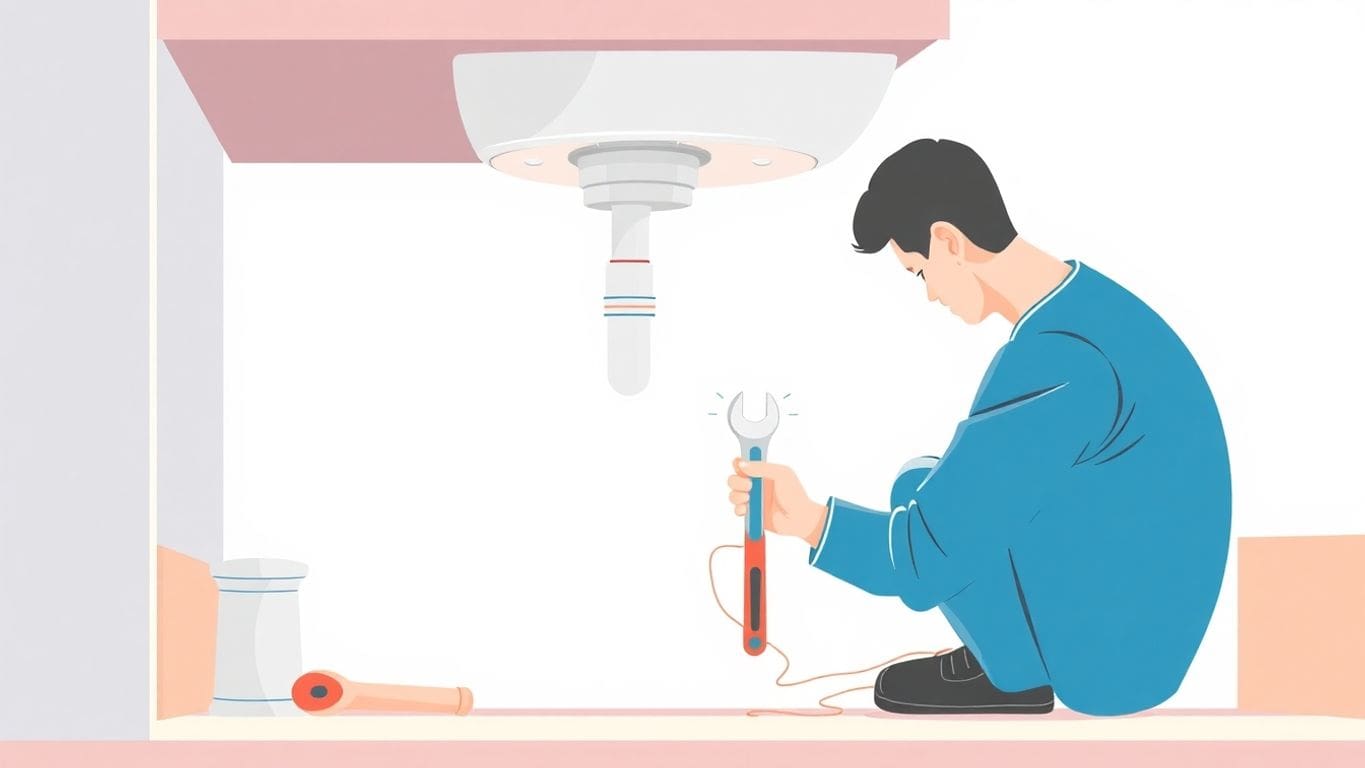
Plumbing problems can be a major cause of water damage in your home. It’s important to check your plumbing regularly and fix any issues right away. This can save you from bigger problems and costly repairs later on. Let’s get into how you can handle those pesky plumbing problems.
Finding the source of a leak is the first step. Look for dripping pipes under sinks, around toilets, and near your water heater. Check for wet spots on walls or floors, which could mean a leak inside the wall. Sometimes, the source isn’t obvious, so you might need to do some detective work. Don’t forget to check outside faucets and sprinkler systems too.
Once you find a leak, fix it as soon as possible. Even a small drip can cause a lot of damage over time. Here are some common fixes:
If your home has old plumbing, it might be time to think about upgrading. Old pipes can corrode and leak more easily. Replacing them with newer materials like PEX or copper can prevent future problems. This is especially important if you live in an area with hard water, which can speed up corrosion. While it’s a bigger investment, upgrading your plumbing can save you money in the long run by preventing leaks and water damage. Plus, newer pipes are often more efficient, which can lower your water bill.
Regular plumbing maintenance is key to preventing water damage. Make it a habit to check your pipes and fixtures regularly. This can help you catch small problems before they turn into big ones.
After you’ve fixed the water damage, it’s smart to take steps to stop it from happening again. Here’s how to keep your home dry and safe.
Water often gets in through basements, foundations, and crawl spaces. Sealing these spots can really cut down on the risk of water damage. You can use waterproof paint or sealant. Make sure to check for cracks and gaps, and fill them in. This will help keep water out. Think of it like putting a raincoat on your house!
Check your pipes and water stuff often. Look under sinks, around toilets, and near your water heater. If you see any drips or wet spots, fix them fast. It’s also a good idea to have a plumber check your plumbing and HVAC systems once a year. They can spot problems you might miss. This can save you from big headaches later.
Gutters and downspouts move rainwater away from your house. If they’re clogged, water can back up and cause damage. Clean them out at least twice a year, in the spring and fall. Make sure the downspouts point away from your foundation. You want the water to drain away from your house, not towards it. Keeping your gutters clean is a simple way to prevent water problems.
Preventing water damage is way easier than fixing it. A little bit of work now can save you a lot of money and stress later. Keep an eye on your home, and take care of small problems before they become big ones.
Here’s a quick checklist to help you prevent water damage:
The first thing you should do is make sure everyone is safe. If there’s a lot of water, turn off the electricity in that area to avoid any electrical hazards.
You can use fans to help circulate air and speed up drying. If the area is large, consider renting a dehumidifier to remove moisture from the air.
You should remove and throw away porous materials like carpets, insulation, and fabrics that have been soaked, as they can’t be fully dried and may grow mold.
Use a disinfectant solution, like bleach mixed with water, to wipe down the area and kill any germs or mold spores.
It’s best to focus on repairing the ceiling first, as it can be more vulnerable to water damage. Check for any sagging or cracks and fix those.
If you see mold, it’s important to act quickly. You can clean small areas with a mixture of water and detergent, but for larger infestations, it’s best to call a professional.
Regularly check your plumbing for leaks, maintain your gutters, and seal any areas where water could enter, like basements or crawl spaces.
If the damage is extensive, like a major flood or if you find mold, it’s best to call a professional to handle the cleanup and repairs.

Business Owners: Join our insider newsletter for exclusive marketing strategies and growth opportunities for local services business.