
Understanding the Average Cost of Water Damage Repair Per Square Foot in 2024
Water damage can be a serious issue for homeowners, leading to costly repairs and potential health hazards. In 2024, understanding…
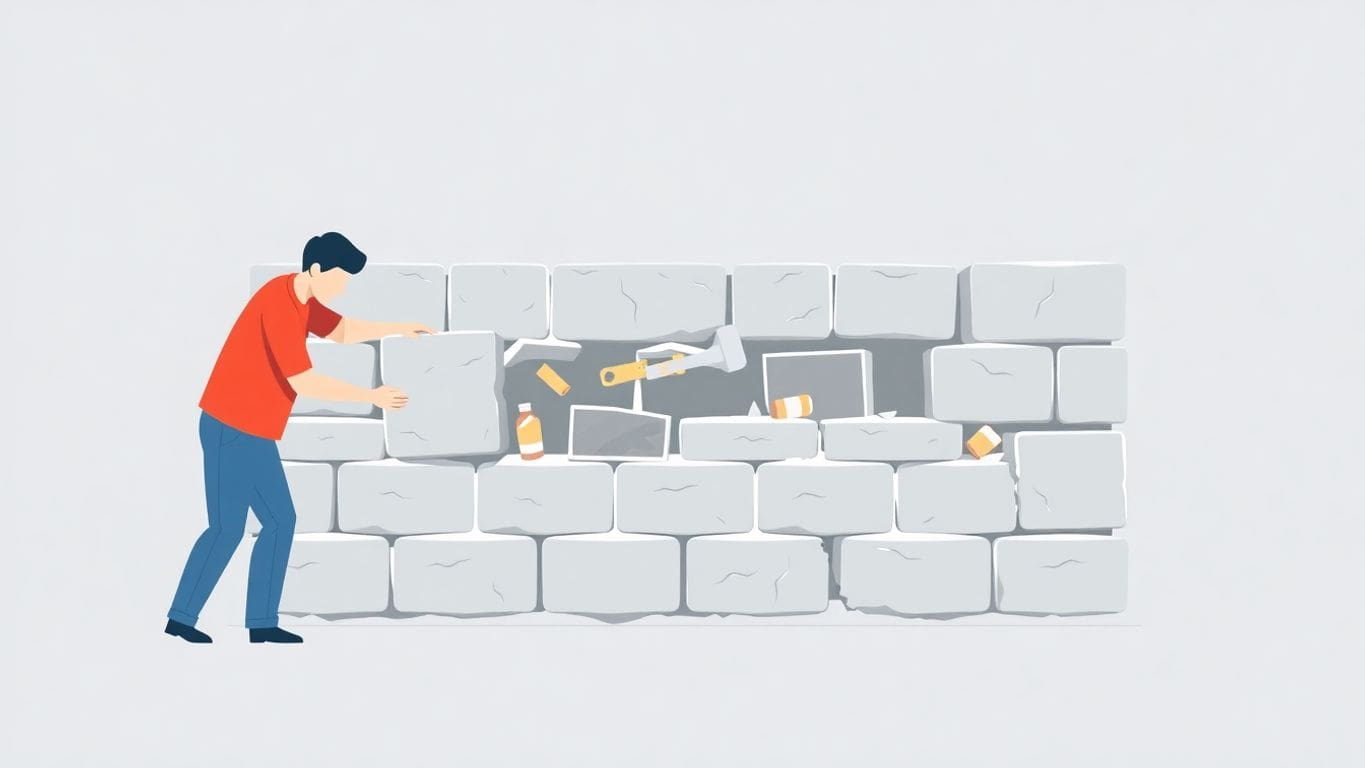
If your retaining wall is looking worse for wear, you’re not alone. Many homeowners face the challenge of crumbling concrete block retaining walls, especially after years of exposure to the elements. Luckily, repairing these walls isn’t as daunting as it sounds. With a bit of effort and the right approach, you can restore your wall’s strength and appearance. This guide will walk you through the steps on how to repair crumbling concrete block retaining wall, making the process easier to tackle.
Retaining walls are super important for keeping soil where it should be. But, like anything outside, they can get damaged over time. Spotting problems early can save you a lot of trouble and money. Let’s look at how to check your retaining wall for damage.
Okay, so how do you know if your retaining wall is in trouble? Here are some things to look for:
So, what causes retaining walls to crumble in the first place? Here are a few common reasons:
Okay, you’ve spotted some damage. Now what? It’s time to figure out how bad the damage is. Here’s how:
If you’re not sure how to assess the damage, it’s always best to get a professional opinion. A structural engineer can tell you if the wall is safe or if it needs to be repaired or replaced.
Before you start fixing your retaining wall, it’s important to get all your tools and materials ready. This will make the job go much smoother and faster. Trust me, you don’t want to be running to the store in the middle of everything!
Okay, let’s talk tools. You’ll need a few basics to get started. Having the right tools makes a huge difference. Here’s a list:
Now, let’s talk about the stuff you’ll actually use to fix the wall. Here’s what I suggest:
Safety first! You don’t want to get hurt while fixing your wall. Here’s what you should wear:
Remember, taking the time to gather the right tools and materials will save you a lot of headaches later on. It’s better to be prepared than to have to stop in the middle of the job to run to the store. Plus, wearing the right safety gear will keep you safe and sound while you work.
Before you start fixing your retaining wall, it’s important to get the area ready. This makes the job easier and safer. Let’s get started!
First, you’ll want to clear away anything that’s in the way. This means removing any loose dirt, weeds, or plants growing near the wall. Use a shovel or stiff-bristled brush to sweep away debris. Make sure you have a clear path to work and that you can easily see the damaged areas. This step helps prevent accidents and gives you a clean surface to work on.
Safety is super important! Wear your safety glasses and gloves. Make sure the area is well-lit, especially if you’re working in the evening. If you’re using power tools, check that the cords are in good shape and won’t cause anyone to trip. It’s also a good idea to put up some warning tape around the work area to keep others away. A safe workspace means a safer repair!
Drainage is key to a long-lasting retaining wall. Before you start patching things up, check how water flows around the wall. Make sure water isn’t pooling up behind the wall, as this can cause more damage. If you see any drainage issues, think about adding some gravel or a drain pipe to help water flow away from the wall. Good drainage will help prevent future problems and keep your wall strong for years to come.
Proper drainage is essential for the longevity of your retaining wall. Without it, water can build up behind the wall, causing pressure and leading to cracks or even collapse. Take the time to assess and improve drainage to prevent future issues.
Okay, so you’ve found some blocks that need to go. It’s time to get those crumbly guys out of there. Don’t worry, it’s not as hard as it looks. Just take your time and be careful.
First things first, you need to get those damaged blocks out. Start by using a hammer and chisel to break up the mortar around the block. You want to weaken it so you can pull the block out easier. If the block is really stuck, you might need to break it into smaller pieces to remove it. Be sure to wear safety glasses so you don’t get any debris in your eyes. Work from the top down, removing blocks in a V-shape around the damaged area.
Once you’ve got the damaged block out, you’ll need to clean up the area where the new block will go. This means chiseling out all the old mortar. Use your chisel and hammer to carefully remove the old mortar from the surrounding blocks. You want to create a clean surface so the new mortar will stick. A safe workspace is key here, so make sure you’re not rushing.
Sometimes, retaining walls have rebar (metal reinforcing bars) inside them. If you see rebar when you’re removing the blocks, be extra careful. You don’t want to bend or damage it. If the rebar is in the way, you might need to cut it with a metal-cutting blade. Always wear safety glasses and gloves when working with rebar. If the rebar is rusty, clean it with a wire brush before you put the new block in. This will help the new mortar stick better. If you find that the rebar is too damaged, you may need to consult with a professional to ensure the structural integrity of your wall.
Removing damaged blocks is a crucial step in repairing your retaining wall. Take your time, be careful, and always wear safety gear. With a little patience, you’ll have those old blocks out in no time.
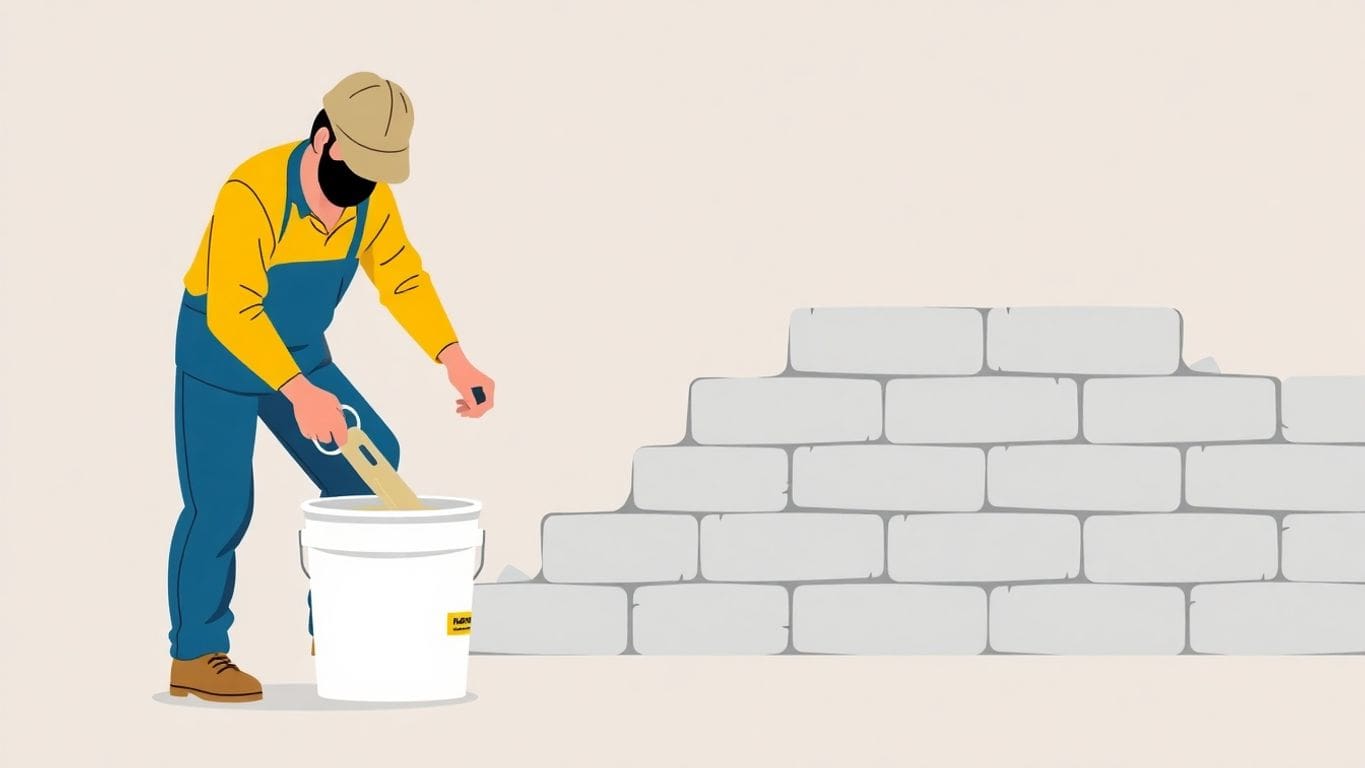
Time to get your hands dirty! Mixing mortar might seem tricky, but with a few tips, you’ll be a pro in no time. The right mortar mix is super important for a strong and lasting repair to your retaining wall. Let’s get started!
Not all mortar is the same. For retaining walls, you’ll want to use a mortar mix designed for structural repairs. Type S mortar is often a good choice because it’s strong and can handle soil pressure. Check the bag for instructions and make sure it’s suitable for your climate. Using the wrong mix can lead to future wall damage, so take your time to pick the right one.
Consistency is key! You want your mortar to be like thick peanut butter – not too runny, not too stiff. Here’s how to get it right:
Getting the right consistency is super important. If the mortar is too dry, it won’t stick well. If it’s too wet, it’ll be weak and can crack easily.
With these tips, you’ll be mixing mortar like a pro and ready to repair your retaining wall!
Small cracks in your retaining wall might not seem like a big deal, but they can let water in. Water can freeze and expand, making the cracks bigger over time. To fix these cracks, start by cleaning out any loose dirt or debris with a brush. You can even use a pressure washer if you have one. Make sure the area is dry before you start. Then, use a mortar mix to fill the cracks. Pack it in tightly with a putty knife or trowel.
Using a pastry bag, like the ones for decorating cakes, can help you get the mortar exactly where you need it. This is especially useful for thin or hard-to-reach cracks. Fill the bag with your mortar mix. Then, squeeze the mortar into the crack, starting from the bottom and working your way up. Don’t overfill it. This method gives you more control and helps avoid making a mess. It’s a simple trick that can make a big difference in how neat your repair job looks.
After you’ve filled the cracks, you’ll want to smooth out the surface. This makes the repair look better and helps the mortar blend in with the rest of the wall. Use a damp sponge or a trowel to smooth the mortar. Wipe away any excess mortar from the surrounding blocks. The goal is to make the repair as invisible as possible. Let the mortar dry completely before doing anything else. This might take a day or two, depending on the weather.
Fixing cracks early can prevent bigger problems later. It’s like taking care of a small cut before it gets infected. Regular checks and quick repairs will keep your retaining wall strong for years to come.
Here’s a simple guide for smoothing:
Sometimes, a crack repair just won’t cut it. If a cinder block is too damaged, you’ll need to replace the whole thing. It sounds hard, but it’s totally doable with the right steps.
Before you even think about mortar, get your replacement block ready. Make sure it’s the same size and type as the old one. A mismatch will cause problems later. Clean the new block with a brush to remove any dirt or loose particles. This helps the mortar stick better. You want a strong bond, so don’t skip this step. Also, lightly dampen the block. A dry block will suck moisture from the mortar too quickly, weakening the bond. Think of it like preparing a surface for painting – a little prep goes a long way. If you are facing flood damage without insurance, you may need to replace more blocks than anticipated.
Now for the fun part! Use your trowel to apply a thick layer of mortar to the surrounding blocks where the new block will sit. Don’t be shy with the mortar; you want full coverage. Carefully lift the new block and slide it into place. Press down firmly to set it into the mortar bed. Some mortar will squeeze out – that’s a good sign! It means you’ve got good contact. Use your trowel to remove the excess mortar and smooth the joints. Make sure the new block is level with the surrounding blocks. A level is your best friend here. If it’s not level, gently tap it into place with a rubber mallet.
Once the new block is in place, it’s time to secure it with more mortar. Use your trowel to fill the vertical joints between the new block and the adjacent blocks. Pack the mortar in tightly to create a strong, waterproof seal. Smooth the mortar joints to match the existing ones. You can use a jointing tool for a professional look, but a trowel works just fine too. Let the mortar cure according to the manufacturer’s instructions. This usually takes a few days. During this time, keep the area damp to prevent the mortar from drying out too quickly. A slow cure makes for a stronger bond.
Replacing cinder blocks might seem intimidating, but with patience and the right technique, you can restore your retaining wall to its former glory. Remember to take your time and focus on getting a solid, level installation. A well-repaired wall will protect your property for years to come.
After you’ve replaced the damaged blocks and repaired any cracks, it’s time to put on the finishing touches. These steps will help your retaining wall look its best and last for years to come. It’s like adding the perfect frame to a beautiful picture!
Construction adhesive is like a super-strong glue that helps keep everything in place. You’ll want to use it to secure the top layer of blocks, especially the cap stones. This prevents them from shifting or coming loose over time. Think of it as insurance for your hard work. Just apply a generous amount to the top of the blocks before placing the caps. This is especially important if you live in an area with lots of rain or freezing temperatures.
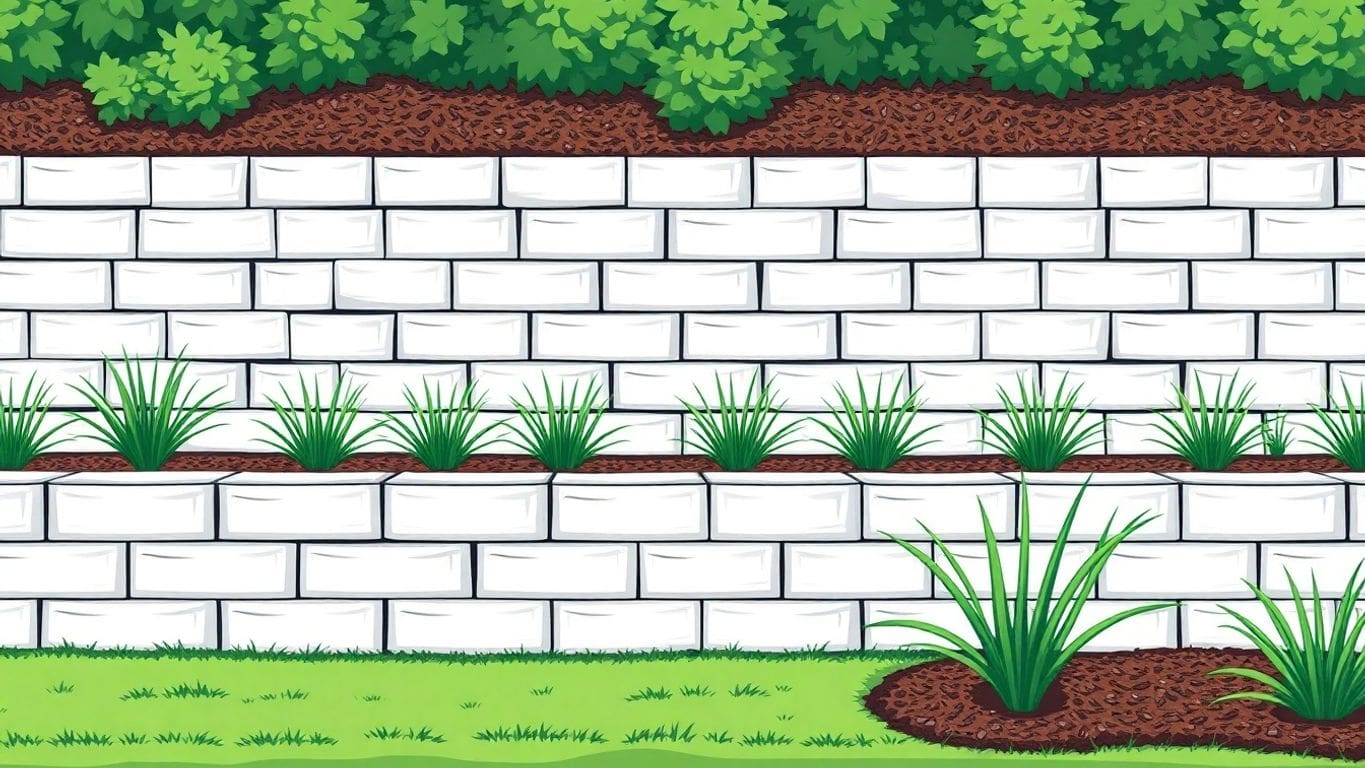
Capping the wall not only makes it look nicer, but it also adds extra stability. Cap stones are special blocks designed to sit on top of the wall. They protect the wall from water damage and help hold everything together. Make sure the cap stones are level and evenly spaced.
Adding a cap to your retaining wall is like putting a lid on a container. It keeps water out and helps prevent erosion. Plus, it gives your wall a finished, professional look.
Here’s a simple way to cap your wall:
Once everything is in place, take a good look at your retaining wall. Check for any gaps, uneven blocks, or other imperfections. Now is the time to make any final adjustments. You can use a level to ensure the wall is straight and even. If you find any small gaps, you can fill them with mortar. This emergency water clean-up will help prevent water from seeping in and causing damage.
Here’s what to look for during your final inspection:
After putting in the effort to repair your retaining wall, you’ll want to keep it in good shape. Regular upkeep will help it last longer and prevent future problems. Let’s look at some simple ways to maintain your wall.
Checking your retaining wall regularly can help you spot problems early. Look for these things:
Regular inspections are key to catching small issues before they turn into big, expensive problems. A quick walk around your yard every few months can save you a lot of trouble in the long run.
There are several things you can do to prevent damage to your retaining wall:
Here are some best practices to keep your retaining wall in top condition:
By following these simple tips, you can keep your retaining wall in good condition for many years. Regular maintenance will help prevent costly repairs and ensure that your wall continues to look great and function properly.
Look for cracks, leaning, or missing blocks. If you see any of these issues, it’s time to repair your wall.
Yes, you can! With the right tools and materials, you can follow the steps to fix it yourself.
You’ll need tools like a chisel, trowel, shovel, and safety gear like gloves and goggles.
Use a mortar mix suitable for outdoor use, such as masonry mortar, to ensure it holds up against the weather.
Carefully chip away the old block using a chisel and hammer, making sure to clean out old mortar.
If a block is too damaged, replacing it is best to keep the wall stable and strong.
Regularly check for cracks and ensure proper drainage to avoid water buildup.
Inspect your work, clean up any excess mortar, and consider adding a cap to the top of the wall for extra stability.


Business Owners: Join our insider newsletter for exclusive marketing strategies and growth opportunities for local services business.